Offıce365 User Information
Office 365 Users
is a data source that enables you to import data to Power Apps. You can access the user profiles in your company by using your Office 365 account with the Office 365 Users connection. There are various titles like your own profile information, other employee’s profile information and manager information.
In this article, we will be using the UserProfile feature.
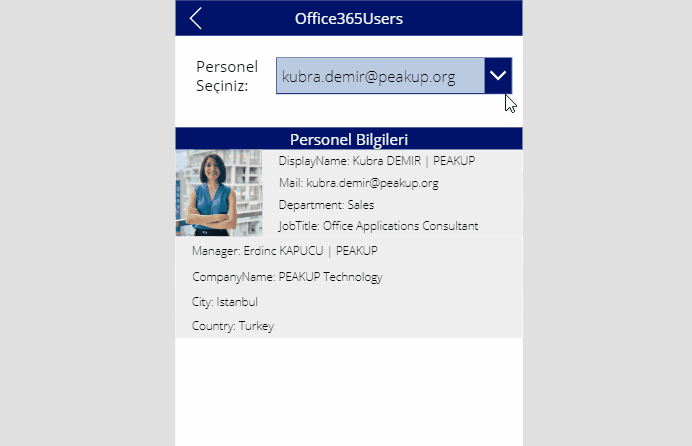
With this feature, you can view details of each user among the company personnel like shown in the GIF below.
Information to Use
The users formula is used with the formulas below.
- MyProfile (to access your own profile)
- UserProfile (to access any user’s profile)
- Manager (to access any user’s manager profile)
- DirectReports (to get data as a report)
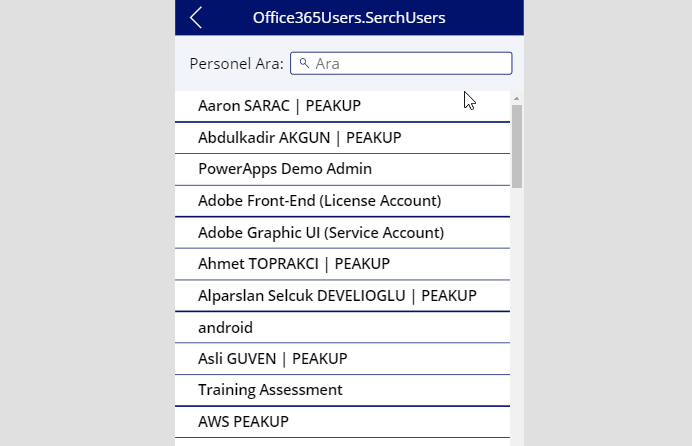
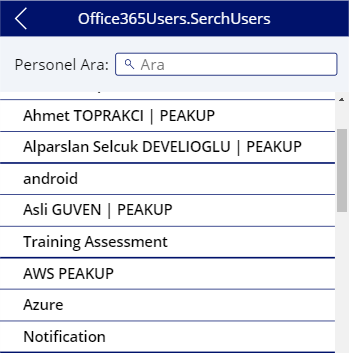
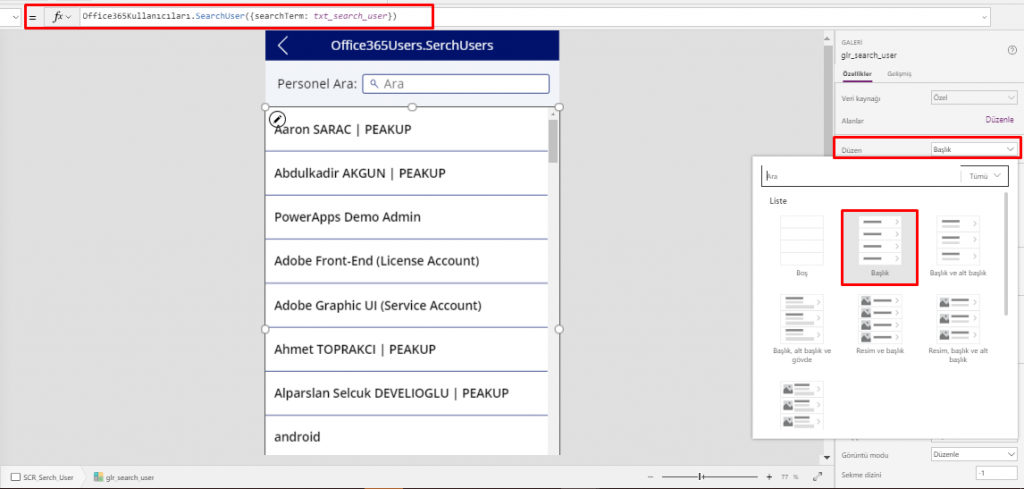
- SearchUser(to search any user in the system)
- UserPhoto(to access any user’s photo)
Each one of the title above can be more detailed while used with the sub titles below.
- City
- CompanyName
- Country
- Department
- DisplayName
- GivenName
- Id
- JobTitle
- MailNickname
- mobilePhone
- OfficeLocation
- PostalCode
- Surname
- TelephoneNumber
- UserPrincipalName
- AccountEnabled
- BusinessPhones
- Manager
- Photo
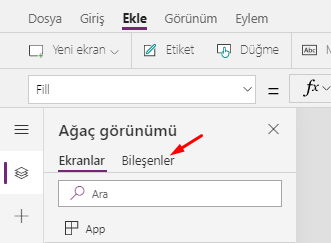
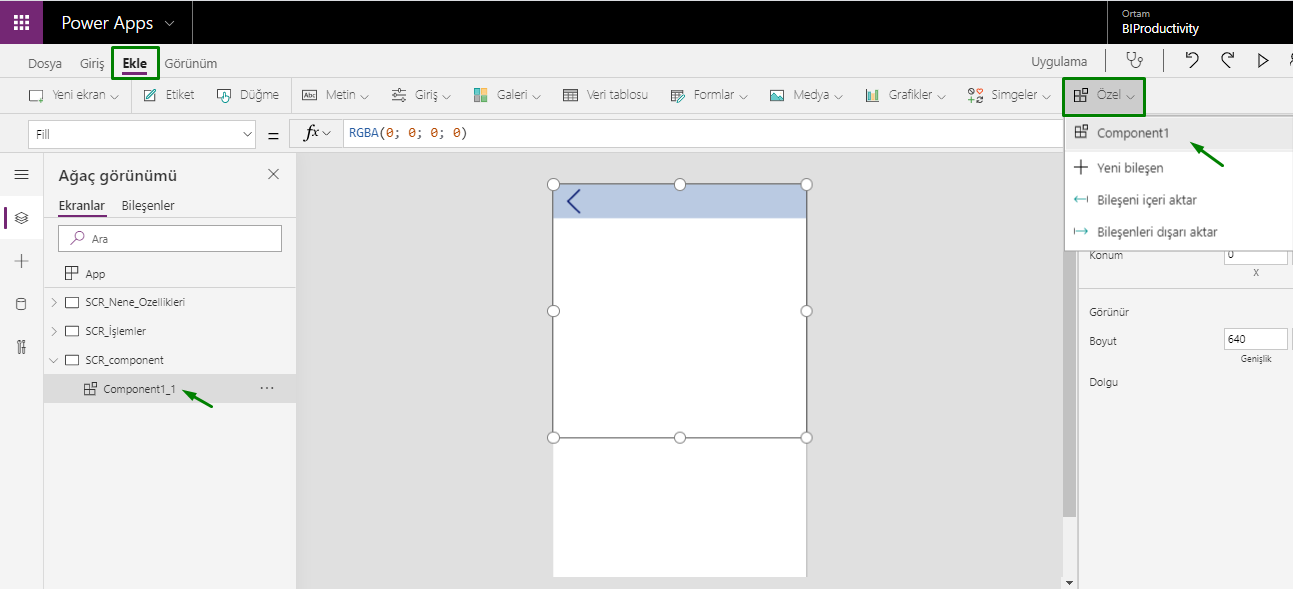
Add Office 365 Users Connection to the Mobile App
Go View –> Data Sources –> Add Data Source –> Write Office to the search bar and add the Office365Users connection.
Create Office365 connection in a Mobile App
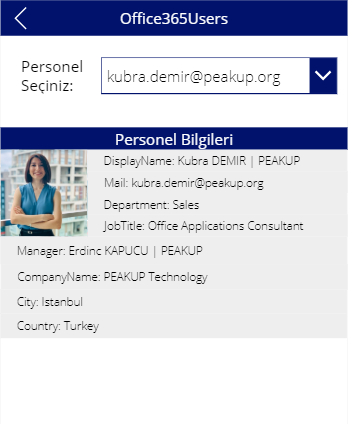
You need to add a Dropdown list, Image to show your photo and Label to show textual data to your own app in order to design a screen like the one below.
*The name of the Dropdown List used in the scree is Dropdown2. The formulas have been written according to this item name.
Formulas
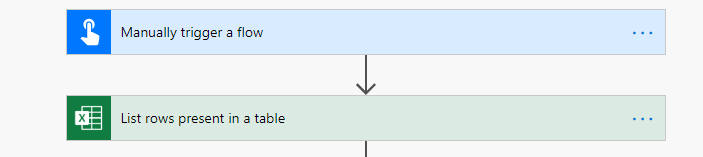
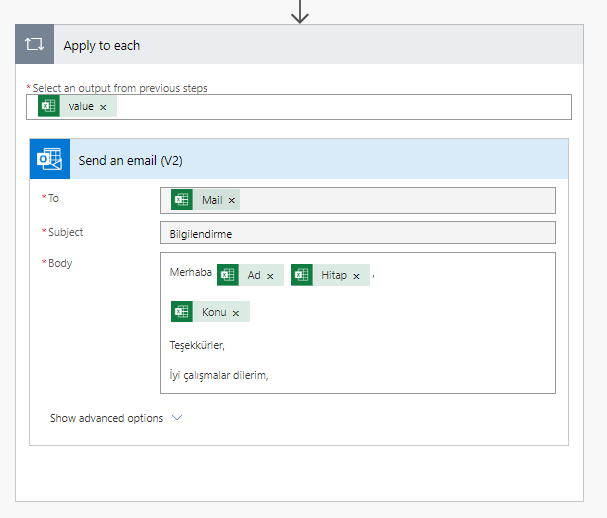
Displaying the user details based on the e-mail address chosen from the dropdown list.
- Write the formula below into the Image property of the Display item.
Office365Users.UserPhoto(Dropdown2.Selected.Value)
There is information like displayName,Mail, Department, JobTitle in Labels.
The formulas are the same, we only determine the detail we want in the last parameter.
- “displayName: ” & Office365Users.UserProfile(Dropdown2.Selected.Value).DisplayName
- “Mail: ” & Office365Users.UserProfile(Dropdown2.Selected.Value).Mail
- “Department: ” & Office365Users.UserProfile(Dropdown2.Selected.Value).Department
Different from the others, the Office365Users.Manager formula is used for the Manager information.
- “Manager: “& Office365Users.Manager(Dropdown2.Selected.Value).DisplayName
You can take a look at the link for the Office365 connection details.