
You can send the mails with custom subject and content in which you address people specially in cases like congratulating, events, special day celebrations. This is something that especially the HR needs.
This way, you don’t deal with sending mails one by one. You only need to indicate the mail list and details.

Create a Table
Open en Excel in OneDrive. Add a Table from the Insert tab.
Write Mail, Name Surname and mail details into the columns of this table like below.
Each row of this table will be sent as separate e-mails by the flow.
Flow Process with Power Automate
Start a new blank flow.
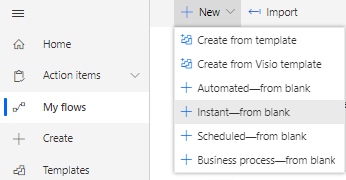
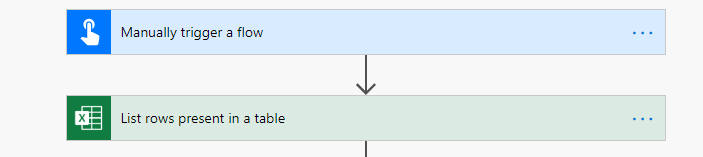
After the data in the table is filled, flow will be run by being triggered individually. For this reason, start the flow with Manually trigger a flow.
In the next step, add Excel for Business (List rows present in a table) to be able to add the data in the Excel table. Add the table you’ve just created into this item.
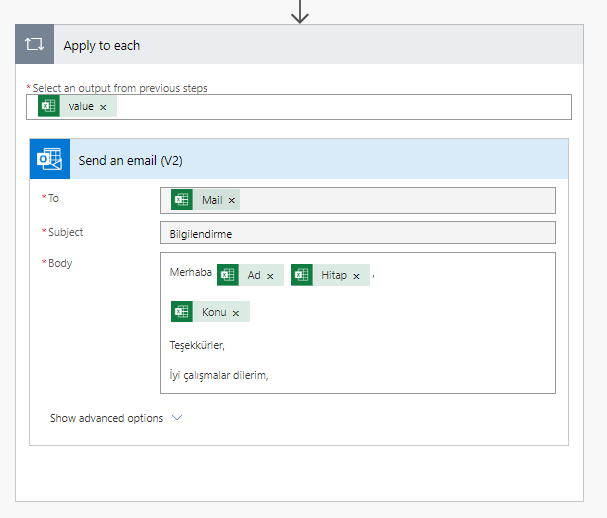
In the next step, add Outlook (Send an e-mail).
In this step, the columns of the Excel table is added to the related fields. With you choosing the Excel fields (mail, name, etc.) the Apply to each item will be added to the flow automatically. An event will be created for each row in the Excel file thanks to the Apply to each item.
After filling the related fields, name the flow on top left corner. For example: Send Mails to a Certain List. You can save and close the flow on top right corner.
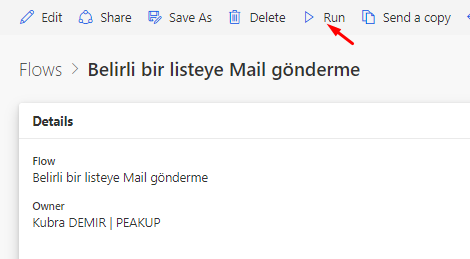
You can verify the data in the Excel table and run the flow.
You can take a look at here for the Power Automate Outlook Connector.