Power Apps and Power Automate 2020 License Updates

Power Platform

We have been waiting for the work flow product we knew as Ms Flow to get the Power title like Power BI and Power Apps for a long time. It recently joined the Power Platform family with the name of Power Automate (Flow) as expected.

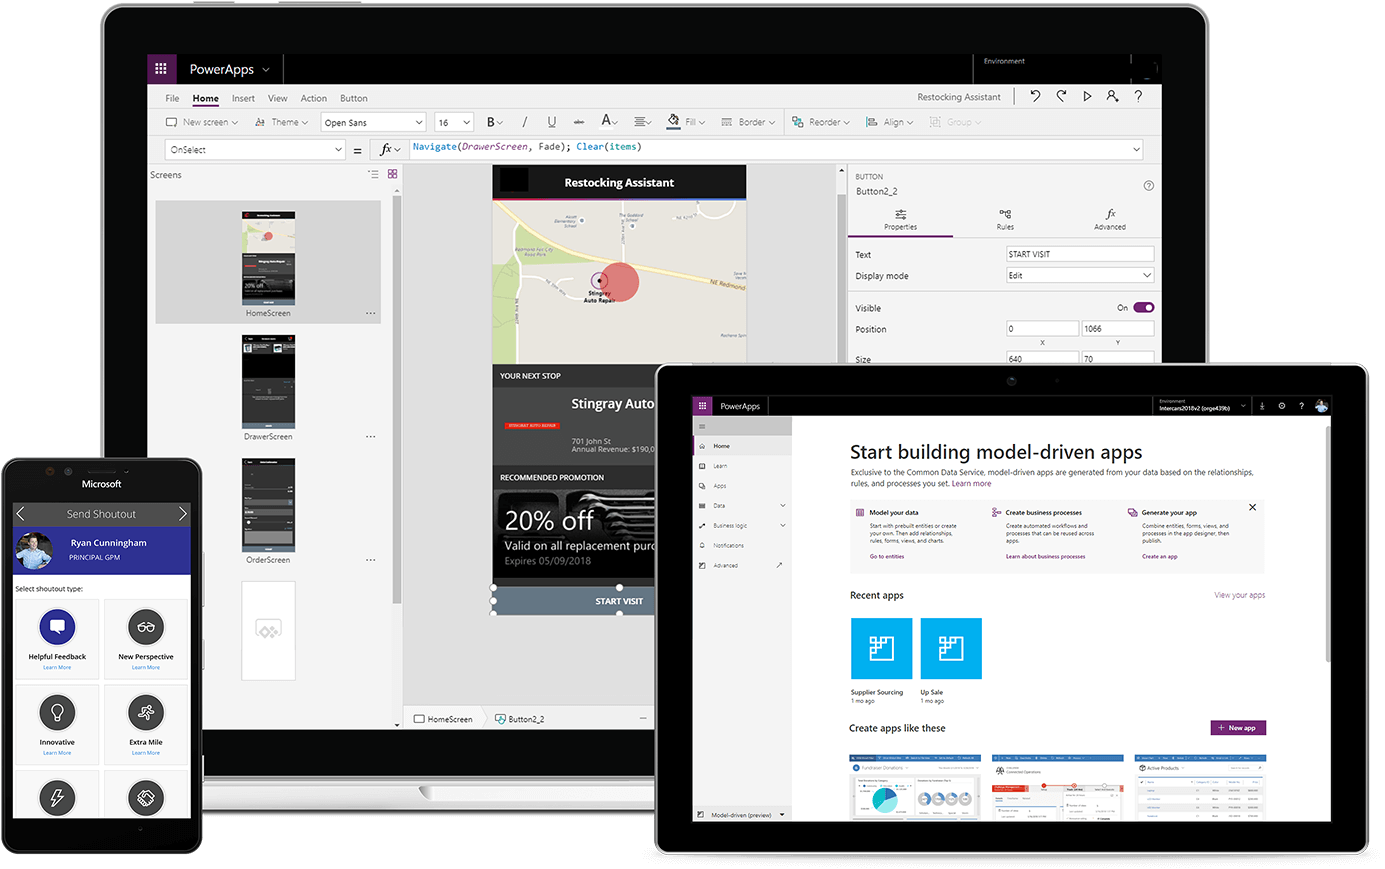
Power Apps and Power Automate (Flow) is a team that increases efficiency and speeds up the work right from the beginning. While end users are working on their Power Apps mobile apps, Power Automate quietly sustains the work flow and verification process in the background.

You can click here for the articles about Power Automate.

Can I use Power Platform for free?

If you have any type of Office365 license, yes!

If you have one of the Office365 licenses below, you can use the Power Platform products for free.
2020 Licensing Updates for Power Apps and Power Automate

The increase of Premium connectors and features was foreshadowing the licensing changes that would happen in Flow.

With the Flow joining the Power family, Power Apps & Power Automate came to the top of the agenda.

If you don’t have Office 365

With the licensing method based on layered quote becoming definite, the prices are still valid since December 1, 2019.

You can use Power Apps and Power Automate as Add-on with monthly payment.

Licensing is separated into two ways: based on the number of users or based on the number of applications you will use.

1st Payment Model

To use 2 mobile apps as Company/Person

It is priced as 56 TLs (in Turkey) per user and the costs increase as the application number increases.


2nd Payment Model

To use limitless number of mobile apps as Company/Person

It is priced as 224,20 TLs (in Turkey) per user and there are no extra costs.

Take a look at here for details.
 

Take a look at here for the document about licensing.

Manage Items Centrally by Using Components

You might feel the need to manage the items on the screen from a center while developing a Power Apps application. When the properties of a certain item change, the features like the color, size, place can be managed for the related items on all screens.

There are two existing methods for central management.

  1. Method 1: Managing by using the item properties on the formula bar.
    Since the actions are executed through formulas, it is the most stable method.
  2. Method 2: Components (Experimental)
    Since this method is experimental, it doesn’t work in a stable way. Compared to the formula method, it is way easier to use.
    The items on the screen can be standardized with components. 
    In this article, we will be analyzing how to manage items centrally with Components.

Using Components

To use the component feature: go File–> Settings –> Advanced Settings–> Write Components into the search bar on right to find the feature and then activate it.

Managing Items Centrally with Components

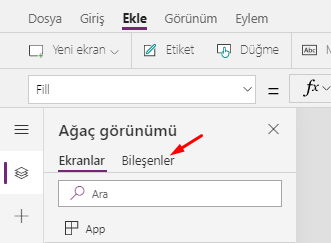
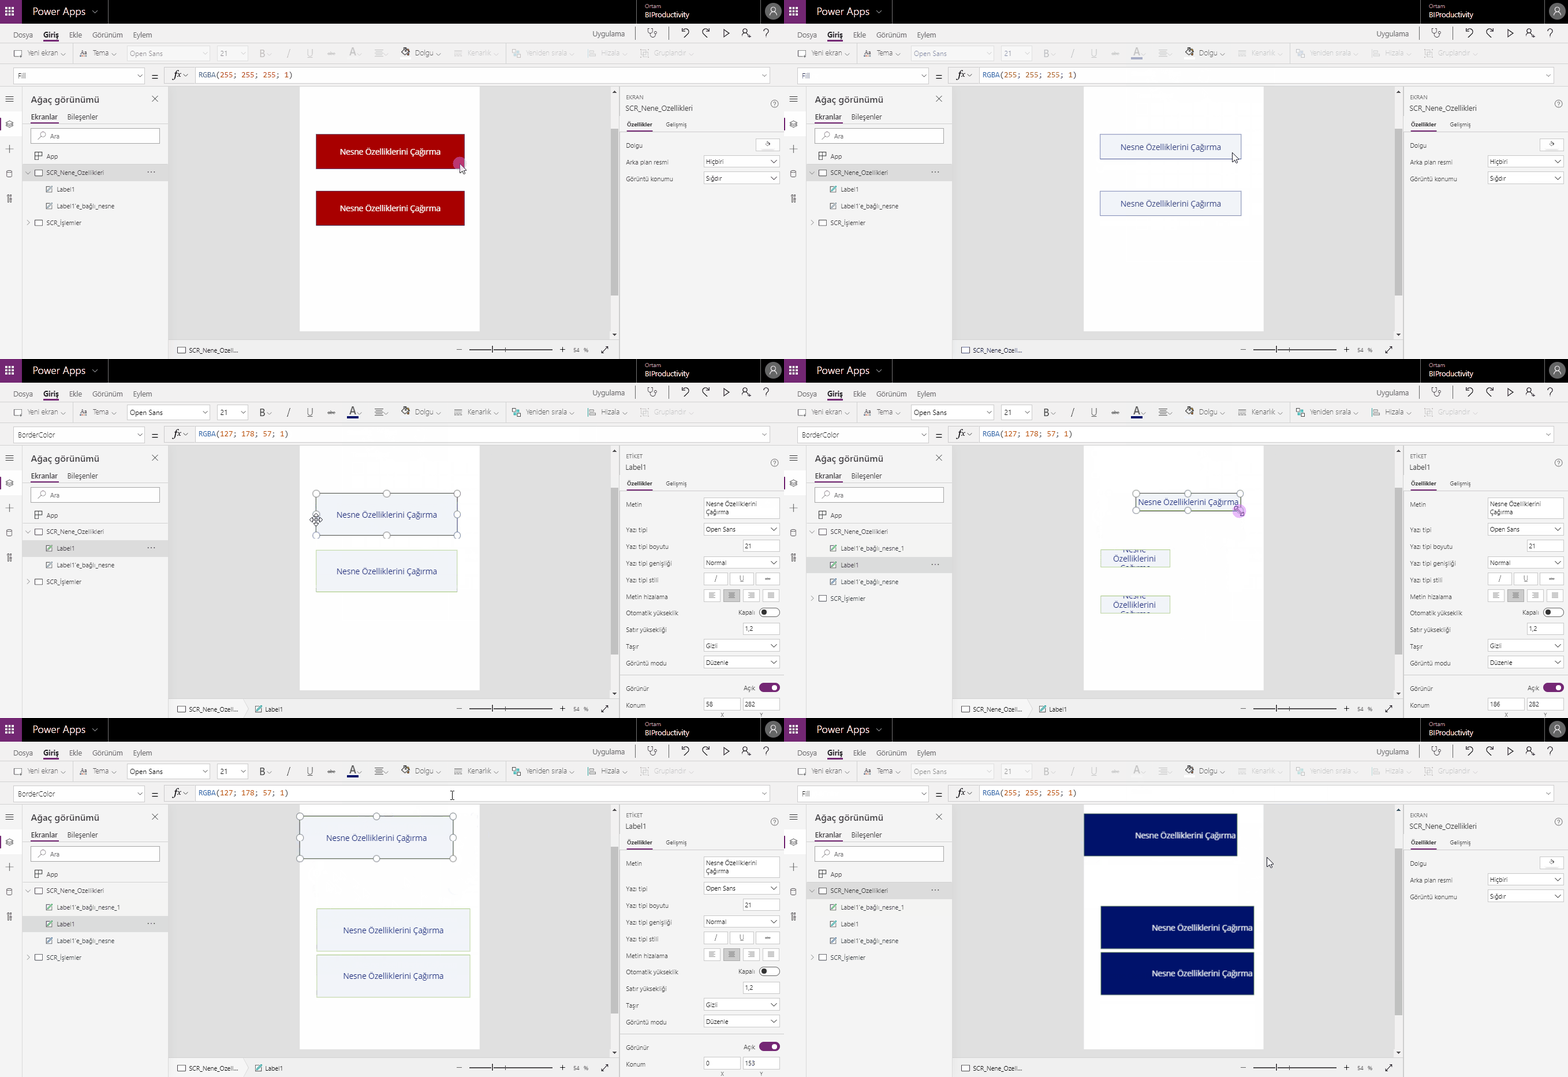
Once the components are activated, go back to the application screen. Two menus as Screens/Components are displayed.

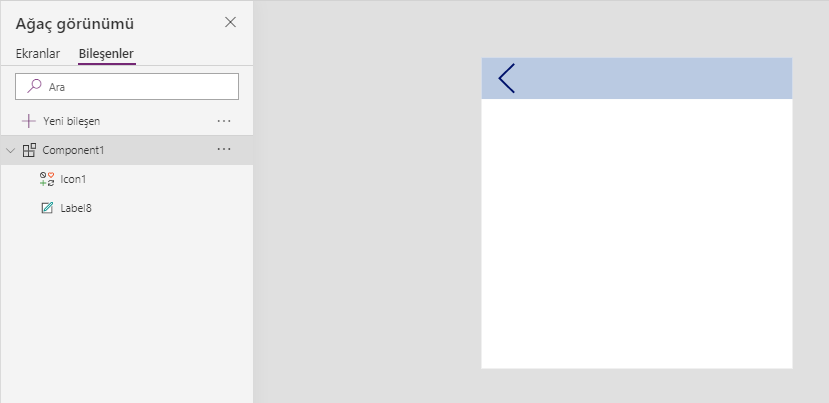
We go to the components screen to design the template we want to use. The components are designed as a normal screen. When you use multiple components, naming the components will be important.

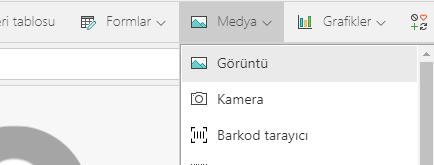
After the component is complete go to Screens and when you are in the page where the component will be added; locate the page by choosing Insert–>Custom–>Component1.


The component that has been created is added to the screen as one single item. For this reason, a component can be thought as a background image.
In this sense, while designing the symbol or items a component contains or after it is added to the screen, it doesn’t accept general formulas (like the functions of main page, next, save buttons).

Using Formulas in Components

We need to execute an extra action to give commands to the items on a component. For example, when we want to write the Navigate function into the Previous button on the image; we have to add a Label to the screen. You can complete process by writing the Navigate function into the OnSelect property of this Label.

Manage Items Centrally by Using Properties

You might feel the need to manage the items on the screen from a center while developing a Power Apps application. When the properties of a certain item change, the features like the color, size, place can be managed for the related items on all screens.

There are two existing methods for central management.

  1. Method 1: Managing by using the item properties on the formula bar.
    Since the actions are executed through formulas, it is the most stable method. You can use all the features in the Properties window like color, position and size. This method is one of the first actions you need to execute while you’re developing an app. It can be hard to execute this action on an existing app, but it will help to do it.
  2. Method 2: Components (Experimental)
    Since this method is experimental, it doesn’t work in a stable way. Compared to the formula method, it is way easier to use.

Manage Items Centrally with Formulas

You might have heard in a lot of places that Power Apps works with the Excel logic and the formula structure is similar.

We write =A1+A2  into the formula bar in Excel to sum up two cells. In this action, we use the cell names directly in the formula and thus call and sum up the value in the cell directly. This way, whenever the value in the cell changes; the sum value gets recalculated.

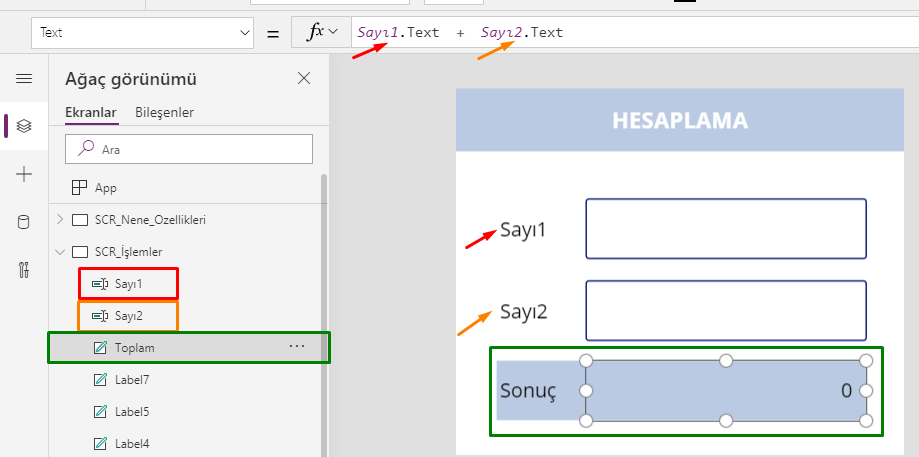
When we want to execute the same action on Power Apps, we can use items like Text Box and Label. For example, we can calculate and display the sum of values entered in 2 Textboxes in a Label.

The Label item on the screen is named as Toplam (Sum), and the TextBoxes are named as Sayı1 (Number1) and Sayı2 (Number2).
We can display the sum value by writing the =number1. Text + Number2.Text into the Text property of Sum.

It means: Get the Text data of the Number1 item   +   Get the Text data of the Number2 item.

Right with the same logic of this examples, the item properties can be used in order for the items to imitate each other.
Actually, we are going to execute the action by assigning the properties of an item to another item.

Action Steps

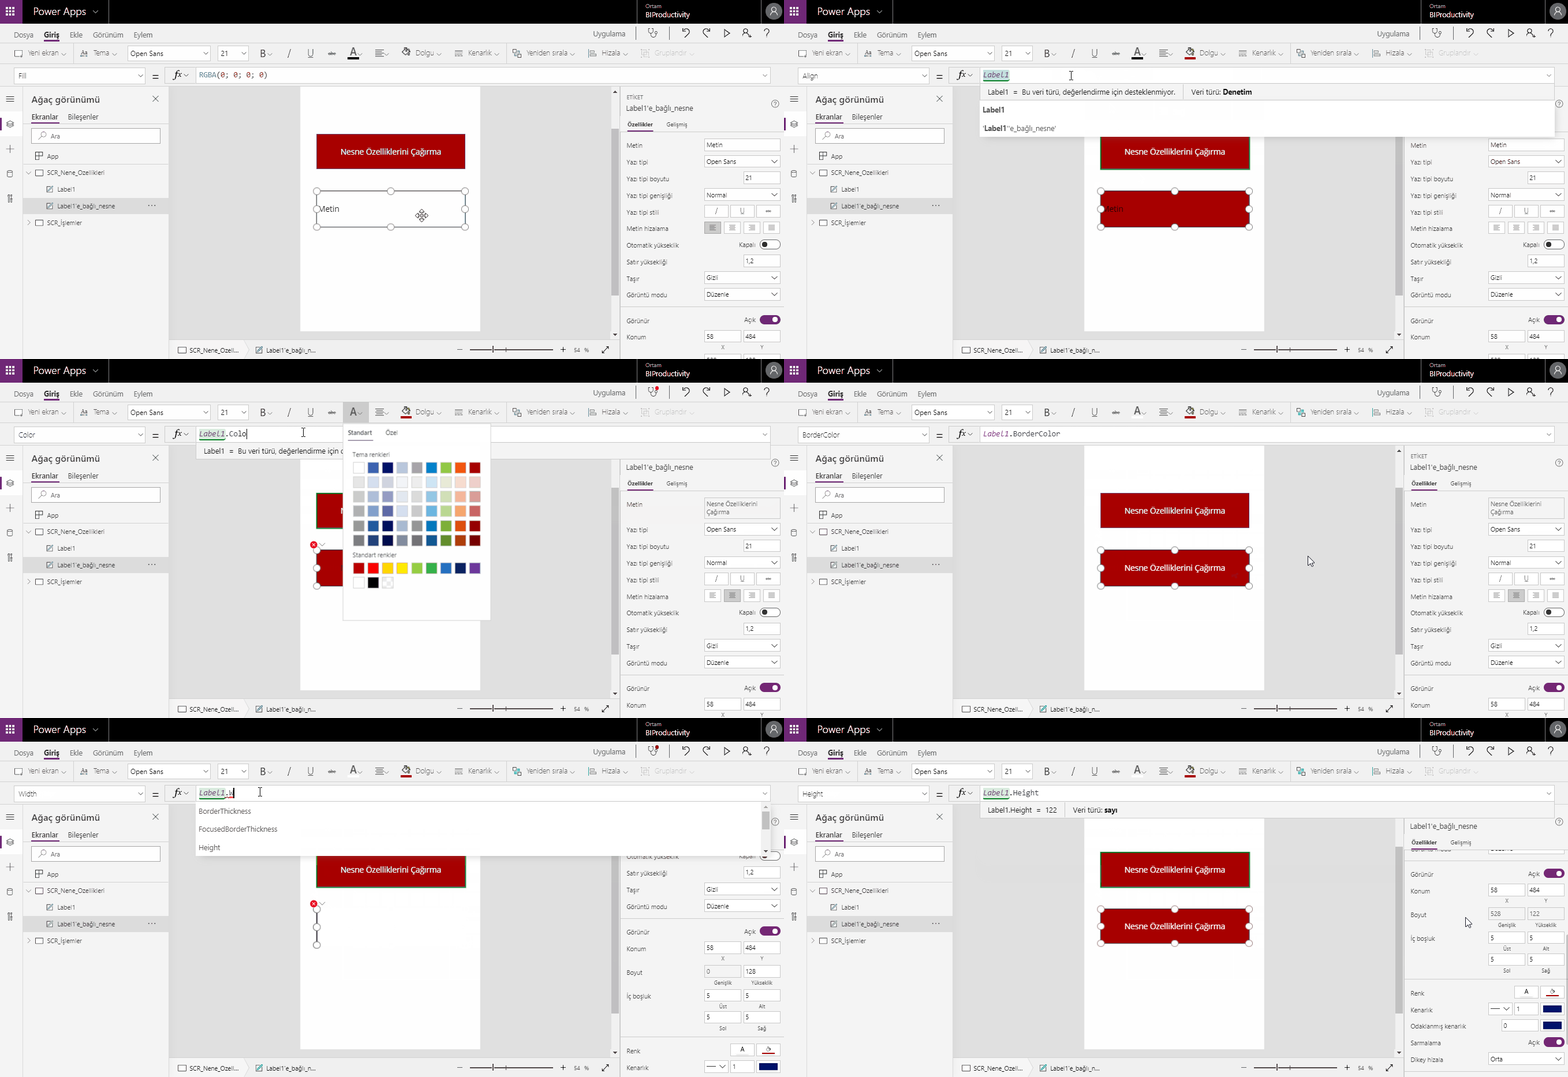
Add two Label items to the screen.

Label1–> will stay as Label1
Label1–> will be renamed as Item_dependentto_Label1

Label1
Its features like fill color, text and border color are changed and thus, it is customized.

Item_dependentto_Label1

The properties are changed with the formulas below for this Label.

Fill –>  Label1.Fill  (Gets the fill color of Label1)
BorderColor–>  Label1.BorderColor  (Gets the border color of Label1)
Text–>  Label1.Text  (Gets the text of Label1)
Width–>  Label1.Width  (Gets the width of Label1)
Height–>  Label1.Height  (Gets the height of Label1)

Like it was written in the formula, this item is now dependent to Label 1. When the features of Label1 change, the dependent item will change.
You can distribute the dependent item to screens with copy-paste.

Create Dependent Dropdown Lists

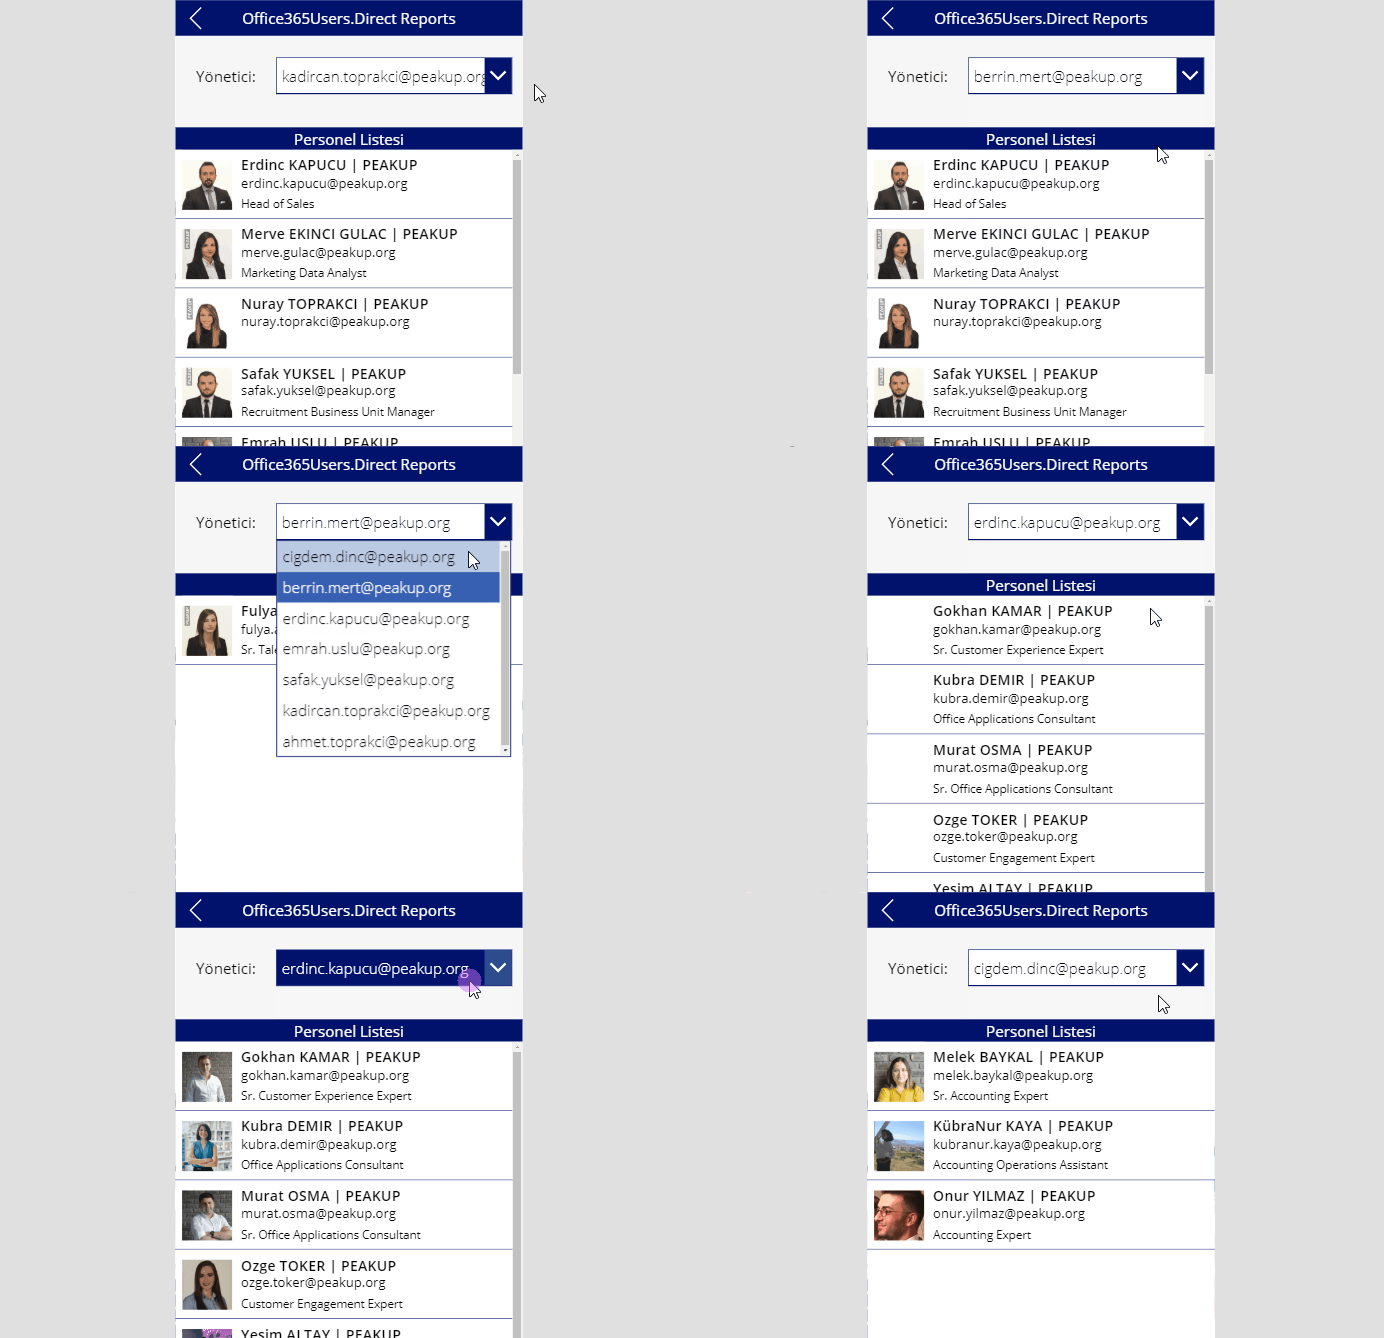
You can create dependent dropdown lists on your mobile apps. For example, Countries can be displayed when Continent is selected, regions when Country is selected and cities when regions are selected.

You can create a manual list or get one from a database while creating a Dropdown List.

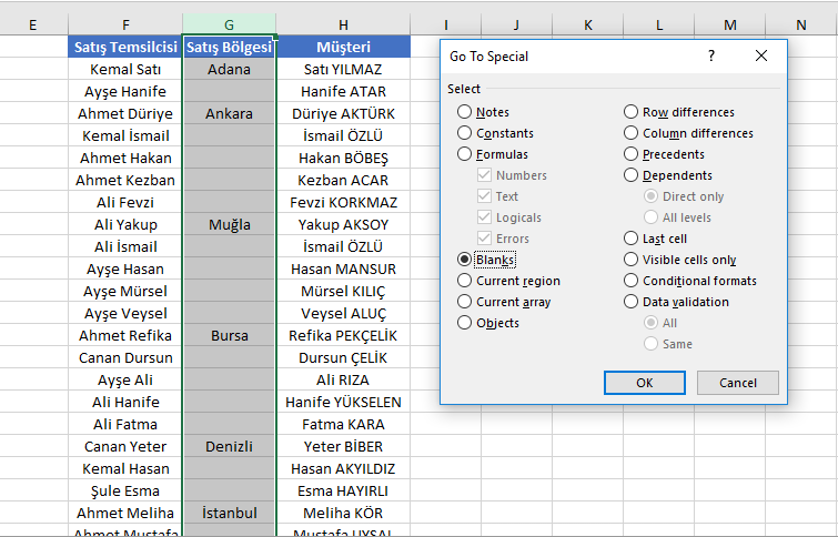
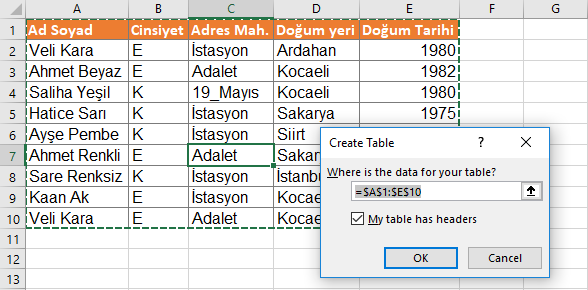
It is necessary to enter data as [“text1” ; “text2” ; “text3” ] within brackets in order to add data manually to the dropdown lists. For example, If the data is on an Excel in OneDrive, the data field should be formatted as Table. The shortcut to create a table in Excel is CTRL+SHIFT+L.

When you turn your data into a table, it is named as Table1. And the data is used with this table name in Power Apps. When there are multiple tables, it is important to name the Excel Table before going into Power Apps to prevent name confusion like Table1, Table5, Table3.

Dropdown Lists

We will execute the action with two dropdown lists.

Dropdown1 named as–> dd_region.
Dropdown2 named as–> dd_city.

The cities in dd_city will change depending on the selected region on dd_region.

Get Data from the Table

Cities are written cross the region names. Since there are multiple cities in a region, the regions are repeated. You need to use the Distinct formula for the region names to be displayed singularly.

You can write Distinct(RegionTable;Region) into the items property of dd_region.

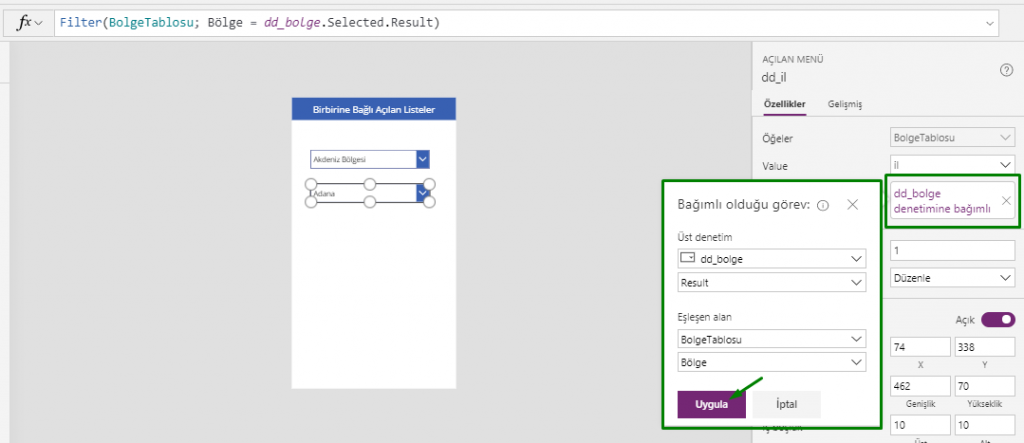
You can use the menu on the right directly for the dd_city item.

The name of the Items table is selected as RegionTable.
The Value column’s name is selected as the city column.

The upper control ins chosen as dd_region, the matched field as RegionTable, Region Column for the dependent control.
This way, the formula below is automatically written.
Filter(RegionTable; Region= dd_region.Selected.Result) to the items property of dd_il

Distinct is not necessary in cases of the region names are not repeated and the formula should be revised in this context.
Filter(RegionTable;dd_region.Selected.Region=Region)

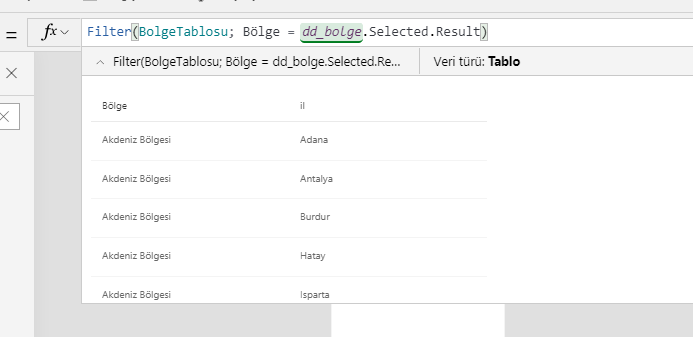
The value that formula returns will be displayed on the formula bar.


Using Manual Lists

Since it will be hard to type long data on by one and the formula get longer, it makes sense to use the manual lists for short data.

You can write [“Marmara Region”; “Ege Region”;”Karadeniz Region”] into the items property of dd_region.

You can write:
If(
dd_region.Selected.Value=”Marmara Region”; [ “İstanbul”;”Kocaeli”];
dd_region.Selected.Value=”Ege Region”; [“İzmir”;”Çanakkale”];
dd_region.Selected.Value=”Karadeniz Region”;[“Zonguldak”;”Sinop”;”Trabzon”]
)

to the items property of dd_il. You can use different methods fore dropdown lists just like for other actions. For example, you can prefer to write Switch() instead of IF ().

You can take a look at this link for the details about Dropdown Lists.