WHAT IS POWERAPPS?

WHAT IS POWERAPPS?
.

As each day goes by, new programs keep getting introduced for applications that will make our lives easier.

And one of those very programs is PowerApps itself, but what exactly is PowerApss?

 Let’s talk about what it is not first. I can say that you do not get to develop applications without any code at all -unlike how many people think. So it is not as easy as people make it to be.😊

At the end of the day, we are trying to learn something that has already been invented, not trying to invent something new, right?

So, like I said, it doesn’t go without writing any code. But what kind of code are we talking about here? As Microsoft suggests, we are talking about the possibility to develop applications with the low-code technology. 

I pay my respects to this definition and would like to explain it a little more.

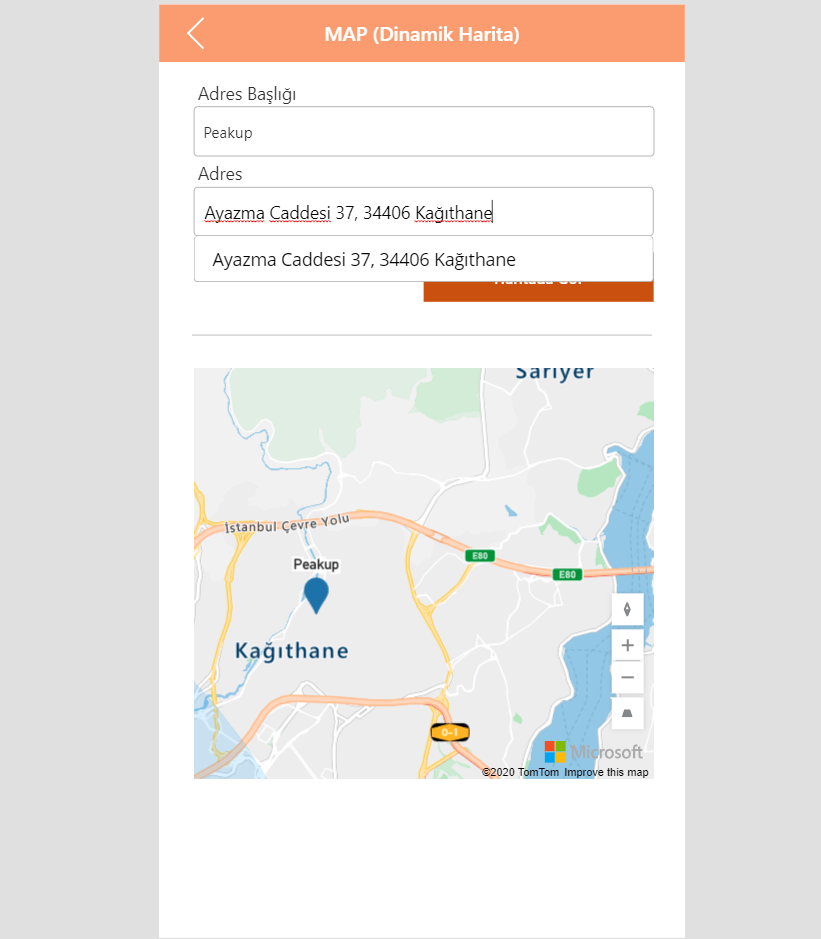
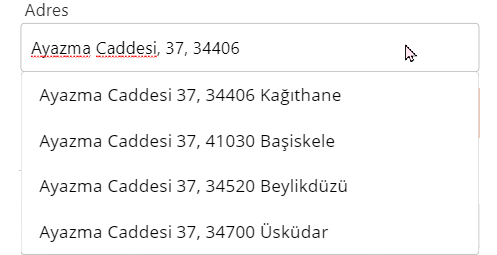
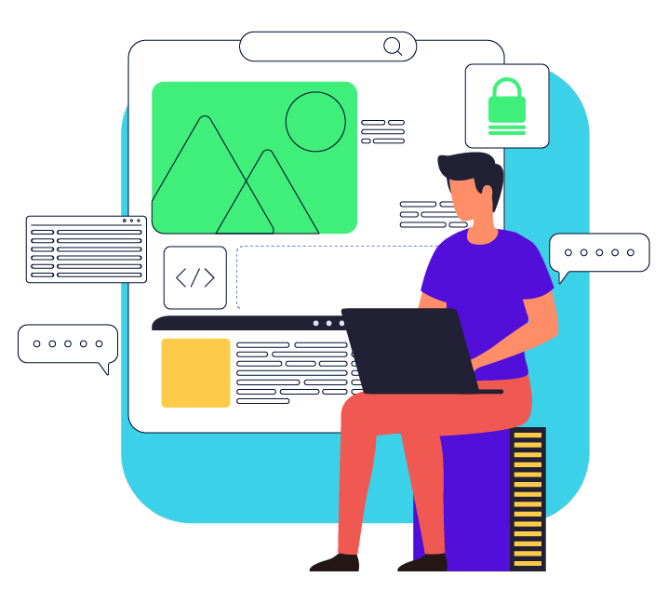
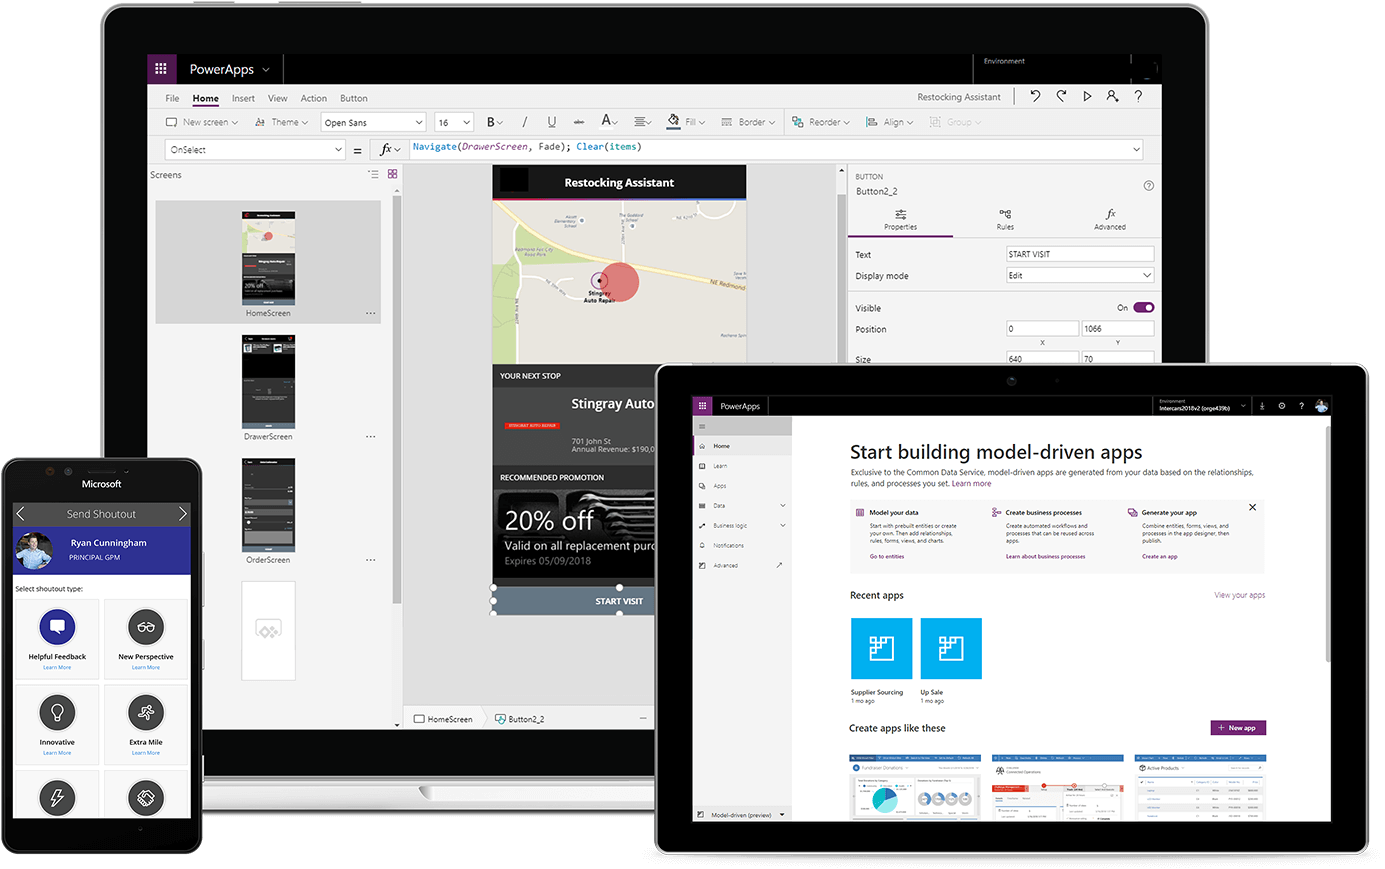
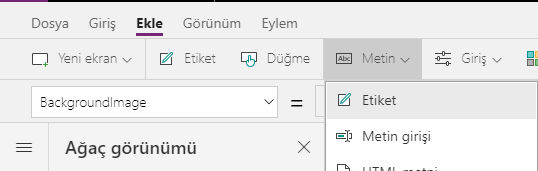
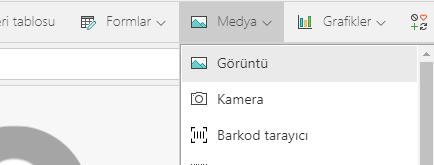
With PowerApps, you can design mobile applications that meet your needs or those of your company. PowerApps runs in the Cloud, so you don’t need to install an app on your computer.

I hear you ask so what do you mean, I can run it anywhere and anytime?😊

The answer is yes, but you do need to have an Office365 account.

You don’t need to be a software developer to build applications in PowerApps, but of course it will be way easier if you already have some software knowledge.

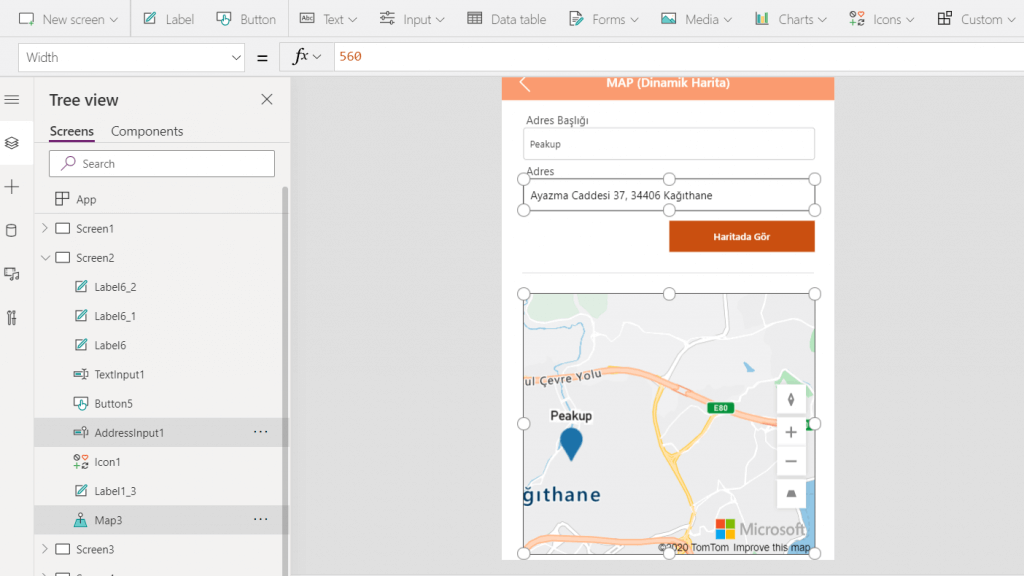
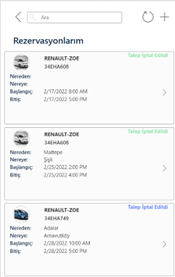
With PowerApps, you can develop applications that can follow many of your needs such as Vehicle tracking application, Leave request, and Inventory Management.

You can customize these applications to run on Mobile devices or Tablets.

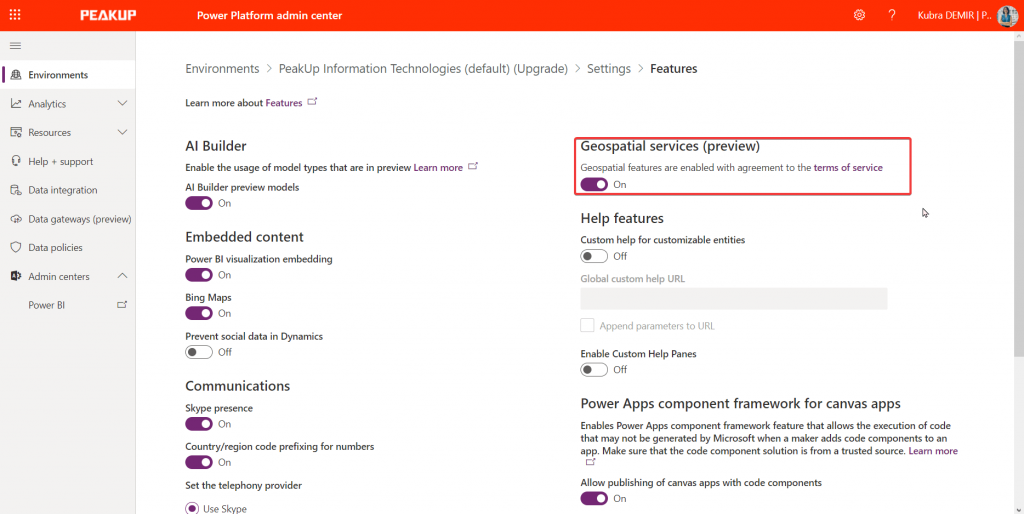
Whatever you do, try to keep what you plan to do in PowerApps simple, that is, the less screen design you prepare your programs with, the better. Power Apps can connect with other data sources, especially those that work on the Cloud, for example, we can say that SharePoint is the best friend of PowerApps because SharePoint also roams on the cloud like PowerApps… since both programs have no feet on the ground, they are very well connected 😊

Office365 continues to evolve rapidly, PowerApps too, of course.

Me? For those who think that I can’t do it, I’ve never made an application before, I don’t know anything about writing code, let’s end our article with Nelson Mandela’s beautiful words.

.

It always seems impossible until it’s done._ N.Mandela

View a Dynamic Address on a Map- Map Component

Here is Power Apps with this features again! Now it is possible to view a dynamic address on a map with the Map Component.

Address Input

The Address Input item converts information we write in it like street, district, door no, latitude, and longitude into an address row.

An item makes an address easier to write or find on the map correctly.

To use Address input, go to the Insert tab, click Input and choose Address input from the list that opens up.

Old* Map Creating Methods

In the recent years, the Image item was used to watch an address on the map.

We used to write formulas in the Image item and created artificial maps. This formula has parameters like longitude and latitude, and name of the point, the color of the point indicator, and map zoom. And sometime it didn’t give stable results.

You can add api connections from maps like Google maps/Bing maps to the applications depending on your needs.

New* Map Component

Map component was one of the awaited features in the Power Apps updates.

Now a real map experience will be lived with the Map item. The features windows on the left can be used for features like longitude and latitude, and name of the point, the color of the point indicator, and map zoom.

You can click Media in the Insert tab and add the Map item from the list in order to use it.

Note:

In order to use the Map item, you need to activate Geospatial services (preview) through Admin Center–>Settings–>Product–>Features.

You can click here for the other blog posts about Power Apps

Power Apps and Power Automate 2020 License Updates

Power Platform

We have been waiting for the work flow product we knew as Ms Flow to get the Power title like Power BI and Power Apps for a long time. It recently joined the Power Platform family with the name of Power Automate (Flow) as expected.

Power Apps and Power Automate (Flow) is a team that increases efficiency and speeds up the work right from the beginning. While end users are working on their Power Apps mobile apps, Power Automate quietly sustains the work flow and verification process in the background.

You can click here for the articles about Power Automate.

Can I use Power Platform for free?

If you have any type of Office365 license, yes!

If you have one of the Office365 licenses below, you can use the Power Platform products for free.

2020 Licensing Updates for Power Apps and Power Automate

The increase of Premium connectors and features was foreshadowing the licensing changes that would happen in Flow.

With the Flow joining the Power family, Power Apps & Power Automate came to the top of the agenda.

If you don’t have Office 365

With the licensing method based on layered quote becoming definite, the prices are still valid since December 1, 2019.

You can use Power Apps and Power Automate as Add-on with monthly payment.

Licensing is separated into two ways: based on the number of users or based on the number of applications you will use.

1st Payment Model

To use 2 mobile apps as Company/Person

It is priced as 56 TLs (in Turkey) per user and the costs increase as the application number increases.


2nd Payment Model

To use limitless number of mobile apps as Company/Person

It is priced as 224,20 TLs (in Turkey) per user and there are no extra costs.

Take a look at here for details.


Take a look at here for the document about licensing.

Page Redirect Actions

The Navigate function is used to switch between screens in PowerApps mobile applications.

How do you switch between pages?

By touching/clicking the items on the screen (with the user trigger)
Or automatically after a certain period of time (with a timer).

Usually the OnSelect property is used for all the actions that wanted to be executed the moment we “click”.

As an example, let’s take a look at how we switch to the next page when we click the next button on the page.

The page redirection action for the next button:

Navigate (target page, transition effect) will be written into the OnSelect property of this item.

You of course don’t have to write the Navigate formula to OnSelect all the time. We mentioned that different items have different properties. In this sense, properties like OnCheck, OnVisible, OnChange are used when necessary as well.

The OnCheck property can be used for a check box if you want it to work “the moment it is marked”.

Shape Power Automate Flows Based On Forms Responses

We mentioned that it is possible to securely collect data in electronic environment with MS Forms. The automatic workflows are done with Power Automate flows.

In this article, we will create a flow that will be shaped based on the choices of the user by adding the Choose Action question.

If the user chooses Send Form to Approval, the Approval process is going to start. In the other case, only an info e-mail will be send.

After you add the Choose Action question to the Form, you can start the actions with a blank flow by switching to Power Automate.

Power Automate

While creating all flows, a trigger is created in the first step. Trigger is a required step for the flow to start working and it is important to specify it correctly. The flow we will create in this article will work when the Form is responded. So, the flow will be triggered every time the form is responded and will start to work. Add the When a new response is submitted trigger.  It is specified from the list of which poll is going to cause the flow to start when responded.

In the next step, we will look at the responses of the poll. Add the Get Response Details step to access the responses.

Choose the name of the poll in the Form Identity field. Choose Response Notifications List Response Identity for the Response Identity.

This step enabled us to access all question fields. This way, we can get the response of the Choose Action question.

In the new step, add Condition to test the response. Add the Choose Action question to the left with dynamic content.

And on the right, one of the responses will be written. Since we will be controlling a String, we will be using the String function.

It will be checked if the response given with the String(‘Send Form to Approval’) expression is equal to this value.

Add Approval to the Yes field of the Condition and Send an E-mail to the No field, and complete the process.

The approval mails can be sent to the person who has created the request (to the person who sent the form to approval) based on Approved/Denied condition.

Click here to read the other Power Automate articles.

New Products on Power Platform

Power Virtual Agents

Power Virtual Agents, the system where you can create your own ChatBot!

With Power Virtual Agents, you can create a learning chatbot structure.

A system where you decide the questions and answers. The way it works lets you start the flow with Power Automate and is very prone to be developed.


You can create custom workflows with Power Automate within the Power Virtual Agent, or work in an integrated manner with the products and services with the help of hundreds of conductors by creating complex scenarios with Microsoft Bot Framework.

Evaluate Performance
You can track the bot’s performance and always make improvements by using the AI and data-based analysis on the dashboard.

Click here for detailed information.

Manage Items Centrally by Using Properties

You might feel the need to manage the items on the screen from a center while developing a Power Apps application. When the properties of a certain item change, the features like the color, size, place can be managed for the related items on all screens.

There are two existing methods for central management.

  1. Method 1: Managing by using the item properties on the formula bar.
    Since the actions are executed through formulas, it is the most stable method. You can use all the features in the Properties window like color, position and size. This method is one of the first actions you need to execute while you’re developing an app. It can be hard to execute this action on an existing app, but it will help to do it.
  2. Method 2: Components (Experimental)
    Since this method is experimental, it doesn’t work in a stable way. Compared to the formula method, it is way easier to use.

Manage Items Centrally with Formulas

You might have heard in a lot of places that Power Apps works with the Excel logic and the formula structure is similar.

We write =A1+A2  into the formula bar in Excel to sum up two cells. In this action, we use the cell names directly in the formula and thus call and sum up the value in the cell directly. This way, whenever the value in the cell changes; the sum value gets recalculated.

When we want to execute the same action on Power Apps, we can use items like Text Box and Label. For example, we can calculate and display the sum of values entered in 2 Textboxes in a Label.

The Label item on the screen is named as Toplam (Sum), and the TextBoxes are named as Sayı1 (Number1) and Sayı2 (Number2).
We can display the sum value by writing the =number1. Text + Number2.Text into the Text property of Sum.

It means: Get the Text data of the Number1 item   +   Get the Text data of the Number2 item.

Right with the same logic of this examples, the item properties can be used in order for the items to imitate each other.
Actually, we are going to execute the action by assigning the properties of an item to another item.

Action Steps

Add two Label items to the screen.

Label1–> will stay as Label1
Label1–> will be renamed as Item_dependentto_Label1

Label1
Its features like fill color, text and border color are changed and thus, it is customized.

Item_dependentto_Label1

The properties are changed with the formulas below for this Label.

Fill –>  Label1.Fill  (Gets the fill color of Label1)
BorderColor–>  Label1.BorderColor  (Gets the border color of Label1)
Text–>  Label1.Text  (Gets the text of Label1)
Width–>  Label1.Width  (Gets the width of Label1)
Height–>  Label1.Height  (Gets the height of Label1)

Like it was written in the formula, this item is now dependent to Label 1. When the features of Label1 change, the dependent item will change.
You can distribute the dependent item to screens with copy-paste.