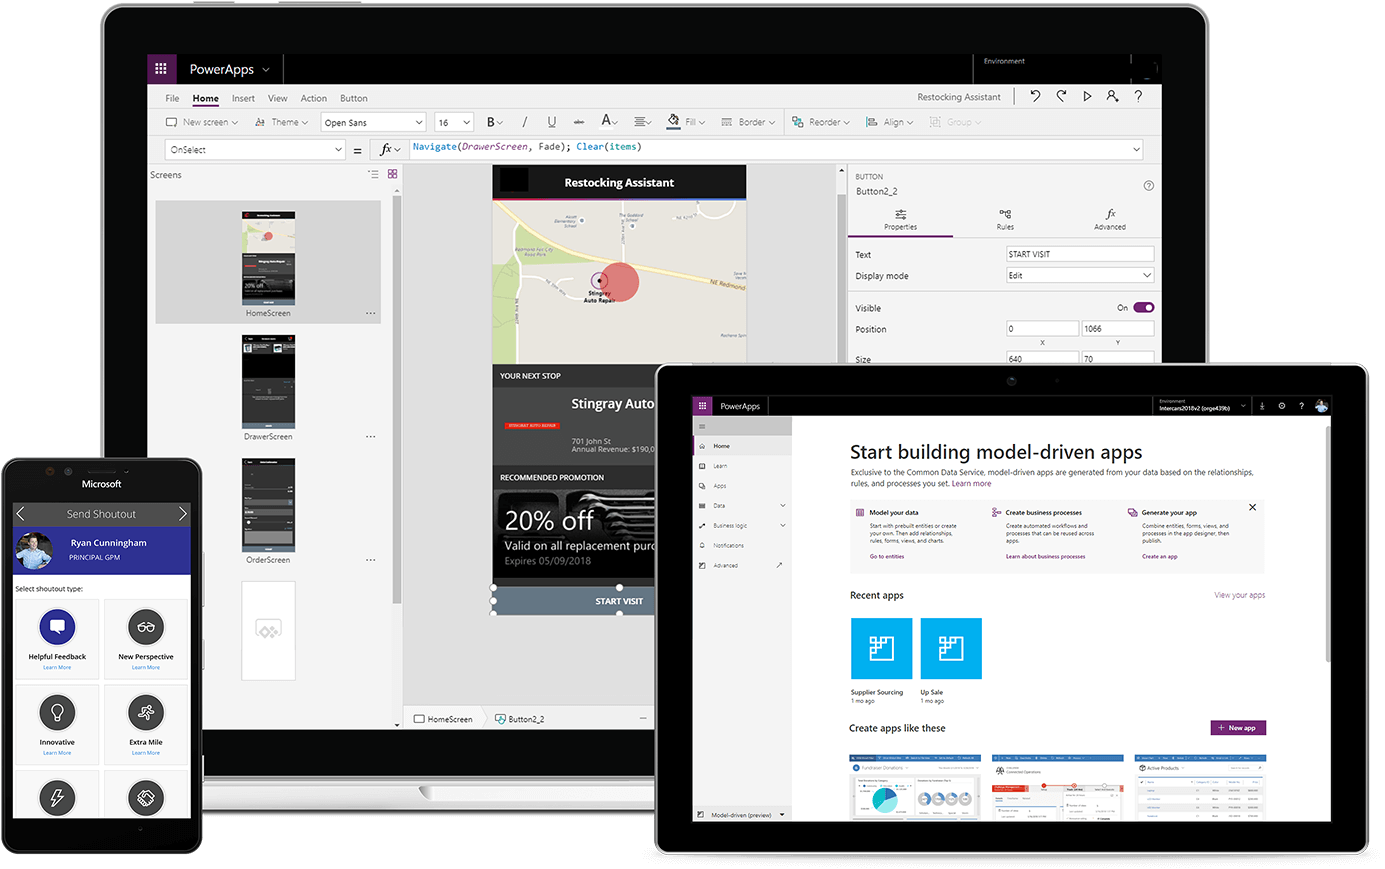
Power Apps is a product that allows you to develop mobile apps based on your company’s needs.
While developing your mobile app, you add and manage each one of the items on your screen one by one. It is possible to direct and manage these items from the very basic levels to the advanced levels. In this article, we will be using the DateAdd formula with a few different methods.
Writing Formulas in Power Apps
Power Apps has its own software language and its own functions. Alongside these functions, it also has a lot of functions (date, text, statistics etc.) that are available in Excel. Functions are in use in a general frame without being categorized.
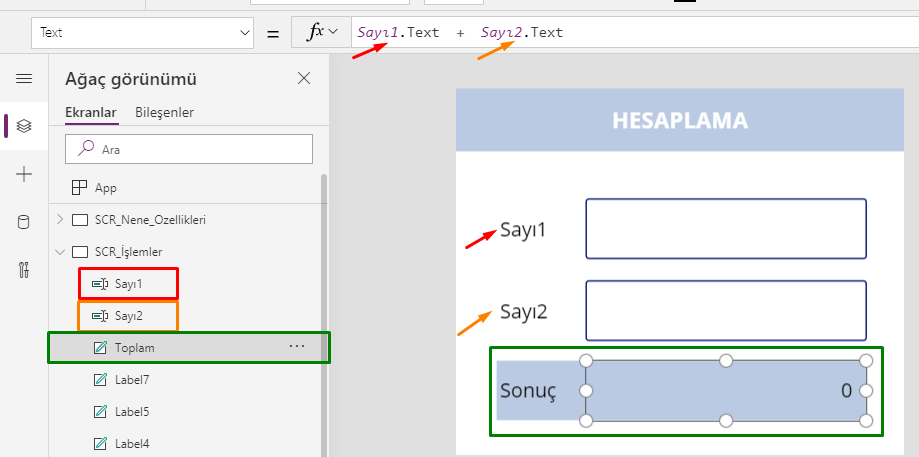
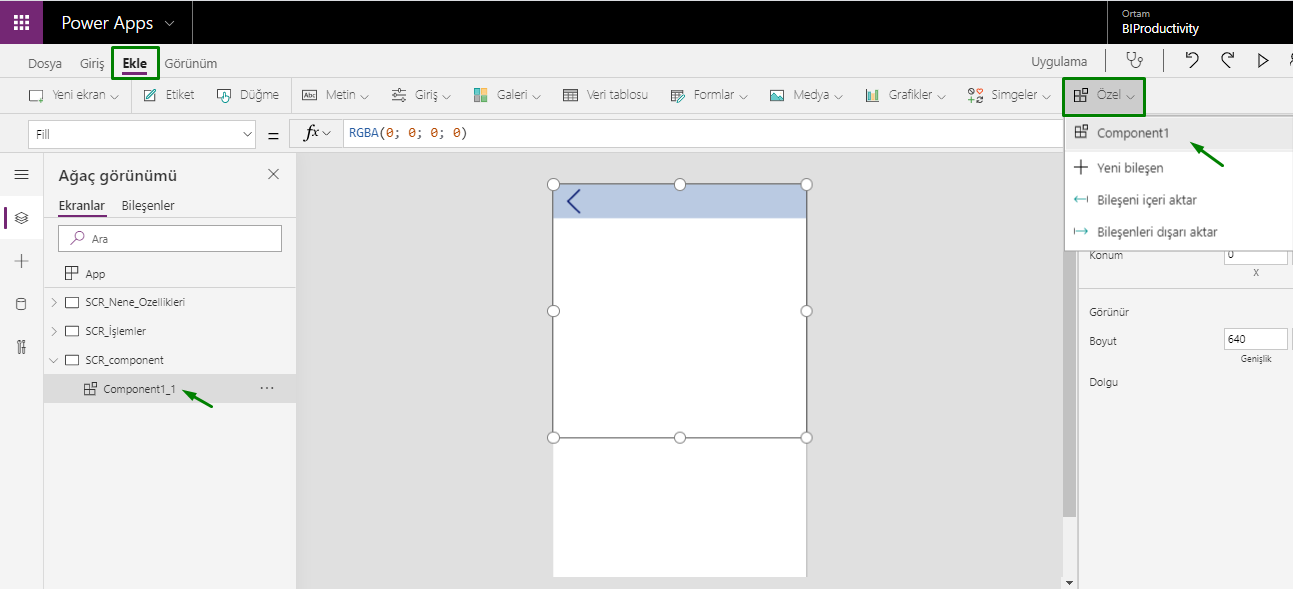
You can manage an item on the screen of your mobile app easily by coding on the formula bar.
With the formula language you are familiar from Excel, it is very easy to code on Power Apps.
You can write all the formulas on items. After choosing the related item, you can write it on the Formula Bar.
The formulas can be written with a comma (,) or a semi-colon (;) , you don’t have to use the equal sign.
The DateAdd Function
You can add a day, month, year, quarter, second etc. to a certain date with the DateAdd Function.
The syntax of DateAdd is:
DateAdd( DateTime, Addition [, Units ] )
- To add 10 days to 13.02.2020,
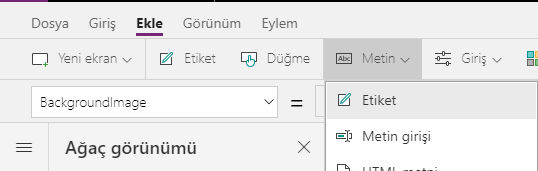
Add a label and write the formula below into the Default property of the label:
DateAdd(DateValue(“13.01.2020”) ; 10 ; Days )
We have stated that we can enter date data with the DateValue function.

—
- When we need to add 10 days to today’s date,
Add a new label to the screen and write the formula below into the Default property of the Label:
DateAdd( Today() ; 10 ; Days )
We have automatically detected today’s date based on the local date with the Today function.

We got partly static and partly dynamic results with functions above by writing the parameters one by one.
We can utilize different items to make the formulas more interactive and to be able to write dynamic functions.
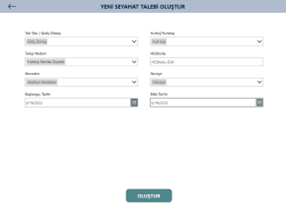
Create Formulas that Depend on User Choices
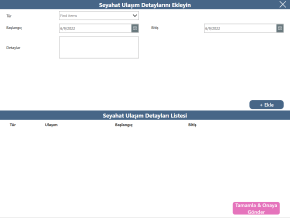
In the example below, all the parameters of he function can be updated with the user’s choices.

Date will be chose,
Day, Month, Year will be chosen,
Add the unit to be added will be specified.

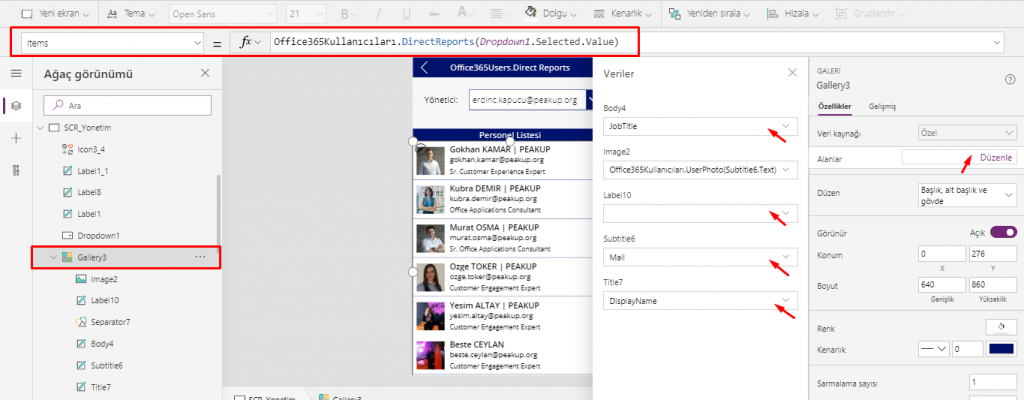
The name of the items we use on the screen:
Name of the date selection box: dd_TarihSec (dd_SelectDate)
Name of the list for unit (day, month, year…) selection: dd_BirimSec (dd_SelectUnit)
Name of the box about the addition: txt_BirimSayisi (txt_Addition)
*Note: Each item has a standard name when added to the screen. It is very important to name the irems based on their function in order not to have any difficulties while writing a formula or calling information from one of these items.
A new Label is added to the screen and the formula below is written into the Default property of this label.
DateAdd(dd_TarihSec.SelectedDate; Value(txt_BirimSayisi.Text); dd_BirimSec.Selected.Value)
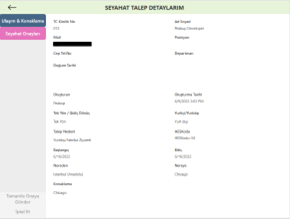
If you want to show a long date format like 23 February 2020 Sunday you can use the Text function (it is used the same way as in Excel).We can get the result by writing the Text function outside function we just wrote with the nested function logic.
Text(DateAdd(dd_TarihSec.SelectedDate;Value(txt_BirimSayisi.Text);dd_BirimSec.Selected.Value);LongDate)

You can access the list of all the other functions here.