You might feel the need to manage the items on the screen from a center while developing a Power Apps application. When the properties of a certain item change, the features like the color, size, place can be managed for the related items on all screens.
There are two existing methods for central management.
- Method 1: Managing by using the item properties on the formula bar.
Since the actions are executed through formulas, it is the most stable method. - Method 2: Components (Experimental)
Since this method is experimental, it doesn’t work in a stable way. Compared to the formula method, it is way easier to use.
The items on the screen can be standardized with components.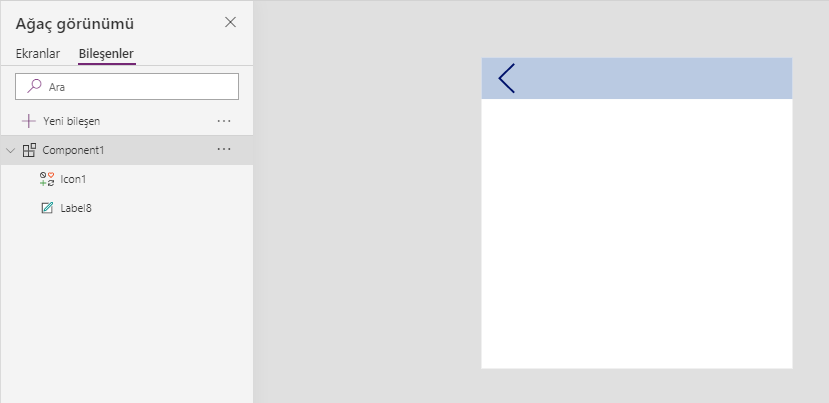
In this article, we will be analyzing how to manage items centrally with Components.
Using Components
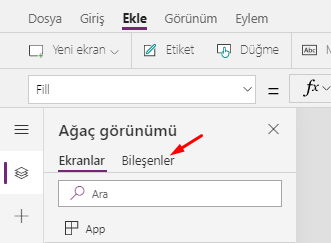
To use the component feature: go File–> Settings –> Advanced Settings–> Write Components into the search bar on right to find the feature and then activate it.

Managing Items Centrally with Components
Once the components are activated, go back to the application screen. Two menus as Screens/Components are displayed.
We go to the components screen to design the template we want to use. The components are designed as a normal screen. When you use multiple components, naming the components will be important.

After the component is complete go to Screens and when you are in the page where the component will be added; locate the page by choosing Insert–>Custom–>Component1.
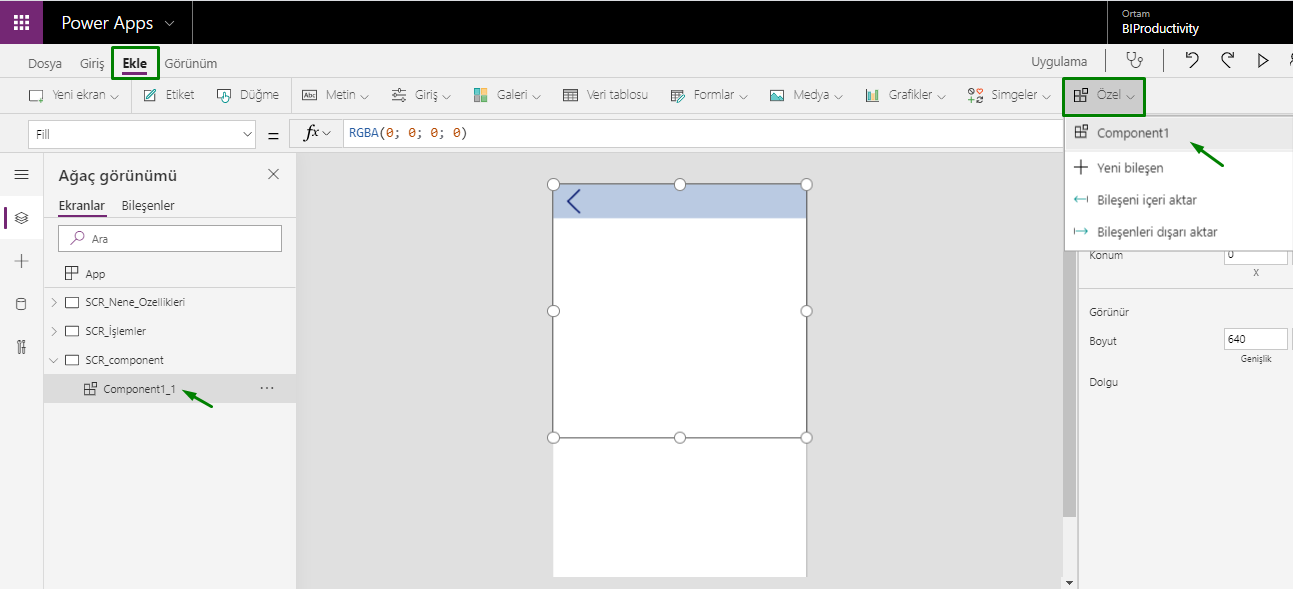
The component that has been created is added to the screen as one single item. For this reason, a component can be thought as a background image.
In this sense, while designing the symbol or items a component contains or after it is added to the screen, it doesn’t accept general formulas (like the functions of main page, next, save buttons).
Using Formulas in Components
We need to execute an extra action to give commands to the items on a component. For example, when we want to write the Navigate function into the Previous button on the image; we have to add a Label to the screen. You can complete process by writing the Navigate function into the OnSelect property of this Label.