That mysterious topic everybody curiously searches in google and gets lost between tabs! We will look at how to automatically share posts with tagging channels and people in Microsoft Teams with Power Automate.
This is how our main question was born:
“HR departments shouldn’t spend half of their work day looking for who’s birthday it is and sending them e-mails, we use Teams as a communication platform within our company. Let’s create a system that can automatically create a birthday post. It can notify everyone and celebrate that person’s birthday.”
Power Automate is the name of Microsoft’s product that was known as Flow before. For this reason, when you are searching “power automate”, you can see the name of “Flow” in most of the websites you visit. Power automate is a workflow product that can work integrated with 200-250 products and you can transfer, write, read and create between these products. You can send your unfinished tasks to yourself every morning at 9 am and create flows integrated with a lot of products like creating tasks depending on the results of the poll you’ve sent.
Now, if we go back to our main problem, here is what we need to do:
- We will create a data source that contains birthdays and e-mail addresses.
- We will check the data to see if the birthday is today or not.
- For those who have their birthdays today, we will choose a channel on Microsoft Teams, mention the person and channel; and thus, notify everyone.
- We need the system to repeat this everyday.
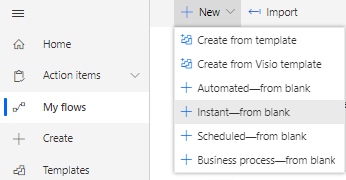
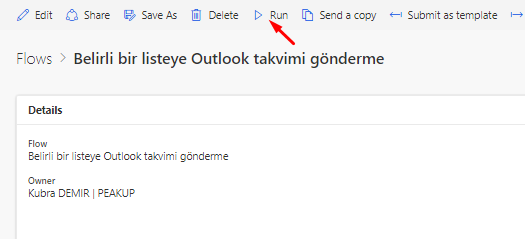
Let’s move step by step. First, go to Power Automate’s website and create a new flow.
1-CHOOSING THE TRIGGER
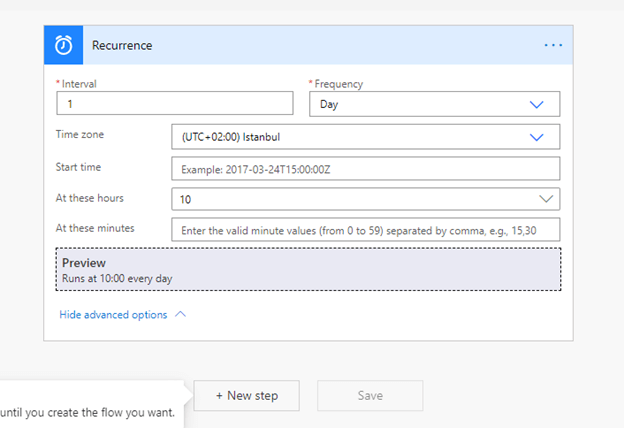
A trigger is what you need the most to start a flow. The question should be: “When do I want this flow to start running?” We will use “Recurrence” in this flow. After we choose the trigger, we enter information concerning when it will start running. We chose 10 am every morning for this flow.
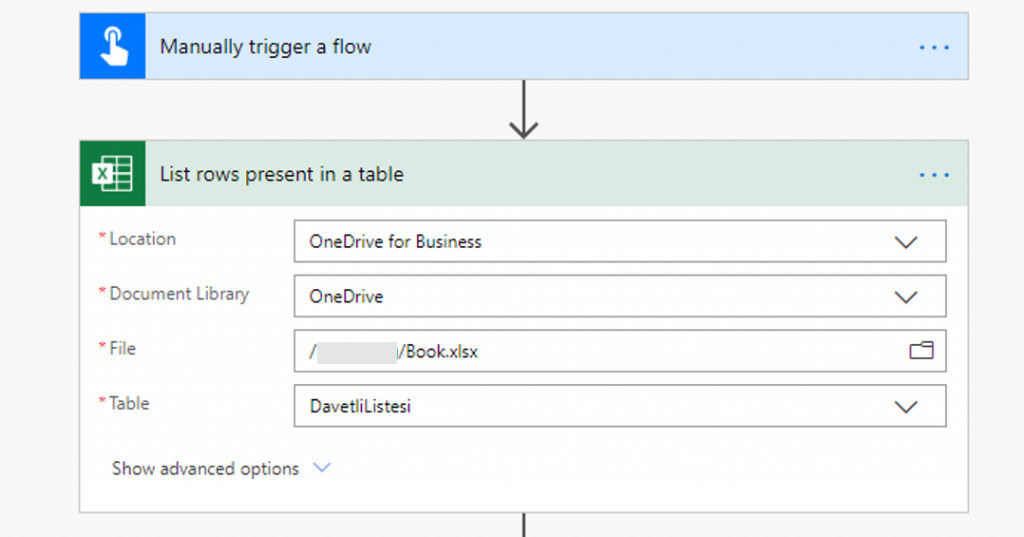
2- Connection to the data source that contains birthdays and personal information
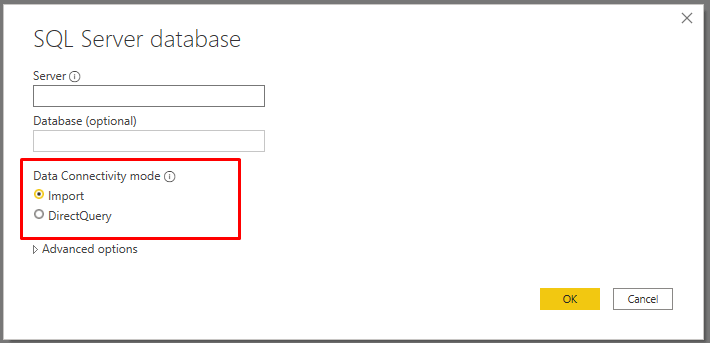
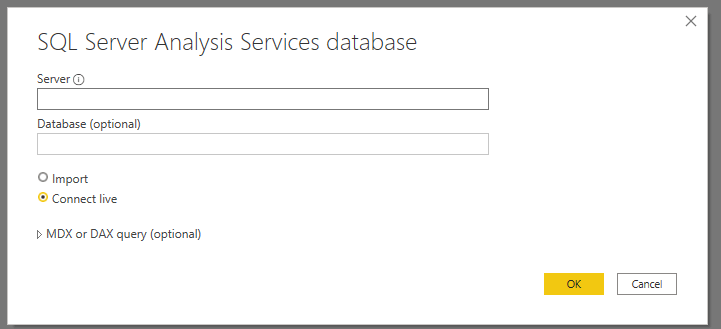
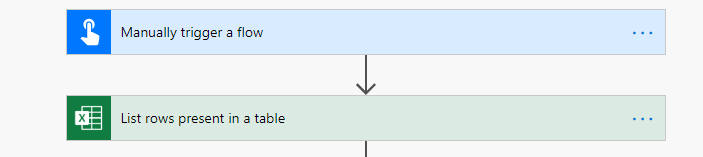
We will use SQL as data source here. If you want, you can you Excel. I need to mention something very important before we start; when you want to change the data source, you have to create the flow from the beginning. Because we will control and make actions using this source. The action we choose is the “Get rows” action. This way, it will be able to check for all in the table.
3- The “Is their birthday today?” control
For this control, we choose condition. In this condition there will be two pieces: the first one will check the birthday piece (is it the same day of the month?), the second one will check the month (is it the same month?). Now we will write an expression into the “Choose a value” section.
I left an image below so that it is not hard for you to follow conditions. You can find the code version of one below as well. We use the formatDateTime function to get the day parts of date expressions on the first row. And we use the utcNow function to see if they match up with today or not. The ‘dd’ and ‘MM’ expressions next to them represent date and month respectively. When you add these expressions it will include it to the “Apply to each” step. The items(‘Apply_to_each’) step in the formulas comes from here. [‘Birthday’] is the name of the row in which the birthdays are stored in our data source.
PS: We have to use the ‘MM’ expression in capital like this or it doesn’t get detected, we didn’t type it incorrectly. 
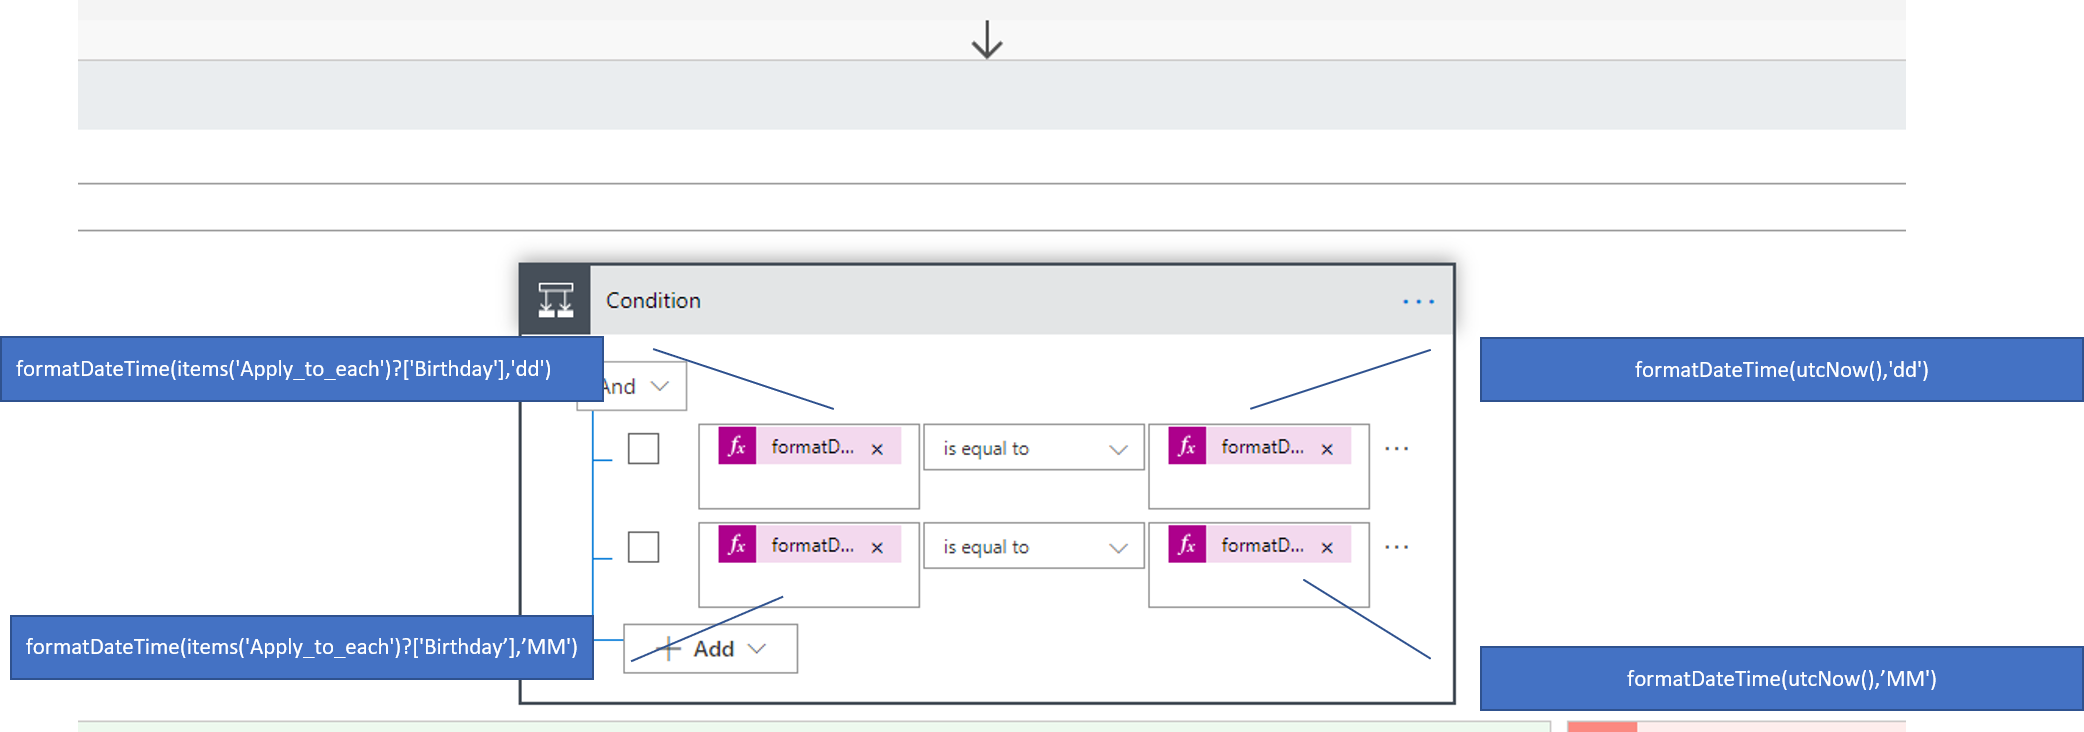
formatDateTime(items('Apply_to_each')?['Birthday'],'dd')
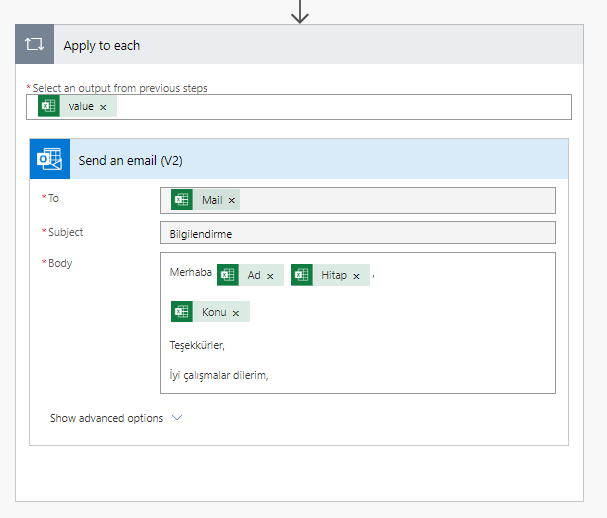
4- TAGGING IN TEAMS
And now let’s come to the main topic! After we do the steps below, the important thing is to share the post of the birthday. In this step, first, we need to choose in which group and channel the post will be shared and get the id of the group&channel. After choosing the said group and channel, you can get their ID fields with Power Automate. There are two actions for that: Get Groups, Get Teams Channels. You can find the IDs on their outputs by running these requests.
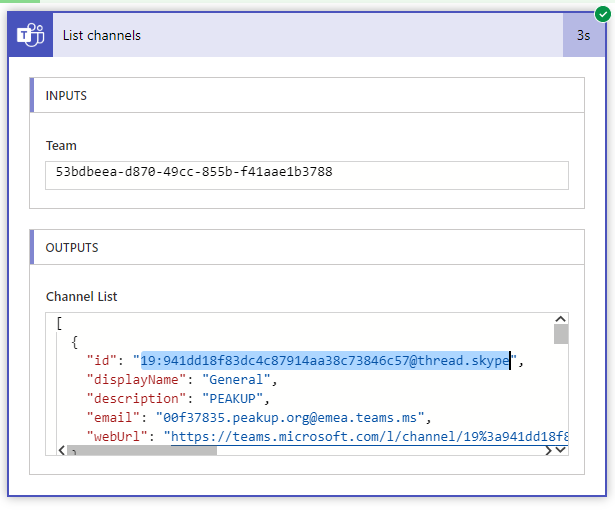
Write the ids you got into its place in this address:
https://graph.microsoft.com/beta/teams/TEAM_ID/channels/CHANNEL_ID/messages
We will send a request to graph.microsoft.com in order to use this feature about Teams. Microsoft Graph is a developer platform that connects multiple devices and services to each other.
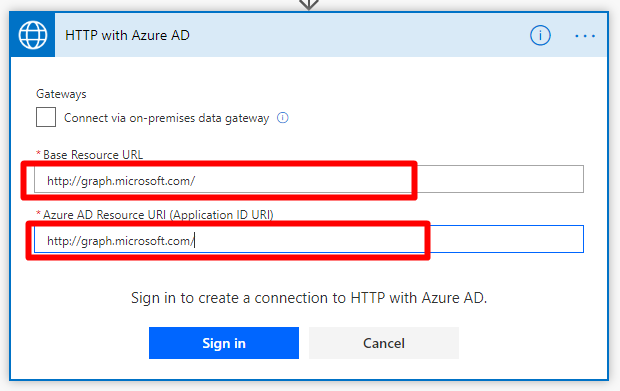
The action we will use to tag and mention in Teams with Power Automate: HTTP with Azure AD – Invoke an HTTP Request

If you have never used this action before, you will not come across a screen like the one below; first you will come across a screen where you need to login. You need to copy graph.microsoft.com into two fields in the screen.
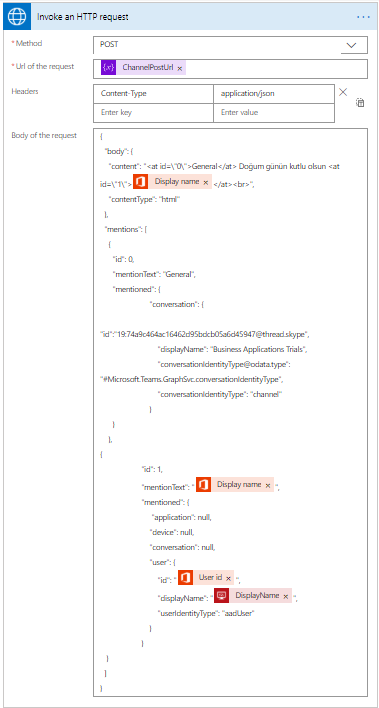
After this step, you need to fill in all 4 fields in the screen.
- First we choose the POST option for the method field since we will be publishing a message.
- Next, we will write the link we’ve created above that starts with graph and continues with teams_id and channel_id for the Url of Request field.
- We write Content-Type into the Enter Key field and application/json into the Enter Value field for the Header section.
- We paste the code block below into the Body of Request field.
{
"body": {
"content": "General Happy Birthday @{items('Apply_to_each_2')?['DisplayName']}
",
"contentType": "html"
},
"mentions": [
{
"id": 0,
"mentionText": "General",
"mentioned": {
"conversation": {
"id":"19:[email protected]",
"displayName": "Business Applications Trials",
"[email protected]": "#Microsoft.Teams.GraphSvc.conversationIdentityType",
"conversationIdentityType": "channel"
}
}
},
{
"id": 1,
"mentionText": "@{items('Apply_to_each_2')?['DisplayName']}",
"mentioned": {
"application": null,
"device": null,
"conversation": null,
"user": {
"id": "@{items('Apply_to_each_2')?['Id']}",
"displayName": "@{items('Apply_to_each')?['DisplayName']}",
"userIdentityType": "aadUser"
}
}
}
]
}
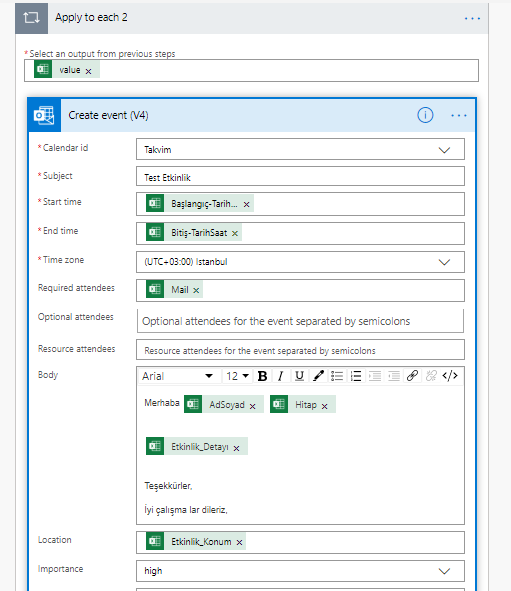
It will look like this after all these steps:
BODY EXPLANATION
Let’s explain the body section a bit. We enter an HTML content we want to the content. You can add images etc. to that content. Inside in the HTML content, we tag the people we want to tag. We you IDs while doing that. We define the ids inside these tags into the mentioned field at the bottom of the code block. We will both tag the channel -which is tagging the group-, and the person. You can give the ID numbers, it doesn’t matter which number you give. The important thing is that it matches with the mentioned field below.
In the mentioned field, we will determine in which chat this post will appear, i.e. we will tag the channel first. And for us, this is the general channel of our Business Applications Trial group. We write our channels id into the id field in conversation. And enter the “Channel” info into ConversationIdentityType. Another thing is to tag the person. We need that person’s Office 365 id while writing their tag. We can get this id through Power Automate. The action we need to use at this point is Office 365 Users- Search User. We get the user’s id by using their e-mail address.
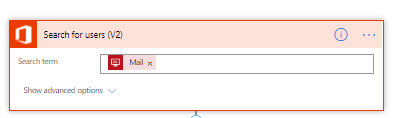
We write this id into the related id field. Since we will tag the person, userIdentityType comes instead of ConversationIdentityType. We write “addUser” here aannndd save.

That’s it! We are done. The last thing I want to mention is that you can get more detailed information about Teams APIs on Graph from the links below. We also have some other great articles about Power Automate and Teams on our blog, you can check them as well. And also here is the output of this flow.

https://docs.microsoft.com/en-us/graph/api/channel-post-messages?view=graph-rest-beta&tabs=http
https://docs.microsoft.com/en-us/graph/api/resources/chatmessage?view=graph-rest-beta
https://docs.microsoft.com/en-us/graph/api/resources/chatmessagemention?view=graph-rest-beta
https://docs.microsoft.com/en-us/graph/api/channel-post-messages?view=graph-rest-beta&tabs=http
See you guys, social isolation is important