Using the Table Format on Power Platform

When you get data from Excel to products like Power Apps and Power BI, you need to use this data in the table format. If there is a table in the Excel from which you’ll get the data,  it can be directly transferred to the system.
Even if the data is in an Excel on OneDrive, the situation is still the same. Data field should be formatted as Table.

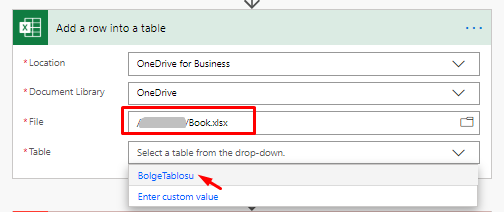
Power Automate (MS Flow) – Excel Connection (OneDrive)

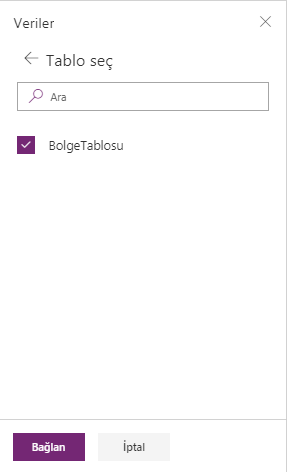
Power Apps – Excel Connection (OneDrive)

Using the Table Format

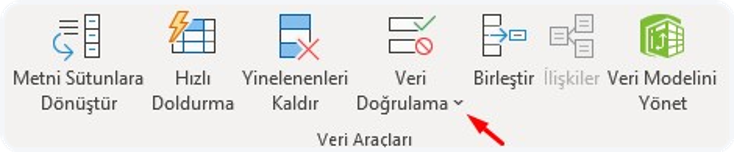
You can turn the existing data into a table by choosing Table in the Insert tab or in an Excel worksheet or you can start by inserting a new table. (The shortcut for creating a table in Excel is CTRL+L)


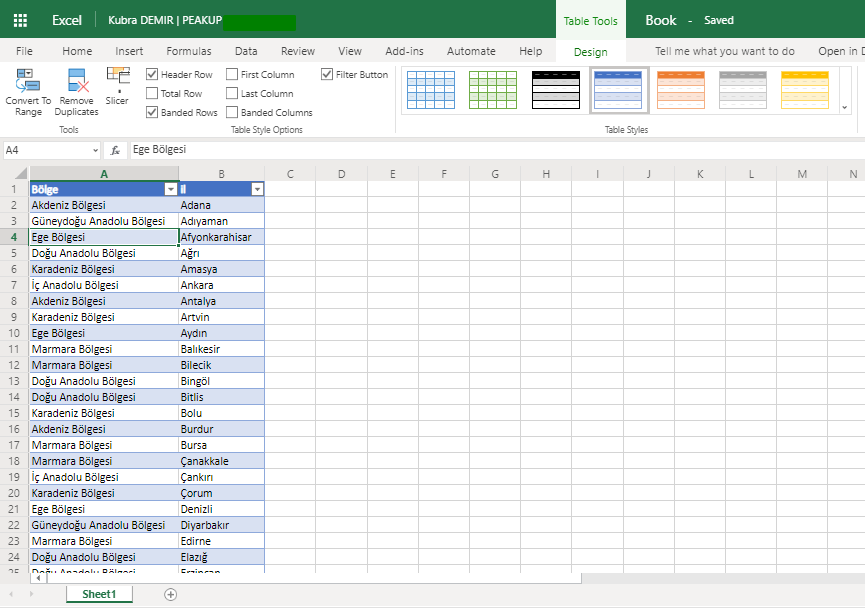
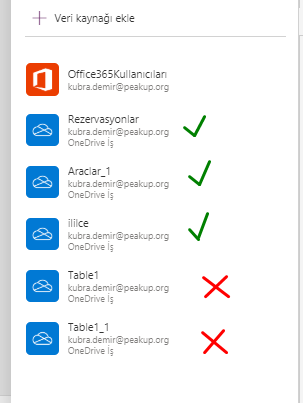
When you turn the data into a Table, it will be named as Table1. Every table you add to existing Excel will be named Table2, Table3 etc. When there are multiple tables, names are going to be confusing. In order not to be confused, you should rename all the tables in a meaningful way in Excel.

Defining Names

All table names in Power Apps data sources are displayed the way below and the same names are used in formulas. For this reason, the tables should be named before being connected to the platforms.
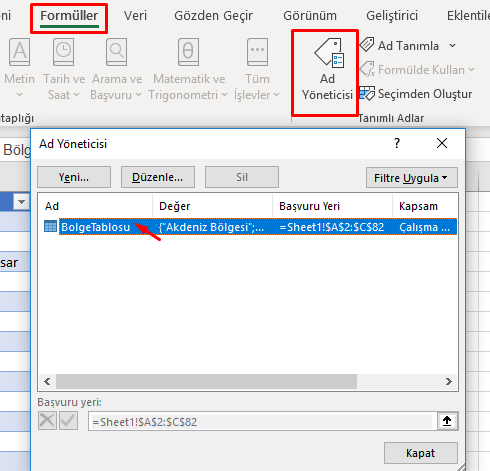
Excel Name Manager

View the existing tables from Formulas –>Name Manager. Click Edit–> Name and define and give a new name. The named table can be used in any platform that you want.

You can take a look at the details of creating and renaming a table.

You can click here to access the other Power Apps articles.

Get a Picture from a Cell with a Formula

In this article, I want to explain you how to get a picture to a cell with a formula. As you know, we can get the data of the columns we want from a table by looking up for a value on the specified table with lookup and reference functions like VLOOKUP but we can only get the data inside a cell. At this point, what we want to tell you is that if there is a picture in the are we want to get, we can get it with a formula. By the way, we would like you to read and analyze our articles about Office, you can find them on our blog.


Get a Picture to the Cell with a Formula

Let’s say that we have two different pages. On one page, there are products, brand names etc. and on the other page there are product and brand pictures. We can get the picture on the second page next to the product and brand name on the first page with a formula that we’ll write. While doing that, as you’ll see below, we need to define names. We cannot get the picture in a cell without defining names.


Here is how you do it step by step:

  • Create a Data Verification list with brands.
  • Write the main formula necessary for this action.
  • Name the formula we created with the Name Manager.
  • Complete the process by assigning the name to the picture.


Let’s start understanding how to do it with pictures! 😀

We talked about creating a data verification list first, let’s take a look at it.

veri doğrulama listesine almak


We took the brand names to the data verification list.Let’s write the formulas that will do the job. I am leaving the formula here, you can see how I write it in the gif below.

=İNDİS('6-1'!$B$2:$B$6;KAÇINCI('6'!$A$2;'6-1'!$A$2:$A$6;0))


formülle resim getirme formülü


Now we’ll name the formula I have written, assign the picture on the first page and complete this action.


formüle ad verme


As you can see, we have learned how to get a picture to a cell with a few steps.. We have called a picture on another page to the active page with brand names. You can execute this kind of examples by getting pictures dynamically.

Also, you can get more information about defining names on Microsoft Support.


See you in other articles, bye.🙋🏻‍♂️
You can share this post with your friends and help them get informed. 👍🏻