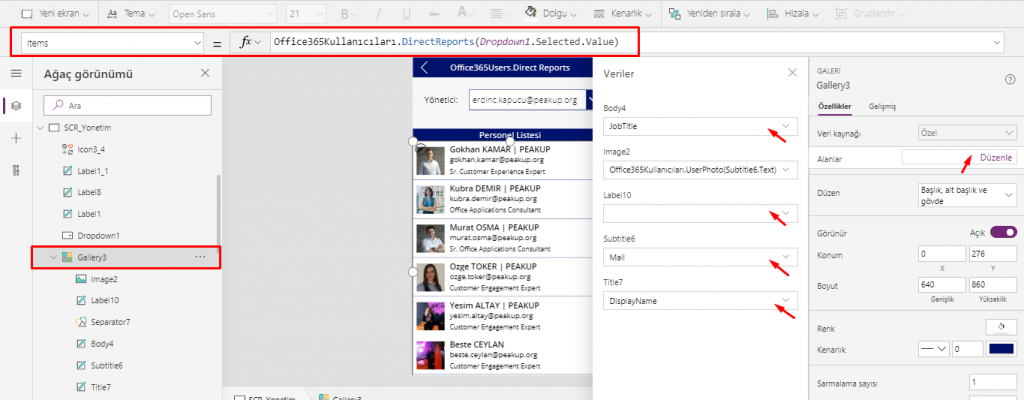
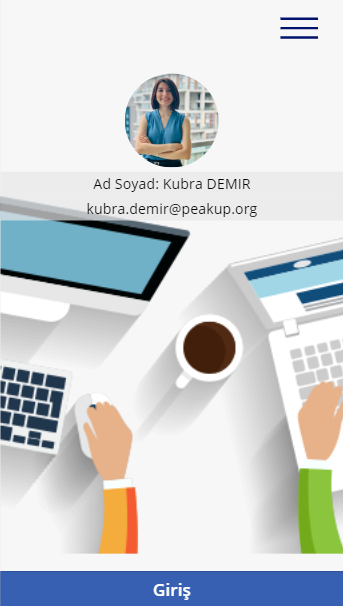
User Login Screen
A User Screen can be designed where basic user information is displayed for the entrance off an app.
*In addition, this user info can be used to track actions and register them to process data.
Starting with Items
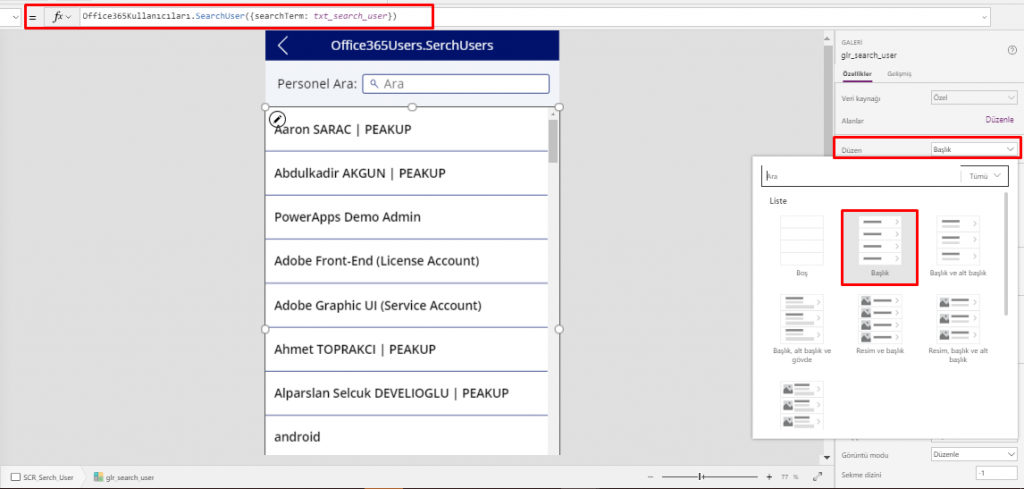
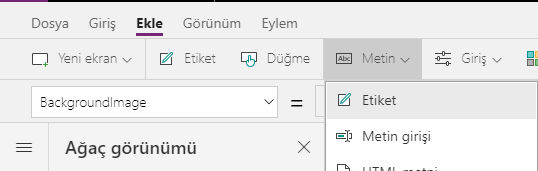
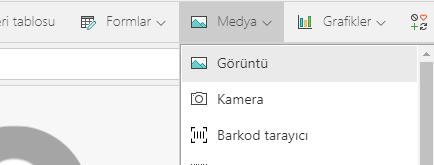
Start by adding a Label that enables you to show data and Image that enables you to display images from the Insert tab to the user screen.
Add a Label
Insert–> Label or Insert–>Text–>Label
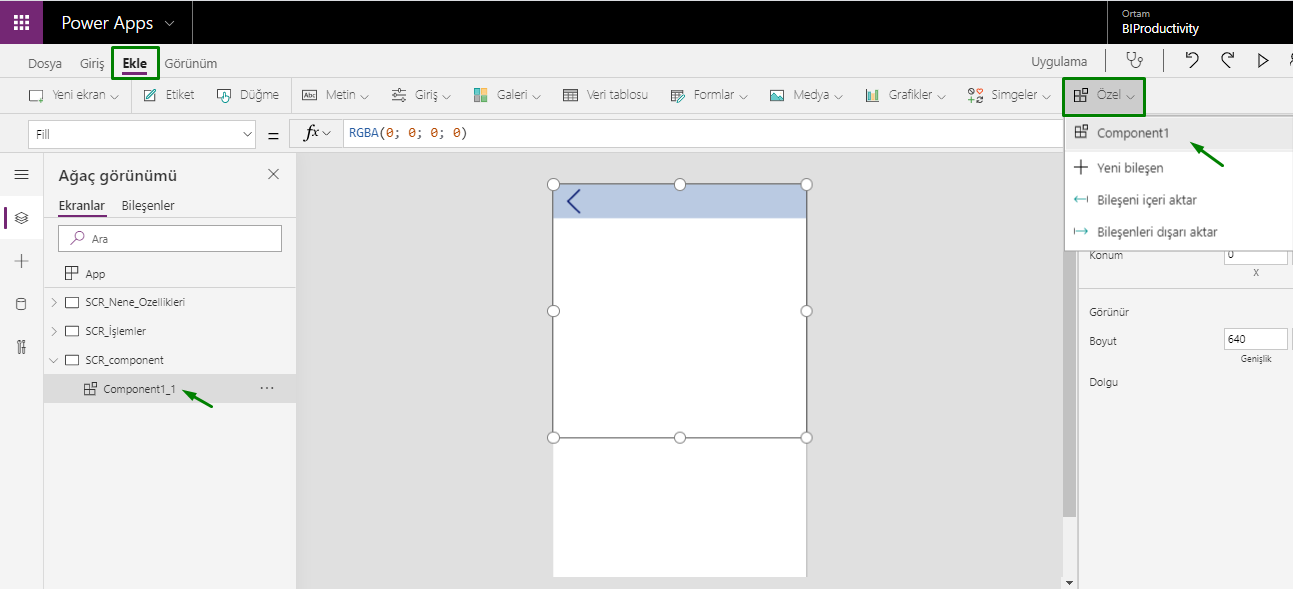
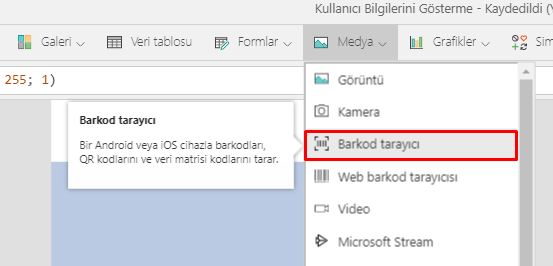
Add an Image
Insert–>Media–>Image
After you add the items, you can position them the way you want.
Naming Items
It is very important to name all the items added to the interface based on the data it contains or action it executes to prevent confusion and also use these items.
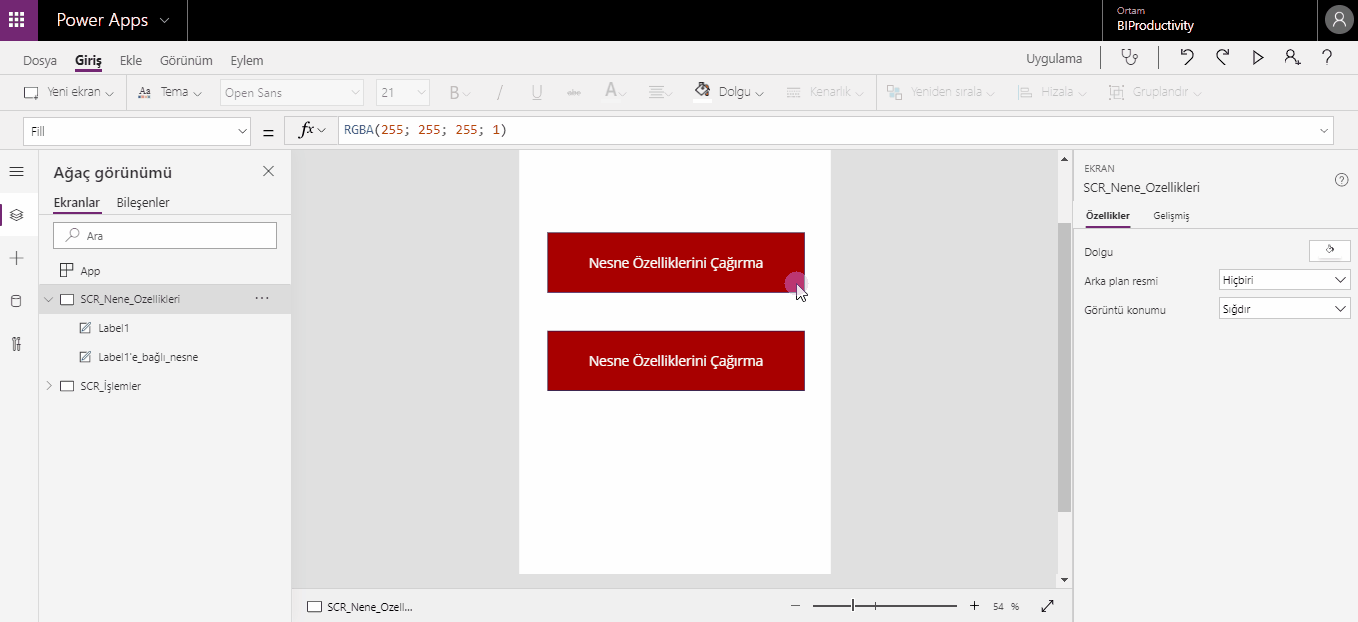
1. Object Label: named as lbl_user_name.
2. Object Label : named as lbl_user_mail.
3. Object Image: named as img_user_photo.
Adding Codes to the Items
We will call the login info of users with the User Function.
USER Function
Login information -which is the most basic information- is accessed with the User Function. Contains the Name Surname, Mail and Photo info for the user that is logging in.
- User().FullName for the name and surname of the user
- User().Email for the mail of the user
- User().Image for the photo of the user
We call the related information with the parameter we add after the point User( ).
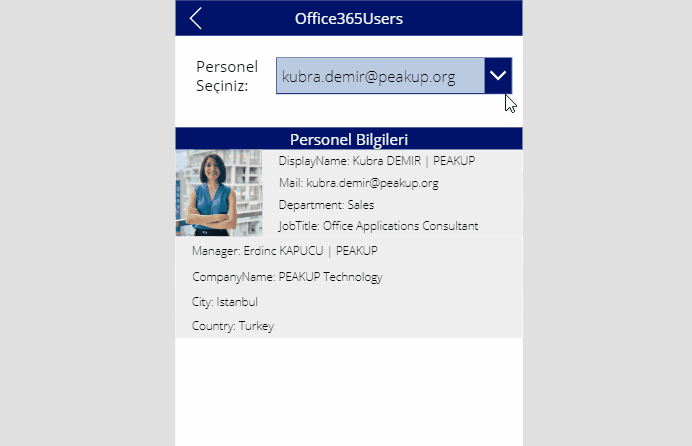
User Details
The name and surname of the user will be displayed when User().FullName is written into the Text property of lbl_user_name.
You need to write “Name Surname: ” & User().FullName into the Text property of the lbl_user_name item to display a text like Ad Soyad(Name Surname): Kübra Demir as in the example.
You can do the same for mail info. You can write “Mail:” & User().Email into the formula bar of the Text property of lbl_user_mail item.
* You need to write the text into a double-quote (” “) and use concatenation operator in order to use a text in a formula.
Write User().Image into the formula bar of Image property of the img_user_photo item to show photo and complete the action.
When you add an image, it is square as default. If you want to make it a circle like in our example, you need to increase the Radius from the Properties menu on right. In this example the size 180X180 is and the radius is 100.
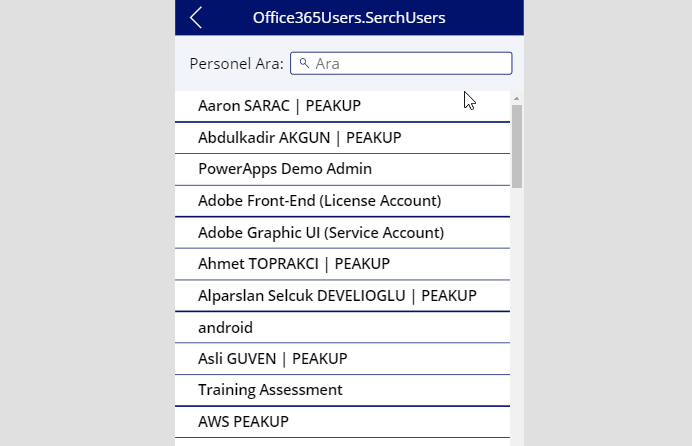
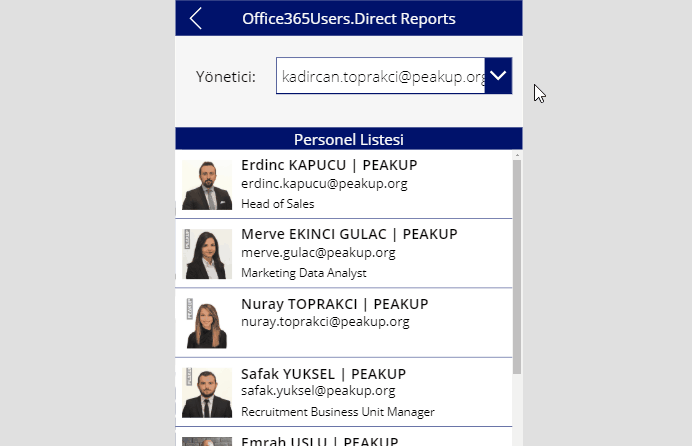
*There is more detailed information in the Office365 panel. Thus, you need to add the Office365 connection to the app in order to use information like department, manager name, manager mail and title.