Communication with your employees and customers, and tracking and analyzing it play an important role in determining your strategies. You can quickly prepare and share e-form with MS Form while digitalizing. You can take a look at this article to read business scenarios with MS Forms and practical examples in detail.
Your forms that you work on by logging it with your user information are stored in a secure environment. Since you keep your forms in a digital environment, every action you take is saved immediately. For this reasons, your forms don’t get lost or deleted.
10 Outstanding Skills of MS Forms:
- The form can be previewed on the mobile phone or computer.
- You can receive an e-mail notification when your form is responded.
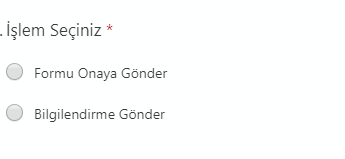
- You can add rules to your form. With these rules, you can change the questions according to the answers given to the questions. Thus, the question displayed by the user changes according to the answer given by the user.
- Answers can be analyzed by question-based or person-based custom charts.
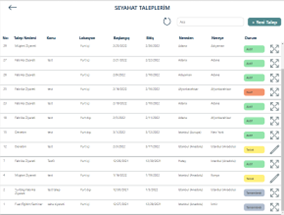
- Responds can be viewed on the Excel list.
- The background color or picture of the form can be customized.
- When you delete a form, it goes to the recycle bin. Thus, you can activate the form for reuse whenever you want.
- You can make forms with points. You do not have to show the scores to the person who answered the form. When you want to show it, you can show it as soon as the form is answered.
- The user can be allowed to respond the form multiple times.
- The questions can be mixed within themselves. The options of the questions can be mixed within themselves.
MS Forms Screen
You can start creating your own form by click the New Form button here. The forms shared with you or group forms can be viewed in this screen.
Create a Form
We can divide a created form into 6 main topic.
- Questions
- Answers
- Preview
- Theme (Design)
- Share
- Setting
We can start by naming the Form first. You can add your company’s logo or an image suitable for you company’s concept through the add image button right next to the name of your Form.
 Add Form Elements
The questions type you will add to your poll with the Add new button look like this:
There are 4 standard question types.
- Option
- Text
- Rating
- Date
You can view more question types by clicking the arrow button on the right corner. These are other question types like Ranking, and Likert.
You can add an image for the form element you have added.
The buttons in the upper right corner are:
- Make a duplicate of the question (default)
- Delete the question (default)
- Change the order of the questions (default)
In the lower right corner:
- For questions with options; allows markings multiple options
- Requires the question to be responded (default)
If you think that you have completed the form when you are done adding the questions, you are ready to share it.
It is enough for you to click the Share button on top right and copy your form’s link and then send this link to the people you want.
Even if you share your form, any change you make is active all the time. People who you shared it with always see the latest version of your Form.