Introduction to Digital Forms with MS Forms

Communication with your employees and customers, and tracking and analyzing it  play an important role in determining your strategies. You can quickly prepare and share e-form with MS Form while digitalizing. You can take a look at this article to read business scenarios with MS Forms and practical examples in detail.

Your forms that you work on by logging it with your user information are stored in a secure environment. Since you keep your forms in a digital environment, every action you take is saved immediately. For this reasons, your forms don’t get lost or deleted.

10 Outstanding Skills of MS Forms:

  1. The form can be previewed on the mobile phone or computer.
  2. You can receive an e-mail notification when your form is responded.
  3. You can add rules to your form. With these rules, you can change the questions according to the answers given to the questions. Thus, the question displayed by the user changes according to the answer given by the user.
  4. Answers can be analyzed by question-based or person-based custom charts.
  5. Responds can be viewed on the Excel list.
  6. The background color or picture of the form can be customized.
  7. When you delete a form, it goes to the recycle bin. Thus, you can activate the form for reuse whenever you want.
  8. You can make forms with points. You do not have to show the scores to the person who answered the form. When you want to show it, you can show it as soon as the form is answered.
  9. The user can be allowed to respond the form multiple times.
  10. The questions can be mixed within themselves. The options of the questions can be mixed within themselves.

MS Forms Screen

You can start creating your own form by click the New Form button here. The forms shared with you or group forms can be viewed in this screen.
Create a Form

We can divide a created form into 6 main topic.

  1. Questions
  2. Answers
  3. Preview
  4. Theme (Design)
  5. Share
  6. Setting

We can start by naming the Form first. You can add your company’s logo or an image suitable for you company’s concept through the add image button right next to the name of your Form.

Add Form Elements

The questions type you will add to your poll with the Add new button look like this:

There are 4 standard question types.

  1. Option
  2. Text
  3. Rating
  4. Date

You can view more question types by clicking the arrow button on the right corner. These are other question types like Ranking, and Likert.
You can add an image for the form element you have added.
The buttons in the upper right corner are:

  1. Make a duplicate of the question (default)
  2. Delete the question (default)
  3. Change the order of the questions (default)

In the lower right corner:

  1. For questions with options; allows markings multiple options
  2. Requires the question to be responded (default)

If you think that you have completed the form when you are done adding the questions, you are ready to share it.

It is enough for you to click the Share button on top right and copy your form’s link  and then send this link to the people you want.

Even if you share your form, any change you make is active all the time. People who you shared it with always see the latest version of your Form.
 

Create Poll Rules with MS Forms

Polls play an important role in enabling communication with your employees and customers, tracking and analyzing or determining business strategies. You can easily and quickly prepare and share e-forms with MS Form during your digitalization process.

In this article, we will be talking about adding rules to the Forms polls. You can manage polls based on questions by adding rules. You will be able to manage the next question that will be displayed depending on the answer user gave to the questions.

How Does It Work?

For example, while collecting personal information of the employees:

  • The What is your license class? question can be displayed if Yes is chosen from the Yes/No options of the Do you have driving license? question.
  • Detailed questions like the Ages of the children, Number of children can be displayed to the user when the Married option is chosen from Married/Single of the What is your marital status? question.

Thanks to the feature, user will not see all the questions while collecting information from them and polls will be answered more quickly and consistently and interactive work will be executed.

How Is It Done?

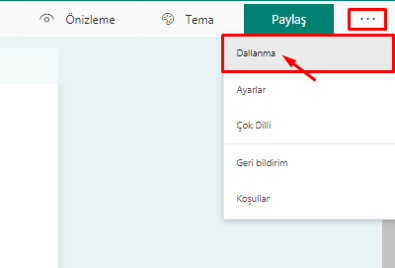
First, you need to create the poll questions. After you create the poll questions, choose Branching within … that is next to the Share button on top right.


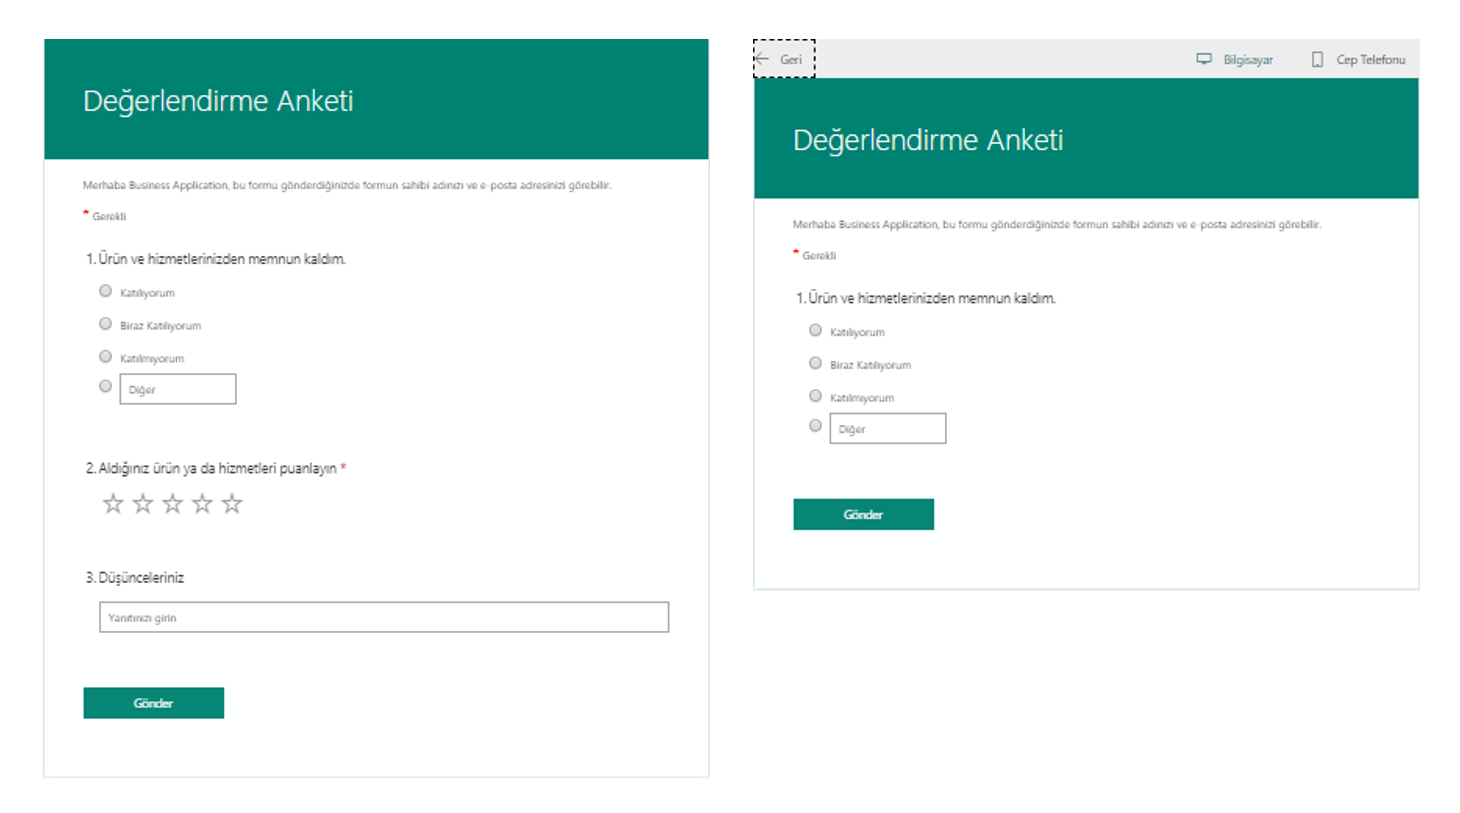
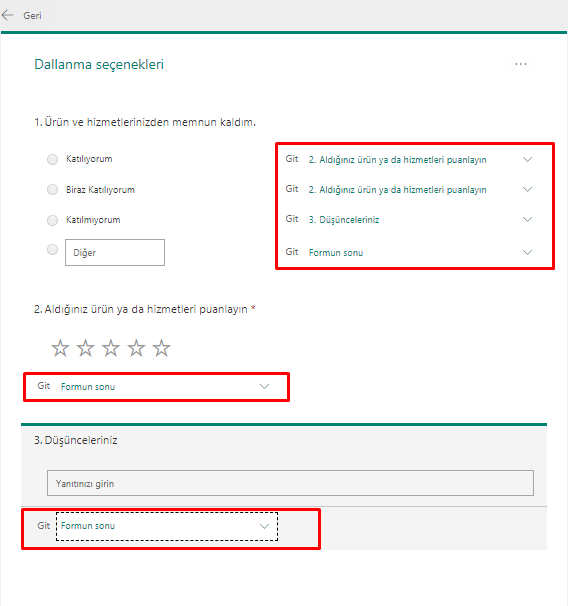
We have created the first question with 4 options.
The directing action is complete by choosing the next question that you want to be asked for each option from the list that pops open.

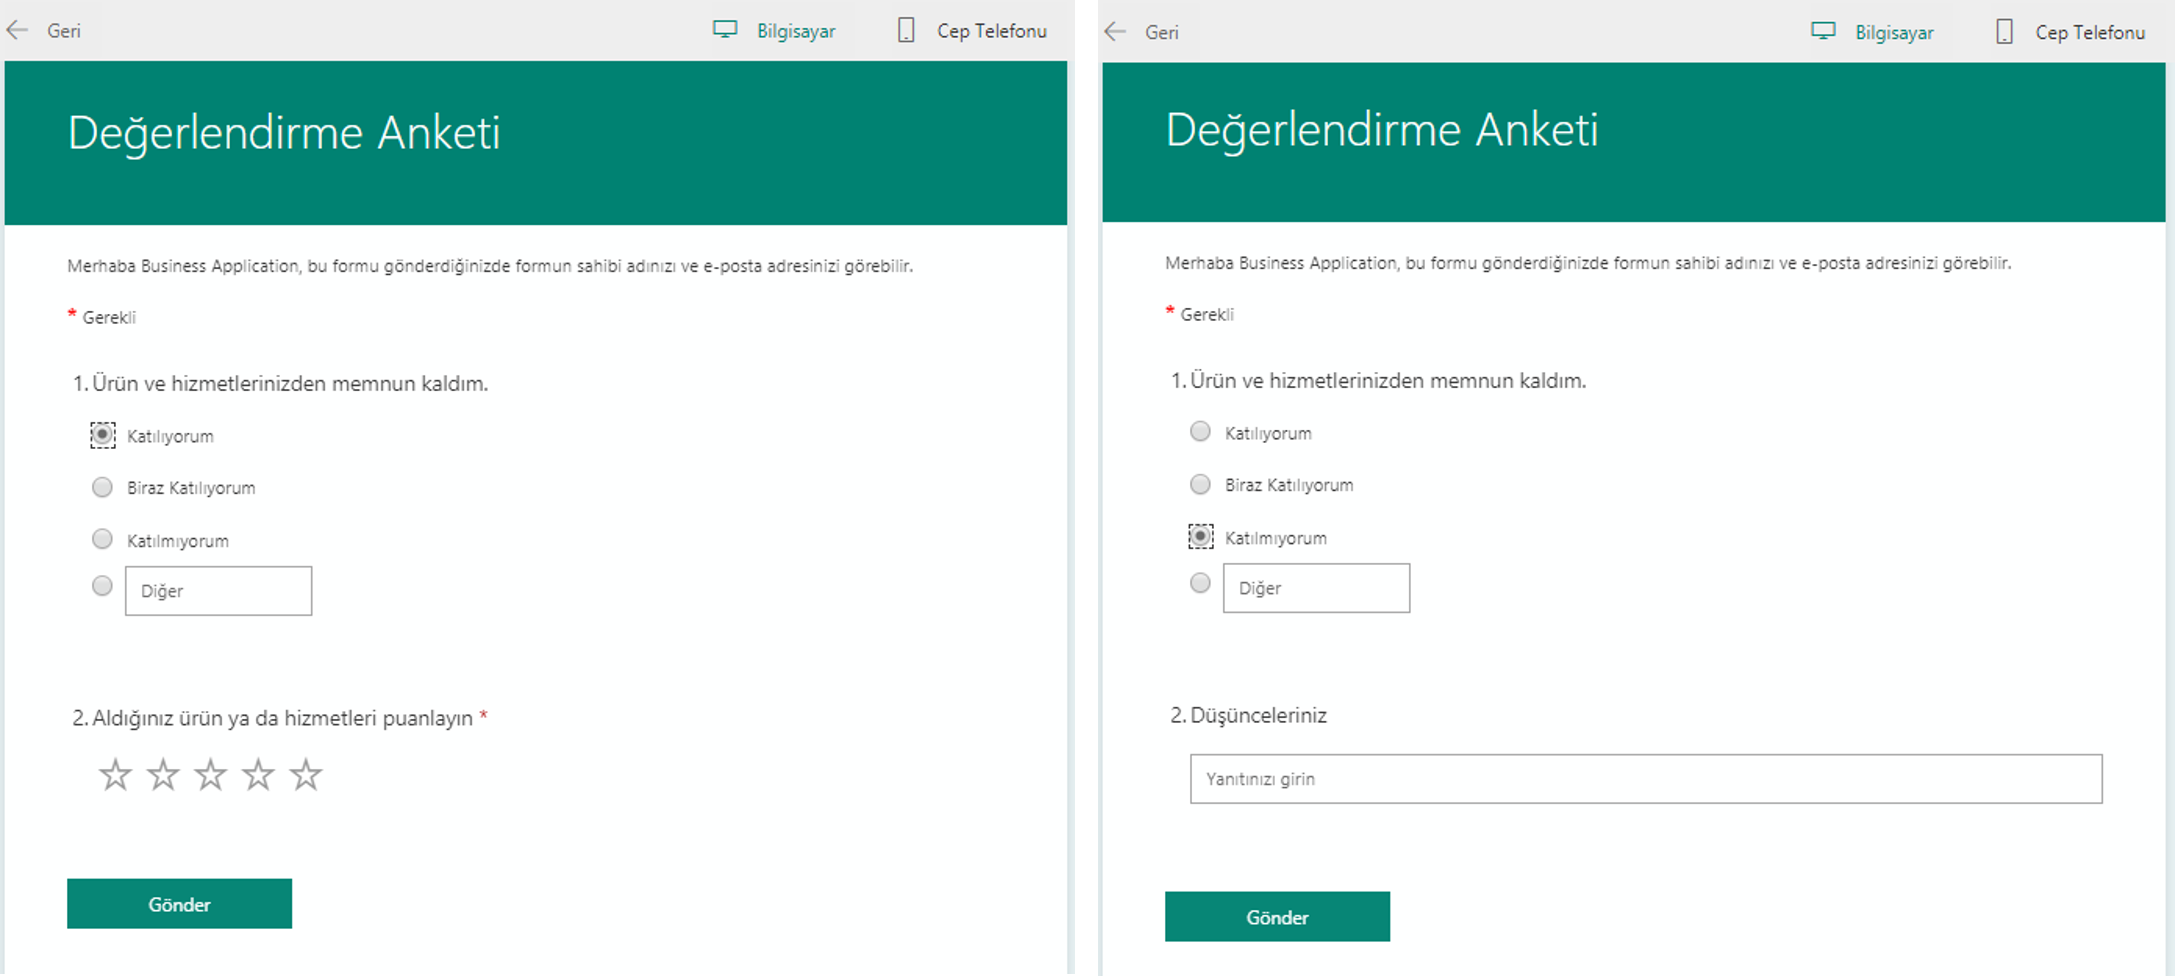
Your actions will be saved that moment and you will be able to test your scenario whenever you want with the preview feature.

Let’s analyze the scenario below.

For the 1st question
If the 1st option is chosen –> It will lead to the 2nd question
The 2nd question will be answered –> the form will be complete

For the 1st question
If the 2nd option is chosen –> It will lead to the 2nd question
The 2nd question will be answered –> the form will be complete

For the 1st question
If the 3rd option is chosen –> It will lead to the 3rd question
The 3rd question will be answered –> form will be complete

For the 1st question
If the 4th option is chosen –> It will be waited for the user to write a text into the Other field.

We have analyzed that the form questions can be connected to rules and the sort of the questions can be changed.

When you want to cancel the actions you have executed, you can reset your document by clicking Reset withing … that is on the top right of the same screen.


How to Add a Poll to a Stream Video

You are at the right place if your organization has educational/informative videos for your users to watch and you want to do polls/tests or collect feedback during videos. It is possible to insert polls that you created in Forms to certain minutes of your videos on Stream. This way while watching the videos people will come across a form and keep watching from where they left after answering. Now let’s take a look at how it is done. 

1. Upload a video on Stream and click on the “Add New” option under “Interactivity”. 

In this step stop the video at the minute you want your poll to appear and continue with the “Add New” option.  

Stream video Interactivity tab ready to add a new form

2. Choose the poll to be added from the Forms app and copy the share link. 

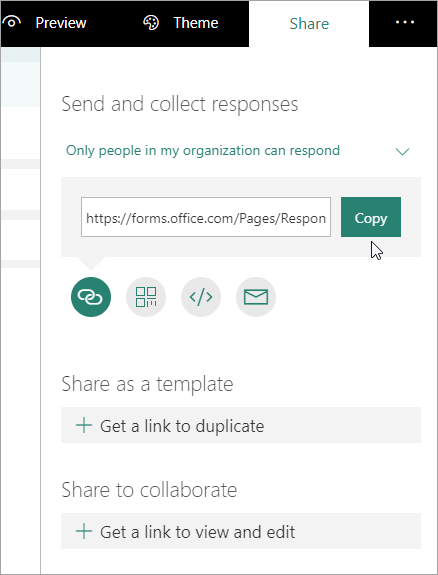
The poll to be added should be created in the “Microsoft Forms” app. Copy the share link of your poll like in the image below. Microsoft Forms screen for getting the URL of the form to copy to Stream

3. Paste the poll link to “Form URL” field. 

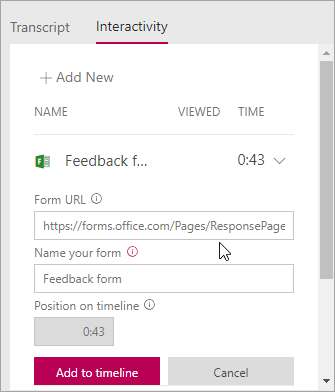
Paste the share link of the poll you want to have on your video to the “Form URL” text box and name your poll. Then end your action with the “Add to timeline” option below.  Interactivity tab showing where to paste the URL

4. Job Done! Now your viewers can continue their videos after they reply the poll that comes across them.  

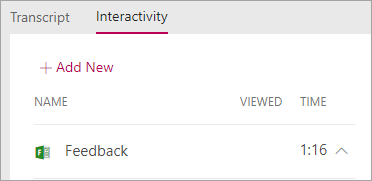
Stream video Interactivity tab showing a new form called Feedback