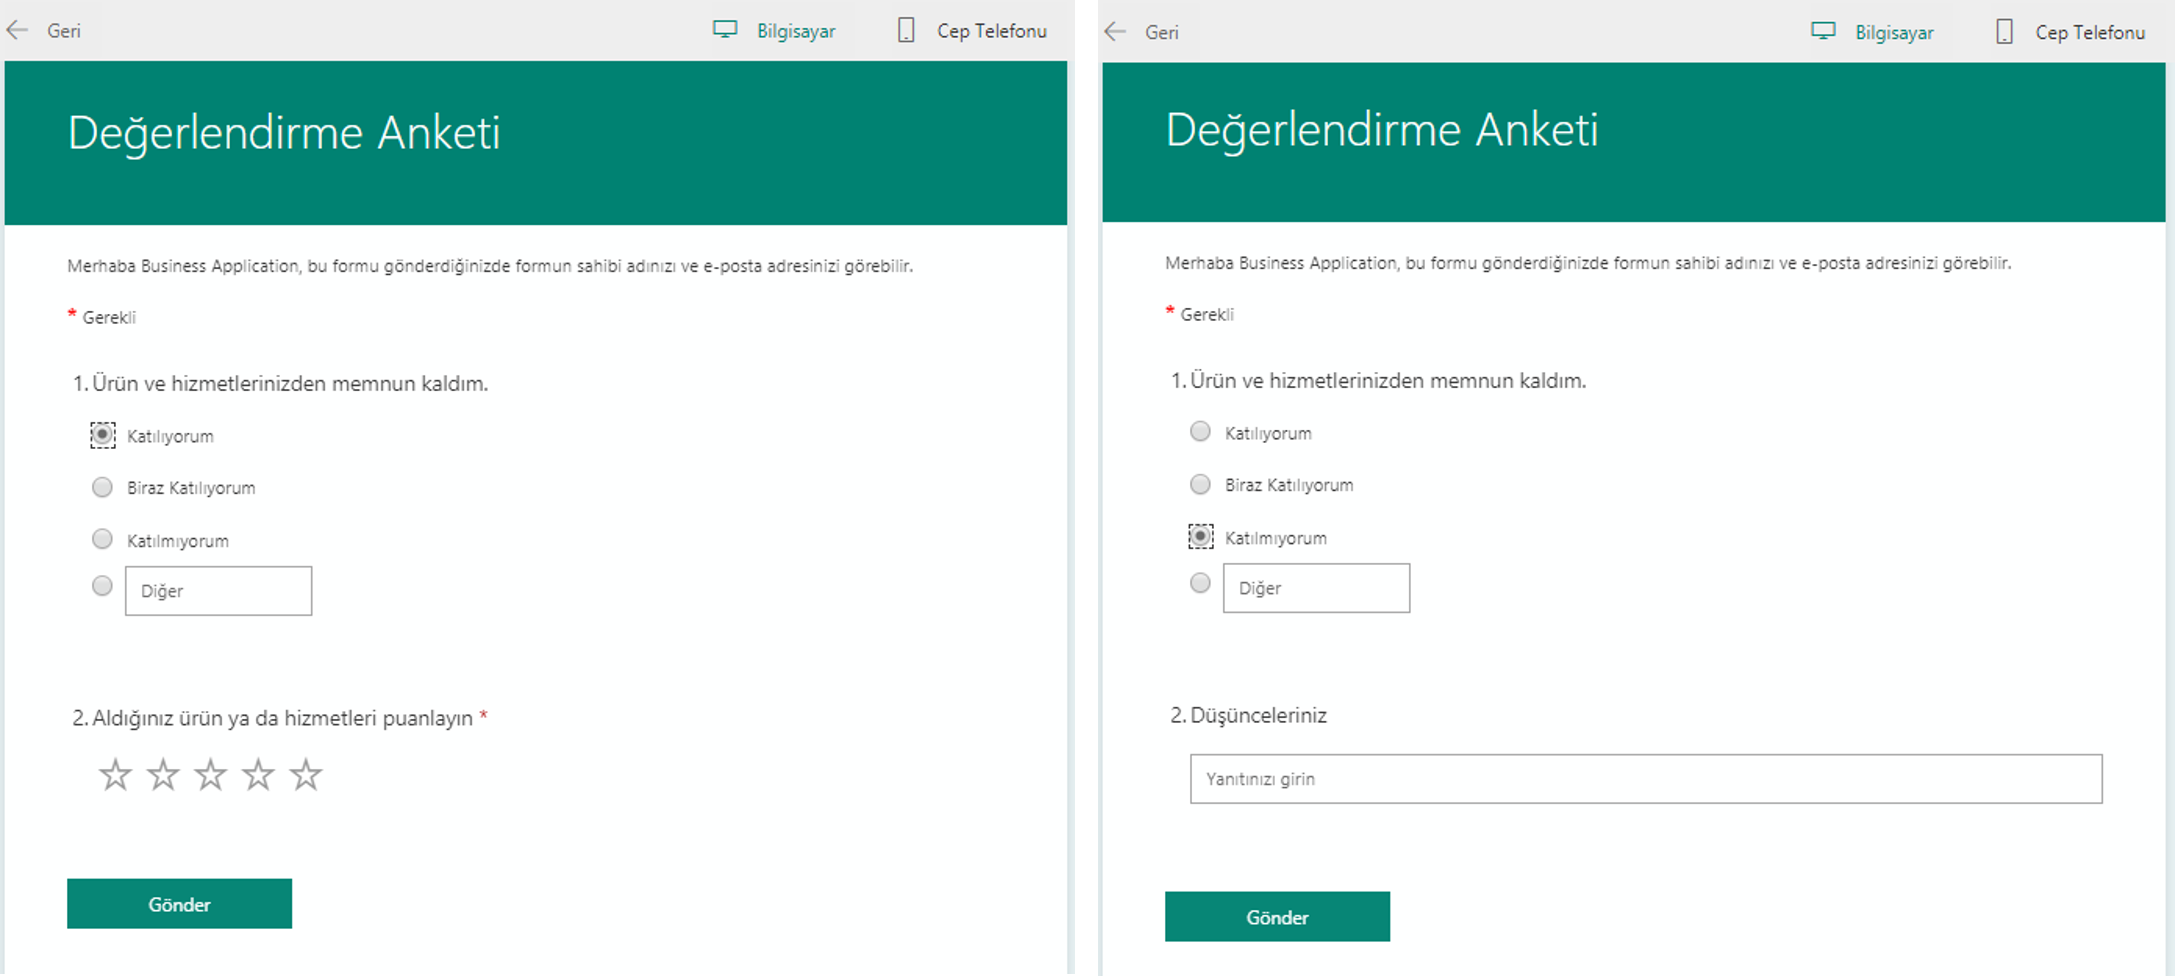
You can enable interactive flow or do visual actions by creating rules in the application screen. Depending on the situation in the application scenario, you can connect objects or actions to department, user mail, location, title, marital status or user choice in multiple-choice actions.
Usually hide, show, freeze, open to edit or change color, location, size actions are done for the determined objects. You can apply all these controls in all application scenarios easily and flexibly.
Users whose department is HR will see the HR button that enables them to open the management and confirmation screen of HR.
It is better to do these actions step by step and in pieces while doing these controls. Like I mentioned in my previous article, the formula evaluations should be controlled in different labels and should be named depending on the outcome.
We will test the user department first in the example below.
Department Detection for the Existing User
We will use the Office365Users.MyProfile() formula that lets us get the existing login info of the user that opens the app for this action.
We will write the formula below in a label we named lbl_user_departmant and get the department information.
Office365Users.MyProfile().Department
Is The Detected Department HR?
We will write the formula below into a label we named lbl_is_user_department_hr and check if the existing user is in the Human Resources department. If the user is in the HR, we will get the outcome as 1, if not; 0.
If the existing user is HR, what actions will be on the screen?
The Visible option of HR button will change depending on the 1/0 values that will come from the label named lbl_is_user_department_hr.
This way, the button will be showed and hidden depending on the department.
If(lbl_is_user_department_hr.Text=Value(1);true;false)
Control Formulas
The labels named lbl_user_departmant and lbl_is_user_department_hr should be moved to the formula screen so that it is easier to revise them later. Click here to take a look at the article about creating a formula screen and its importance.
You can read about the details of the functions that are used to get user information through Office 365 here.
Similar Examples
You can do similar control with the same steps while filling a form prepared for personnel that consists of personal information like Name, Surname, ID Number, Gender, Date of Birth, Marital Status, Military Service Status.
When the gender is marked as Female, the military service status will be hidden (Visible) since it won’t be filled or it can be frozen (DisplayMode).
When the marital status is marked as single, the fields concerning spouse and children can be hidden (Visible) since they won’t be filled or they can be frozen (DisplayMode).
You can click here for other Power Apps articles.


