Explore the skills of Go To Special!

The function that allows you to detect all cells that contain special data like comments, formula, space, and data validation in your Excel list is the Go To Special function.

With this formula, you can select the cells with formulas at once and encrypt them with a formula; select the blank cells at once and highlight them; select the cells that contain numbers, text, or conditional formatting all together and execute the action you need.

This function is located in the Find&Select button in the Editing group in Home tab.

You can also press F5 (you might need to press the fn key as well) and choose Go To Special in the window that pops up.

Explore the skills of the Go To Special window and facilitate your work!

Let’s think about a scenario where we will fill the blanks in the Satış Bölgesi (Sales Region) column with the correct data like shown above.

First, we need to select the blank cells and then fill in the correct the quickest way possible!

How can we fill these cells easily without having to type into each of them one-by-one?

We will execute this action by using two features together.

Action Steps

  1. First, select the column that has the blank cells.
  2. The F5 shortcut (You might need to press the fn key) –> Go To Special
  3. Select Blanks in the window that pops open and click OK.
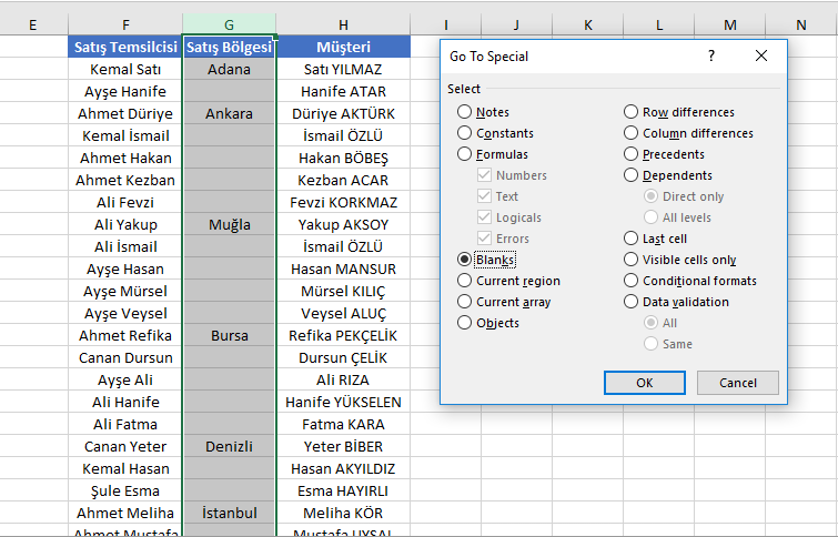
Then, we get the look below
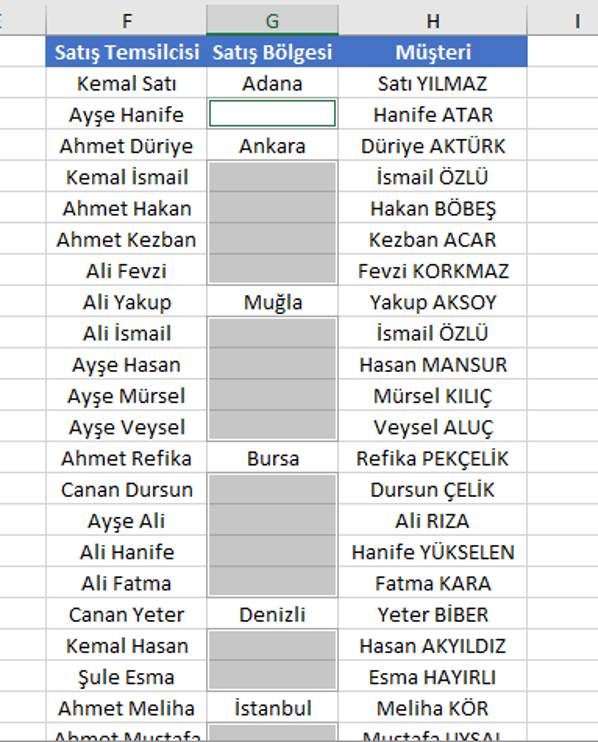
You will see that the selected cells are gray and the cell on top is white. You can write into this cell directly. Which means that you don’t have to click to cell to be able to write. The reason why we focus on this is because the areas you want to work on are already selected, so no mouse click is needed. When you click a selected area with the mouse, it cancels the selection so you should be careful about it.

  1. We will write =G2 (the address of the cell right above it) through the keyboard directly. This way we get to say that we will use the data above to Excel. The most important point: Yes, we will write the data above but how is this formula work in the whole column?
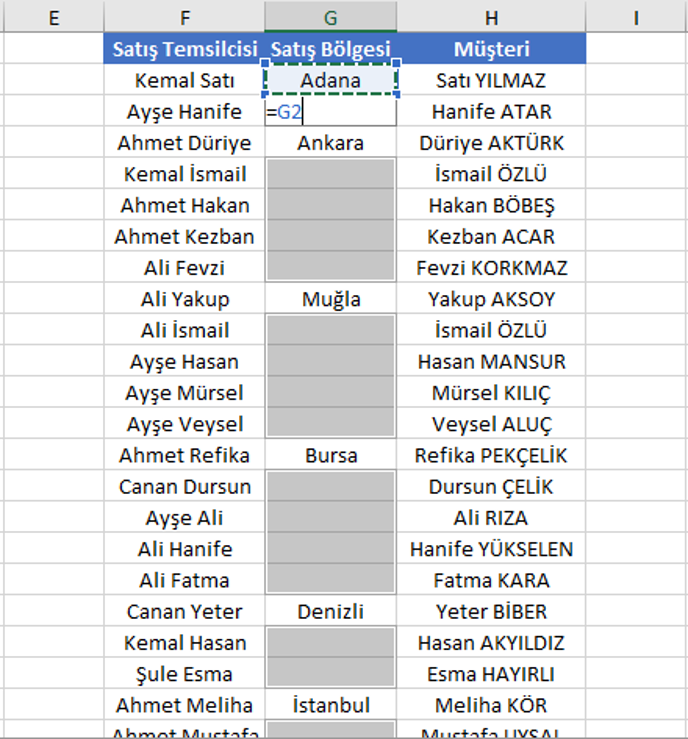
    We move onto the fifth and last step for this action.
  2. For the =G2 action to work in all the selected areas of the column, we should press the CTRL and ENTER keys at the same time. After these steps, the Sales Region column will be filled completely.

    Other Go To Special Articles

    Take a look at this article to detect and encrypt the cells with formula by using the Go To Special window. And take a look at this article to learn which action to take to convert Blank Cells to a fixed text.

The CONCATENATE function

The Concatenate function concatenates texts in different cells and allows you to write them in one single cell. Texts can be edited in a very flexible way with the Concatenate formula.

In this manner, you can freely change any field you want in the formula and get the desired result.

The arguments of the formula consist of successive textual expressions.

=Concatenate(text1, text2,…)

You can select the texts to be concatenated from the related cells one-by-one.

In the example bellow, the address is created by concatenating the Strict, Street and Number. When the A2, B2, and C2 cells are concatenated directly, it created the MerkezAyazma37 result.

To see a more familiar result like Merkez Strict Ayazma Street Number:37 (this is the Turkish way of writing an address), what can we do?

You can write textual expressions like “Street”, “Strict” into the formula with the long method.


*When you need to write a text with the keyboard into the formula, you need to write it into a double-quote (“ ”). Using texts in ” ” in Excel is pretty strict.

A more efficient method for it to be reusable, editable and controlled centrally is to write strict, street, number information into a cell and use that cell as a reference.

Click here to take a look the the details of the Concatenate formula.

In addition, it to possible to concatenate without using a function. You can use the & symbol as a concatenation operator. It works similar to the concatenate function and allows you to concatenate the texts directly.

We have learned how to concatenate texts above. In addition to this, we might want to separate concatenated texts as well.

You can separate texts written in one cell into separate cells with the Convert Text to Columns function. So, it works the opposite way of the Concatenate function. Click here to read our article about Convert Text to Columns.

Excel Shortcuts1

It is possible for you to get to your destination the fastest way when you use shortcuts. But when you get support from the Navigation, it is probable that you will taking the fastest and traffic-free way.

We, as Office lecturers, offer you the most special and functional Excel shortcuts below for you to get to the result you want faster and in an optimum way.

Move Cells Between Pages

The Alt Shortcut:
It is enough to drag and leave while pressing the Alt key to move cells. This way, you can move cells to the page or location you want.

Create a New Line in the Cell

Alt & Enter Shortcut:
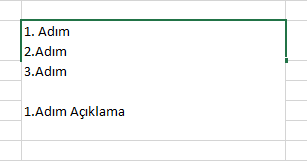
You can write texts one under the other or create articles in a cell in Excel just like in Word. It is enough to press the ALT and ENTER keys to move onto the next line in the cell.

Fastest Way to Create a Chart

Alt & F1 Shortcut:
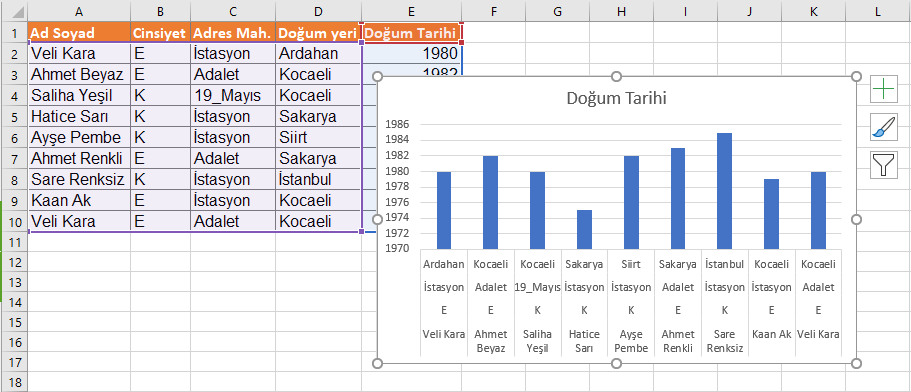
It is the shortcut that allows you to create a chart the fastest way possible.
Select a field in the list you want to create a chart from and then press the Alt and F1 keys. A chart like the one below will be created quickly.

Navigate in the Page Fast

Ctrl & Arrow Keys:
You can quickly navigate in your list with the Ctrl & Arrow keys. You can reach the last full cell in your list. You can change the direction with the arrow key you want while pressing the Ctrl key.
*This is a general shortcut, you can even use it to navigate between texts while writing a text on your device.

Select Step by Step in the Page

Shift & Arrow Keys:
Allows you to select the cells in your list one by one. You can change your selection with the arrow key you want while pressing the Shift key.
*This is a general shortcut. You can even use it to select texts while writing a text on your device.

Bulk Selection in the Page

Ctrl & Shift & Arrow Keys:
You can select one by one with the Shift key, and if you want to make this action faster you can add the CTRL key. This way you can select way faster!
*This is a general shortcut. You can even use it to select texts while writing a text on your device.

Experience the easiness of adding and deleting a column/row quickly.

Ctrl & –  Shortcut and Ctrl & + Shortcut

You can delete columns/rows with the Ctrl & – keys,  and add columns/rows with the Ctrl & + keys.

Make the Cells Writable

F2 Shortcut:
We usually double-click the cell in order to write something in it. But it is enough to use the F2 shortcut instead of this.
*This is a general shortcut. You can even use it to change the name of a file on your device.

Enter Data to All Selected Cells

Select the cells you want to enter the data to.
Don’t click anything else once you are done selecting. Write the text you want directly.
Press the Ctrl & Enter keys for the text to be distributed to all cells.

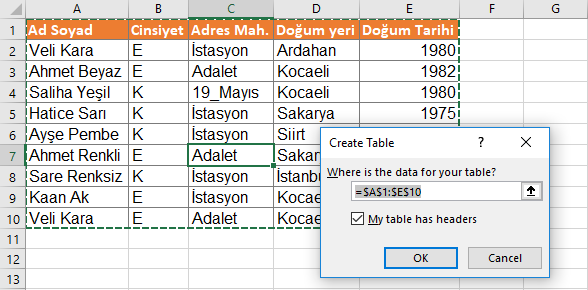
The Fastest Way to Create a Table in Excel

Ctrl & L Shortcut:

Repeat the last action!

F4 Shortcut:
Allows you to repeat your last action.

For example, highlight the A1 cell with green and press the F4 key after clicking the B1 cell. You will see that the B1 cell will be highlighted with green as well! Since the previous action is repeated every time, you can just keep doing this with F4 forever!

It allows you to pin a cell while writing a formula. There are 4 different ways ($A$1 , A$1 , $A1, A1) to use this feature which is also known as Cell Reference Styles.

*Note: You might need to use the fn key (depending on your computer) to use the function keys with F like F1 and F2.


A combination of little clicks and keys can accomplish great things!

Insert Data from Picture in Excel

An amazing feature is waiting for you on your Mobile Excel.

With the Insert data from picture feature that you will use on mobile devices like cell phone or tablet, you can get data to Excel from a picture.

Insert Data from Picture

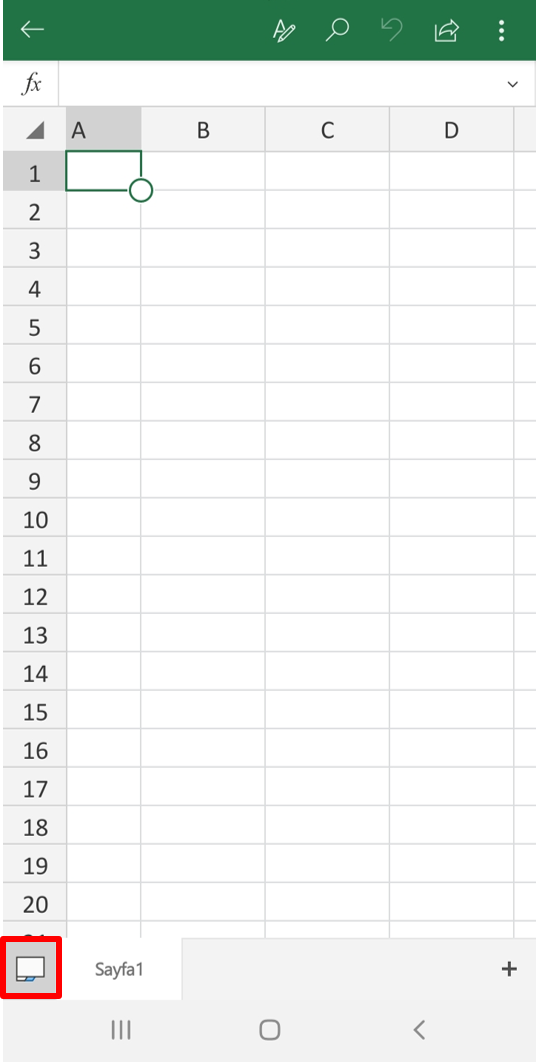
Click the button on bottom left corner to view the Excel tabs.

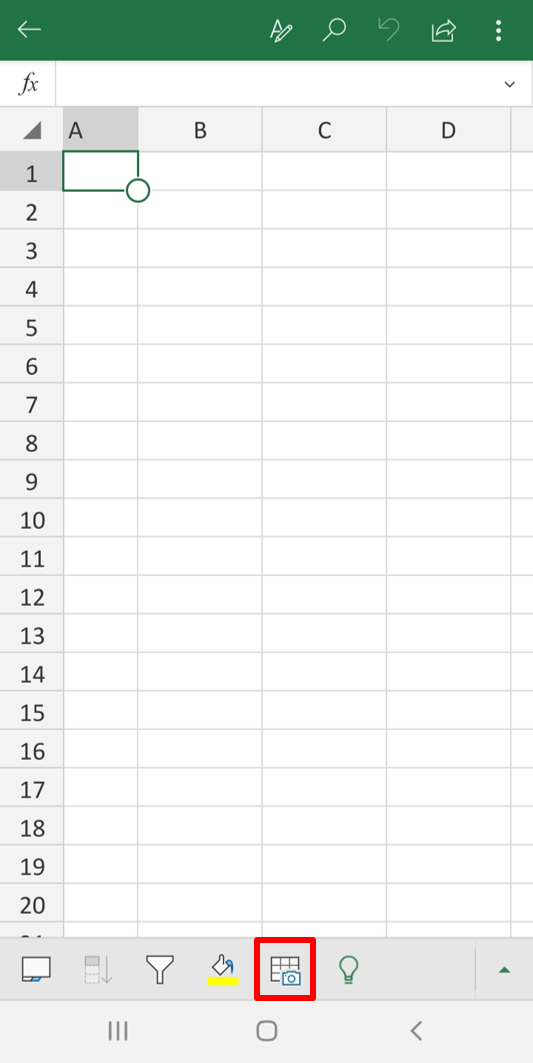
You will see an image with a camera on it (Data from picture).

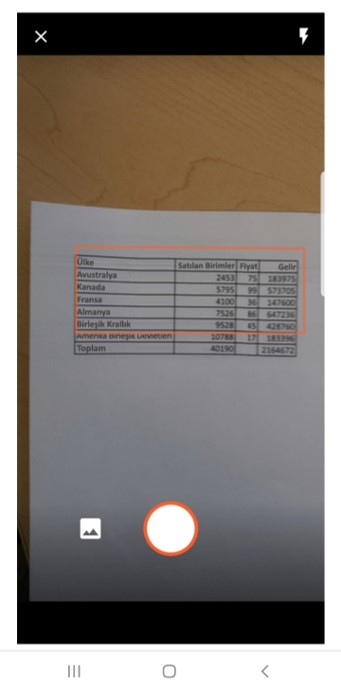
Click the Data from picture button and take a picture of your table.

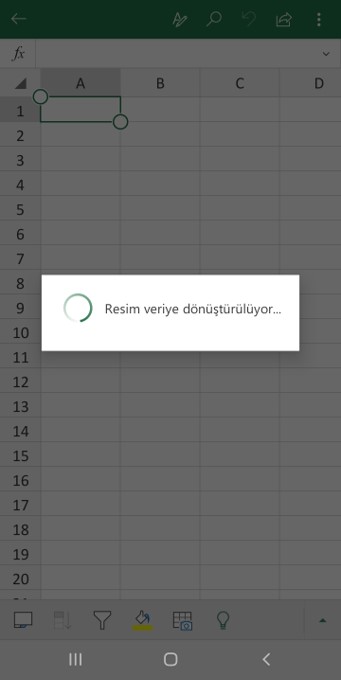
After you take the picture, your data will be arranged in the background to be transmitted to Excel.

When the actions are complete, your table will be ready.


The action is as short and fast as that..