How to Subcrıbe to a Hıdden Page ın Power BI Reports?


Hello dear reader! Today we bring you an important study topic that hasn’t been solved for the Power BI users yet. What if we want to subscribe to a hidden page in Power BI reports? What do we do? Actually, there was a poll in the community page for this feature to come and it has been approved, but hasn’t been added to the roadmap yet. With the “Hide Page” feature of Power BI, we can prefer not to show certain pages to some users in the reports uploaded to the portal. These pages usually consist of the detail pages. What is on these detail pages? The detail pages consist of very detailed information -usually charts- that we don’t directly need in the report but that is highly requested by some users.

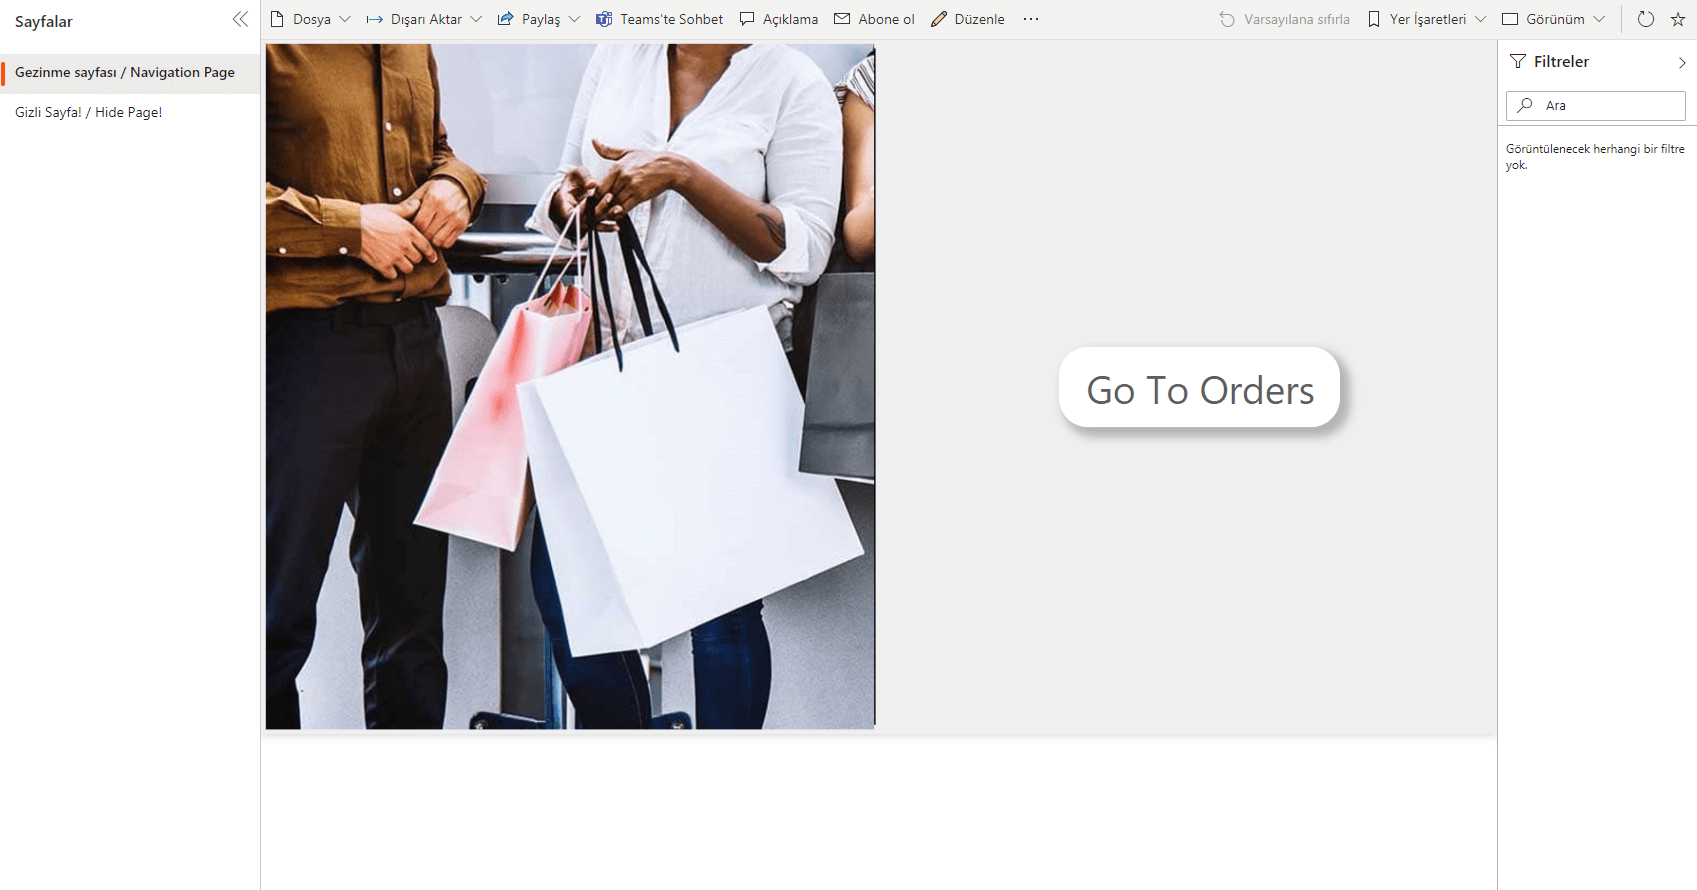
And at some points, these hidden pages might be pages that have been directed from a navigation screen or it might be a completely unique situation to your company. Long story short, there are some pages and you do not want their name to appear or to be accessed directly by the users while browsing through the report! So what if you want to subscribe users to these pages that you do not want to be accessed directly in the report?

Power BI does not offer this as a default feature, meaning we cannot subscribe users to the hidden page. While researching the details of this, I found out that this is because of the design. After doing a few experiments on how to do this, we figured out how to subscribe to the hidden page in Power BI reports! If you please, let’s see how we can do it now:

1- Upload the said page to the portal without hiding it.

Gizli sayfa görünüyor
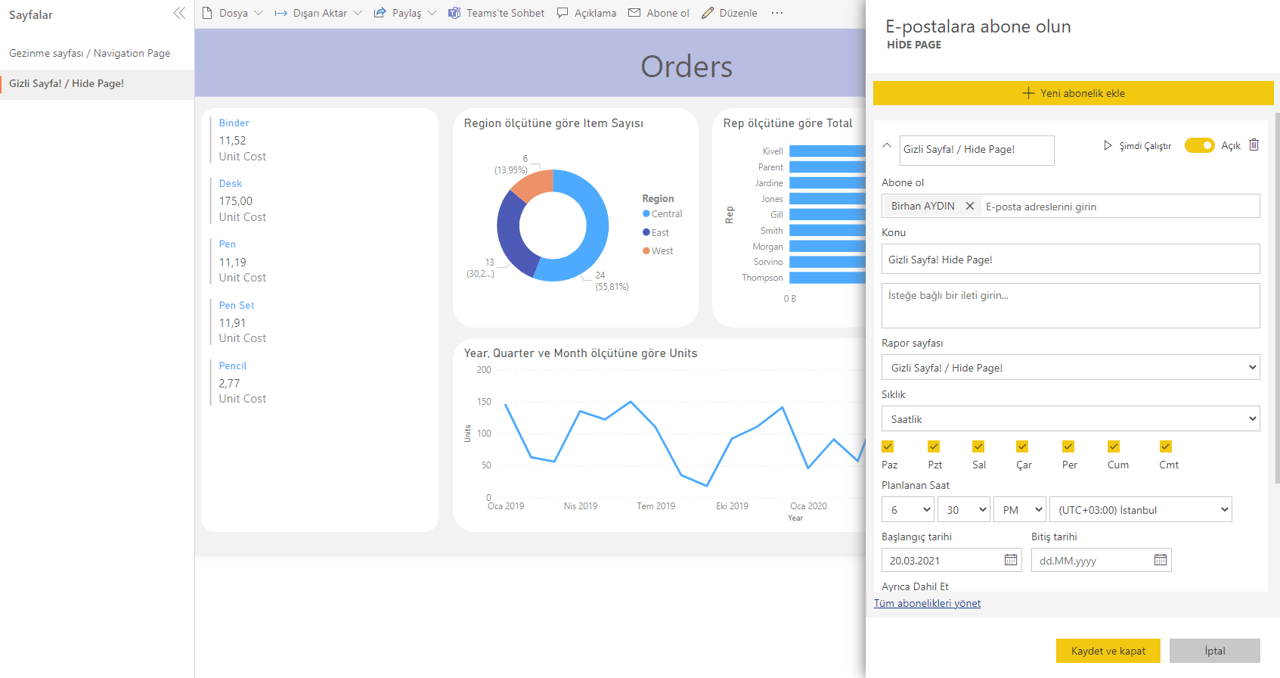
2-Define the necessary subscriptions to the page.

Gizli sayfaya abonelik3- Click on “Edit Report” and hide the page.

Sayfayı gizleyin

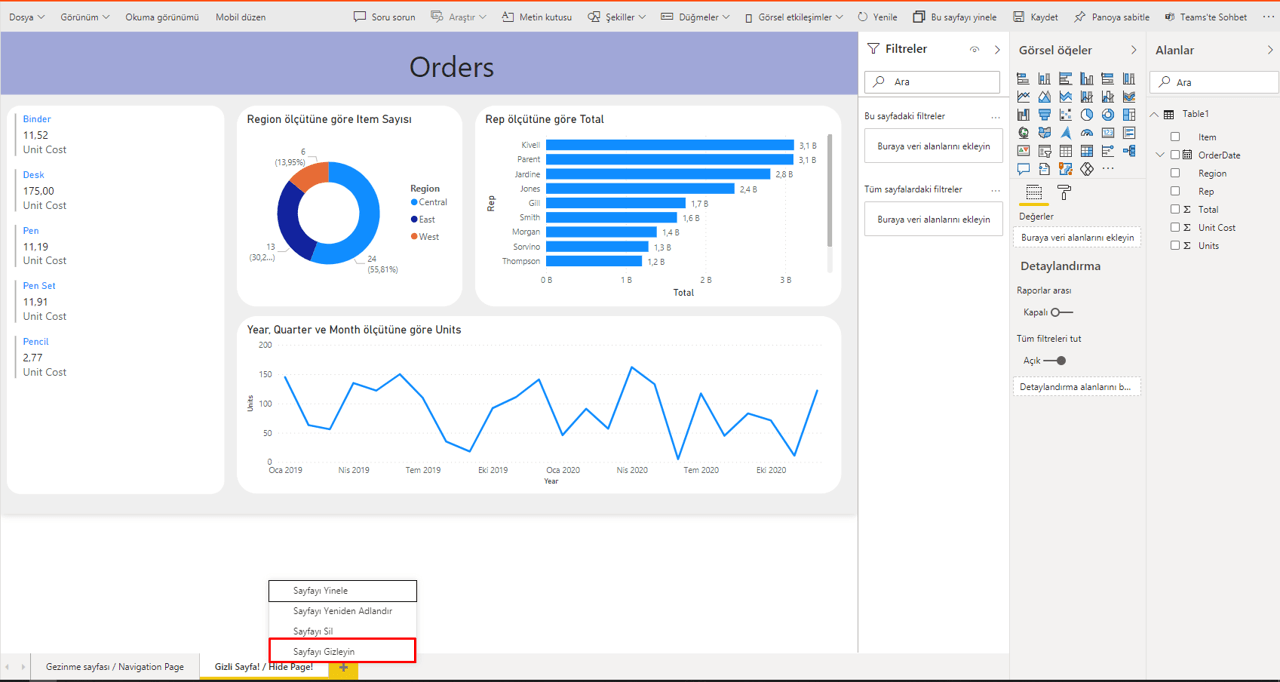
Go back to the review mode and that’s it!

Now, let’s wait for out mail to come at the hour we have defined. Here it is!

mail

It is quite simple to do, but there is a something that you need to pay attention to. Never turn on the subscription feature for the hidden page! When you turn it on, you will see that the report page field will be blank and this subscription will no longer work and you will need to repeat the steps above all over again. If you want to edit the subscription, first make the hidden page visible, then edit the subscription.

We can explain the reason of this situation like this: We had said that the report pages didn’t completely get lost in the back, and that were just not shown in the design on the front. So, actually, the information of the page is kept this way on the subscription page. However, when we turn the subscription back on, the values in this field start to work according to the current situation and explode when you cannot find the page! If you do not do such a thing, you can use this smoothly without any problems.

See you in the next article,

Good game well played!


MASS E-MAIL WITH EXCEL THROUGH OUTLOOK

In this article, I will be talking about how we can execute an action which I know that many users need in Excel Training. Without further ado, let’s see how we can send a mass e-mail with Excel through Outlook.

excel toplu mail

First of all, we will be sending mass e-mails with Excel through Outlook with the power of VBA, a.k.a macros. So, it wouldn’t hurt you to know a bit about macros but I will be explaining the topic simply and since a lot of the code lines are cliche, it is not a must for you to know about macros. Also, I will be indicating what each code line means. First, I will give you all the codes. And then I will be explaining them. Of course, it can be enhanced way more but for now I will be explaining how to send a mass e-mail with a simple method. In addition, I will attach a sample file.

Let’s start.👍🏻


First, let’s assume that we have a table like this.
When we push the Send button, we will send all the e-mails starting from the 2nd row to the last row.

excelvba mail listesi


Send a Mass E-Mail with Excel through OUTLOOK – ALL CODES

Sub PEAKUP_Mail_Send()
   Dim Outlook As Object, newAs Object, i As Long
   Set Outlook = CreateObject("Outlook.Application")
   For i = 2 To Cells(Rows.Count, "A").End(3).Row
      Set new = Outlook.CreateItem(0)
      With new
         .To = Range("B" & i).Value
         .Subject = Range("C" & i).Value
         .Body = Range("D" & i).Value
         .Display
         '.Send
     End With
   Next i
   Set Outlook = Nothing: Set new= Nothing: i = Empty
   MsgBox "Your e-mails have been sent.", vbInformation, Application.UserName
End Sub

Yeap, these codes are all we need. Now, let’s move on to what each code line does. As I stated below, you can think of all the codes below as a template/cliche. It will be enough for you to take these codes and set to, subject and description parts according to your file.


Sub PEAKUP_Mail_Send()

We name our Macro/Procedure PEAKUP_Mail_Send.

Dim Outlook As Object, new As Object, i As Lon

We define the variables we’ll use. It is not a must to define variables but it is pretty helpful. I will be talking about the details in our article about variables and defining methods.

Set Outlook = CreateObject("Outlook.Application")

We created the Outlook application with the Late Binding method. (There are two methods; Early Binding and Late Binding)

For i = 2 To Cells(Rows.Count, "A").End(3).Row

We create a For loop from the 2nd row to the last filled row number in the A column. We use it to send the mail to all the addresses in all rows.

Set new= Outlook.CreateItem(0)

We create a new mail by setting just like pushing the New button in Outlook.

With new

Since the codes below indicate the fields in the new mail, in order not to write “new” each time, we say With new and indicate that it has to do with the new mail. If you pay attention, the codes continue as .To  – .Subject. So, they are all lines about the New mail.

.To = Range("B" & i).Value

We determine who we’ll send the mail to. Here we indicate that it will be sent to those on the B column.

.Subject = Range("C" & i).Value

We determine the subject. We indicate that the subjects are the ones on the C column.

.Body = Range("D" & i).Value

And we request the ones on the D column to be written into the mail body.

.Display

It enables you to display the mail before you send it.

.Send

Sends the mail.

End With

We must close the With statement with End With.

Next i

We request it to move on to the next line in the loop.

Set Outlook = Nothing: Set new= Nothing: i = Empty

We empty the created variable. It is not a must, but helps to not hold up space in storage.

MsgBox "Your e-mails have been sent.", vbInformation, Application.UserName

With MsgBox, we get a information window indicating that mails have been sent.

End Sub

We end our macro/procedure.


ADD EXTRA INFORMATION TO THE MAIL

Add a File

If you want, you can add a file in your computer with the code below to your mail. You can write the code line below under the .To – .Subject statements.

.Attachments.Add "file location"

Make the Look of The Text in the Message Body HTML

Instead of using .Body and writing a plain text, you can use .HtmlBody and make the text visually pleasing with html tags.

For example;

.HTMLBody = "

Add CC and BCC

If you want to add other people to the CC or BCC, you can write these codes under the .To line.

.CC = "Mail address to be added to CC
.BCC = "Mail address to be added to BCC

Set the Importance of the Mail

If you want to send your mail with high importance, you can add this code line.

.Importance = 2


Well… if you have analyzed and learned everything I have written so far, we can move on to the application part. 😃


When we run the codes, the mails will be sent to all the addresses like in the GIF below.

Note: If you activate .Send instead of .Display, the mails will be sent without displaying. 

excelvba outlook ile mail göndermek


You can download the application file here 👉🏻  .
And here is another example for you.


See you in other articles, bye. 🙋🏻‍♂️
You can share this post with your friends and help them get informed as well.👍🏻

Hello,
” & Range(“D” & i).Value & “