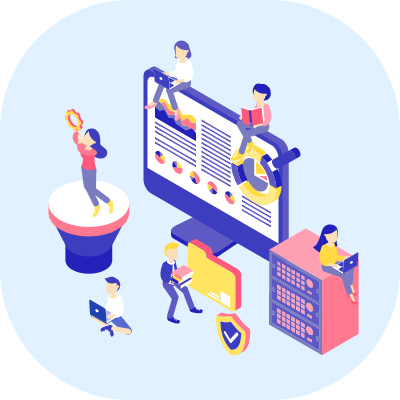
INFRASTRUCTURE SERVICES
Access all the services you need to improve the technological infrastructure you have from a single point. Create migration strategies for identity management, device management, data and application security, converged infrastructure architectures, and plan all the services you need.
Redesign your modern workplace for the employees at the most affordable prices with secure cloud architecture.
GET DETAILED INFORMATION
We have created 3 basic perspectives for you to plan your corporate IT services.

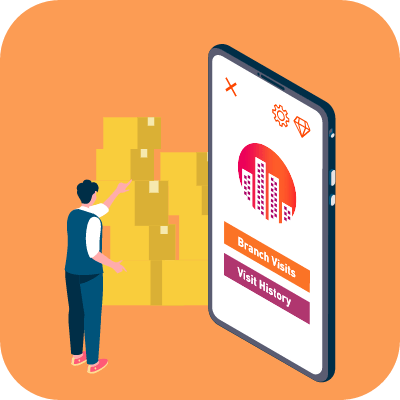
Modern Workplace
The modern workplace enables the employees to access all the technology tools they need with the conditions of this day and age, with the same efficiency, and from anywhere at any time.
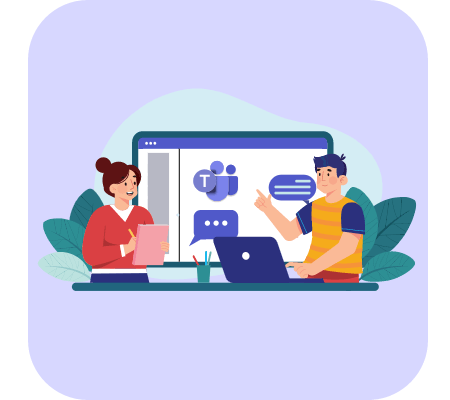
Collaboration Platform
Start using Microsoft Teams, your collaboration and chat application that will build your digital workplace and increase your productivity.
Business Applications
Get many applications that you will need for your employees, like Office, Exchange, SharePoint, Teams, Windows 365, with packages that suit your needs, and facilitate your license management.
Virtual Desktop
Move the Virtual Desktop infrastructure you use for reasons such as hardware and application requirements and security to more flexible and secure architectures suitable for hybrid operation.
Flexible Cloud Architecture
Focuses on adding a new perspective to your technological architecture that is costly, stagnant or that no longer meets your needs, without losing your habits, with Microsoft Azure.
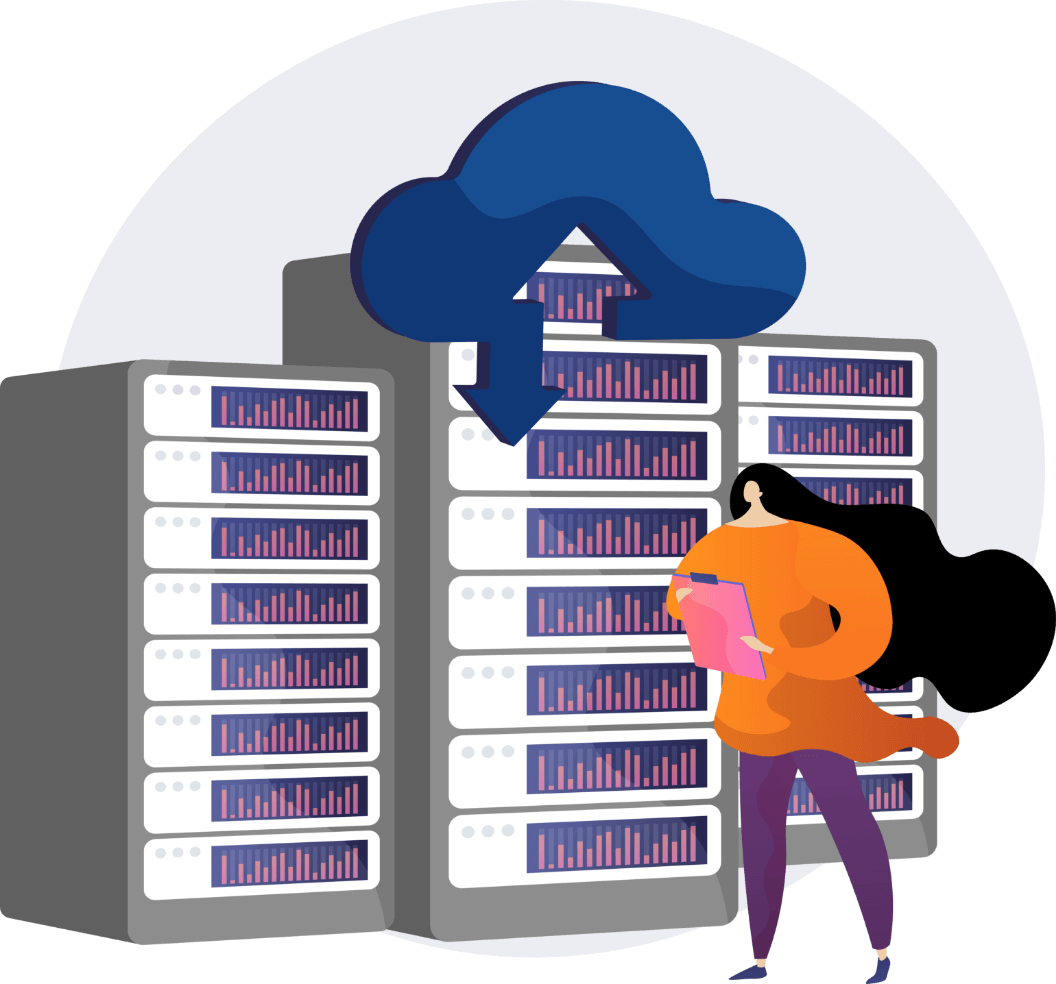
HOSTING AND STORAGE
Meet the architectures that will ensure your data to be stored correctly, cost-effectively, and saved from disaster scenarios.
Hybrid Server Management
Monitor the performance of all your local and cloud server resources, take security actions and manage them from a single panel with Microsoft Arc.
NEW GENERATION FILE SERVER
Migrate your File Server architecture in your infrastructure to a new generation cloud architecture that will meet your needs better by prioritizing security and costs.

SECURITY
It is based on security at every point, from your technological architecture to your data, from applications to user devices and authentication.
Endpoint Management
Manage your company’s operating system installation, update management, application distribution and security for all mobile and desktop devices your users own from a single panel with Microsoft Endpoint Manager.
Data Management
Ensure the security of your company data at every point, from your employees' computers to servers, and ensure compliance with regulations like Law of Protection of Personal Data with Microsoft Information Protection.
Application Management
Create automated workflows against unauthorized activities of employees in applications used throughout your organization and ensure your security with Microsoft Cloud App Security.
WORKSHOP
Contact us to have your system architecture redesigned!
FREQUENTLY ASKED QUESTIONS
What is Azure AD Connect service?
AD Connect service allows us to establish a synchronization between our local Active Directory and Azure AD. This way, when we want to benefit from the Office 365 services and do not want to use a second account address like user@companyname.com, we can manage all user accounts and the services they use from a single place by synchronizing local AD with Azure AD.
What is Azure Virtual Machine reservation?
Reservation is the process of reserving the resources by promising a long period of use for our virtual machines (and some other services such as SQL Database, Blob Storage) in Azure. In contrast, Microsoft offers us options such as 1 year, 3 years and more affordable prices for the use of these resources.
How do you do cost analysis and optimization in Azure?
We can find cost analysis tables in the Azure Cost Management tool. Here we can see how much our resources are being consumed under which subscription, we can filter them according to need, and we can share this output with anyone we want. Apart from this, you can also find Azure Advisor under the Cost Management tool. The consultant examines our standard usage and lets us know about the points that we can improve, and provides the opportunity to implement these solutions with a single click.
Is an extra license required for multiple authentication in Azure AD?
No extra license is required for multiple authentication (MFA). In fact, this service comes as activated as default.
Can Azure AD be used as local AD?
Yes, Azure AD provides managed domain services. Thanks to Azure AD DS, you can have two Domain Controllers which you do not need to deal with the physical condition of.
Is there a tool we can use to see the Azure equivalent of our on-premise server environment?
With the Azure Assessment tool, you get both a performance analysis report of your local environments and a budget report on your resource consumption needs in Azure.
Do you provide consultancy services for the server migration processes?
Yes, as the PEAKUP Enterprise Services team, we provide free support in matters such as assessment work and evaluation of its output, as well as consultancy services for migration.
Can we set up a hybrid structure between Azure and our local environment and make the resources work together?
With the Site-to-Site VPN service Azure provides, you can use the two environments in a hybrid structure.