Xamarin Forms Caching Strategy with Monkey Cache🐒

Today, we will learn caching technology in Xamarin.Forms as Monkey Cache.
Sometimes we need to store data in the application that we develop. For example, HTTP requests, configurations, settings, databases etc.
I need to store HTTP requests for a while during work on a project. I found Xamarin monkey cache while I search about caching strategies in that way.

What is monkey cache?

Monkey cache is a simple way to store any type of data. It supports SQLite-net, LiteDB, and a simple File Store. Monkey Cache is built against .NET Standard 2.0 and that means it is not just using with the mobile applications; it can use in any .NET projects.

How to use?

First of all, let’ s install Monkey Cache in our project from NuGet packages. You can use any file storage type in your project.
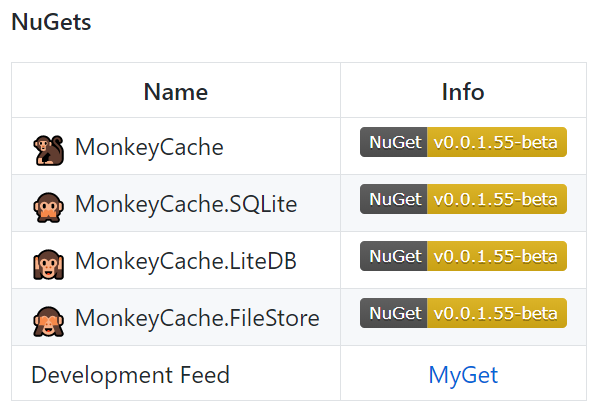
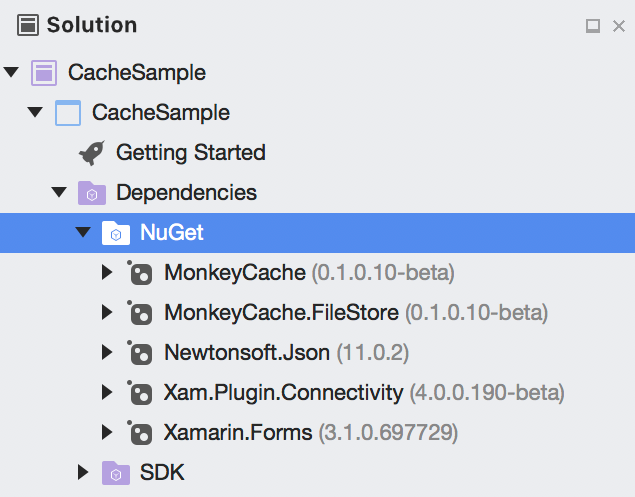
I prefer FileStore for this project. I install MonkeyCache 0.1.0.10-beta, MonkeyCache.FileStore 0.1.1.10-beta.
Data is stored in a “Barrel” or IBarrel. Don’t forget to give an application id on the barrel before storing data.

Barrel.ApplicationId = "your_unique_name_here";

If you want to do user-based cache, you can use some code like this:

Barrel.ApplicationId = "your-app-name" + UserId + DateTime.Now;

Caching a Web Request

Http request caching is very easy with Monkey Cache. We can set the expire time easily in this way:
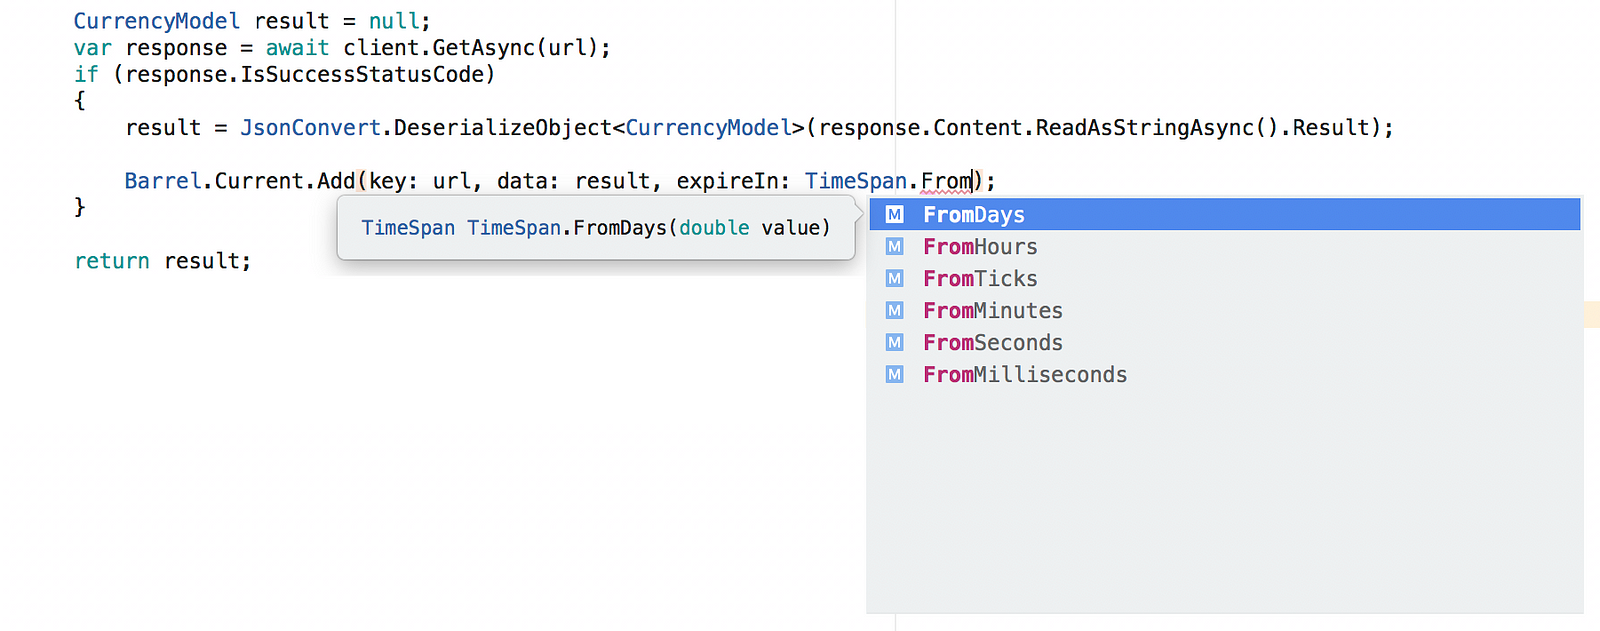
Think like this scenario; I want to store the results of HTTP requests while if the user connected to the internet. I want to take these data from this cache if the user didn’t connect the internet and cached data didn’t expire. Now let’s take a look at the example:

https://gist.github.com/HilalSener/06f858271a13dc42b7130bd9ab3d63b5

We have seen together how to use Monkey cache today. Easy, right? You can use it over any caching scenario. Follow sample project here.

Happy Coding 🙂

You can find Monkey Cache Github source here.

You can find my previous article on Xamarin here.

Advanced Tuple Techniques in C#

Tuple in C# was introduced at C# 4 but it was nothing like what some other languages has to offer. It was clunky and hard to use. The only thing they provided us in C# was a couple of generic classes and nothing more. But it is history now because as of C# 7, they are massively improved and have a first class support in the language. Today we are going to take a look at how to use them and after that I will show you some techniques on how to use them more 🙂

First, how to use them;

https://gist.github.com/fatihdgn/4ee6f2c291d3066d03b9787ce454dc52

So, if we are on the same level now, we can get in to the juicy details.

Add deconstruct support to your classes

Actually this one is not entirely related to tuples but makes sense afterwards. You can add a method called “Deconstruct” in your classes and imitate how tuples deconstruct itself.

https://gist.github.com/fatihdgn/0390aadd6a6c70d89261a142a9100b30

Add implicit operator for that tuple to your classes

You can use your newly created tuples in your implicit operators because they are like your any other type. Let’s improve our previous example.

https://gist.github.com/fatihdgn/269e42ee85783fca17734a7d7c3a1a03

Write extension methods to or for your tuples

When you have no access to specific class or struct and want to add something but don’t want to create something new inheriting that, the answer is always writing an extension method. I heavily use them when I’m coding and I found a way to use them here too. You can write extension methods for the tuples or write something returns one.

https://gist.github.com/fatihdgn/f8fd1077aaf6ab7fa12c3a92b68e9f85

So, that’s it for now. Please let me know how you are using the new tuples in C# and I will make sure to add more if I find any other way to use them.

Thanks for tuning in and see you in the next post.

How to Setup Angular 6 Envıronment on Wındows

Hi everyone! In this article we will learn “How to setup Angular 6 Environment on Windows”!

We all know that Angular 6 is one of the best framework for developing  Single Page Applications. So how do we setup the Angular 6 environment in Windows? Let’s make it together!

  • Download & Install Node JS on your PC
  • Install Angular CLI globally
  • Choose the best text editor for you

Step 1: Download & Install Node JS on your PC

Open your browser and navigate to: https://nodejs.org/en/  than Download the current version of Node JS.

How to Setup Angular 6 Step1


If you want to make sure that you have successfully installed the Node JS;

Open your command prompt and type “node -v”. If you see the node version as below, the installation is ok!

How to Setup Angular 6 Step1-1


Step 2: Install Angular CLI globally

Angular CLI is a command line interface for Angular. To install the Angular CLI;

Open your command prompt, and type “npm install -g @angular/cli

How to Setup Angular 6 Step 2-1


If you want to make sure that you have successfully installed the Angular CLI;

Open your command prompt and type “ng -v”. If you see the cli version as below, the installation is ok!

How to Setup Angular 6 Step 2-2

Step 3: Choose the best text edıtor for you

With any text editor you can develop the Angular project. But one of them is definitely better: Visual Studio Code!

How to Setup Angular 6 Step 3


With a lot of plug-in support, you can develop Angular 6 projects much faster and more convenient with Visual Studio Code! In another article, I’ll talk about the best Visual Studio Code plug-ins. Stay on track!

You can download Visual Studio Code from https://code.visualstudio.com/

Now you can create your first Angular 6 project! Open your command prompt type “ng new my-first-project”!