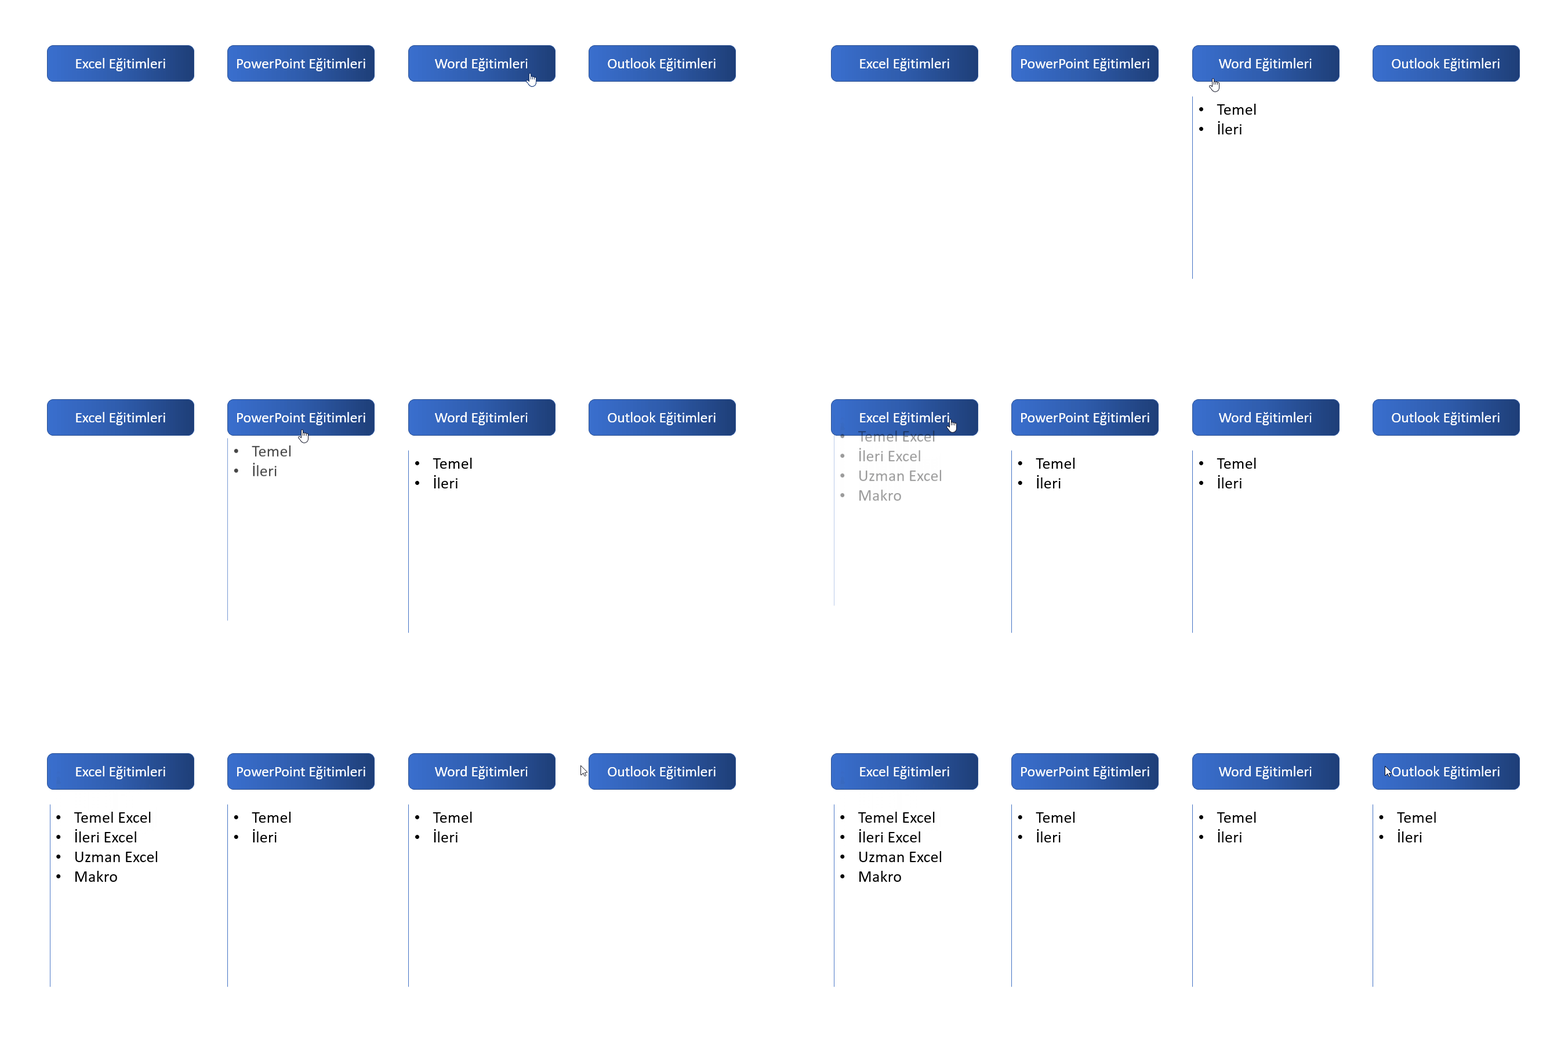
You can try different method to make a more effective presentation. This way, you can present in a more catchy way visually and more effectively.
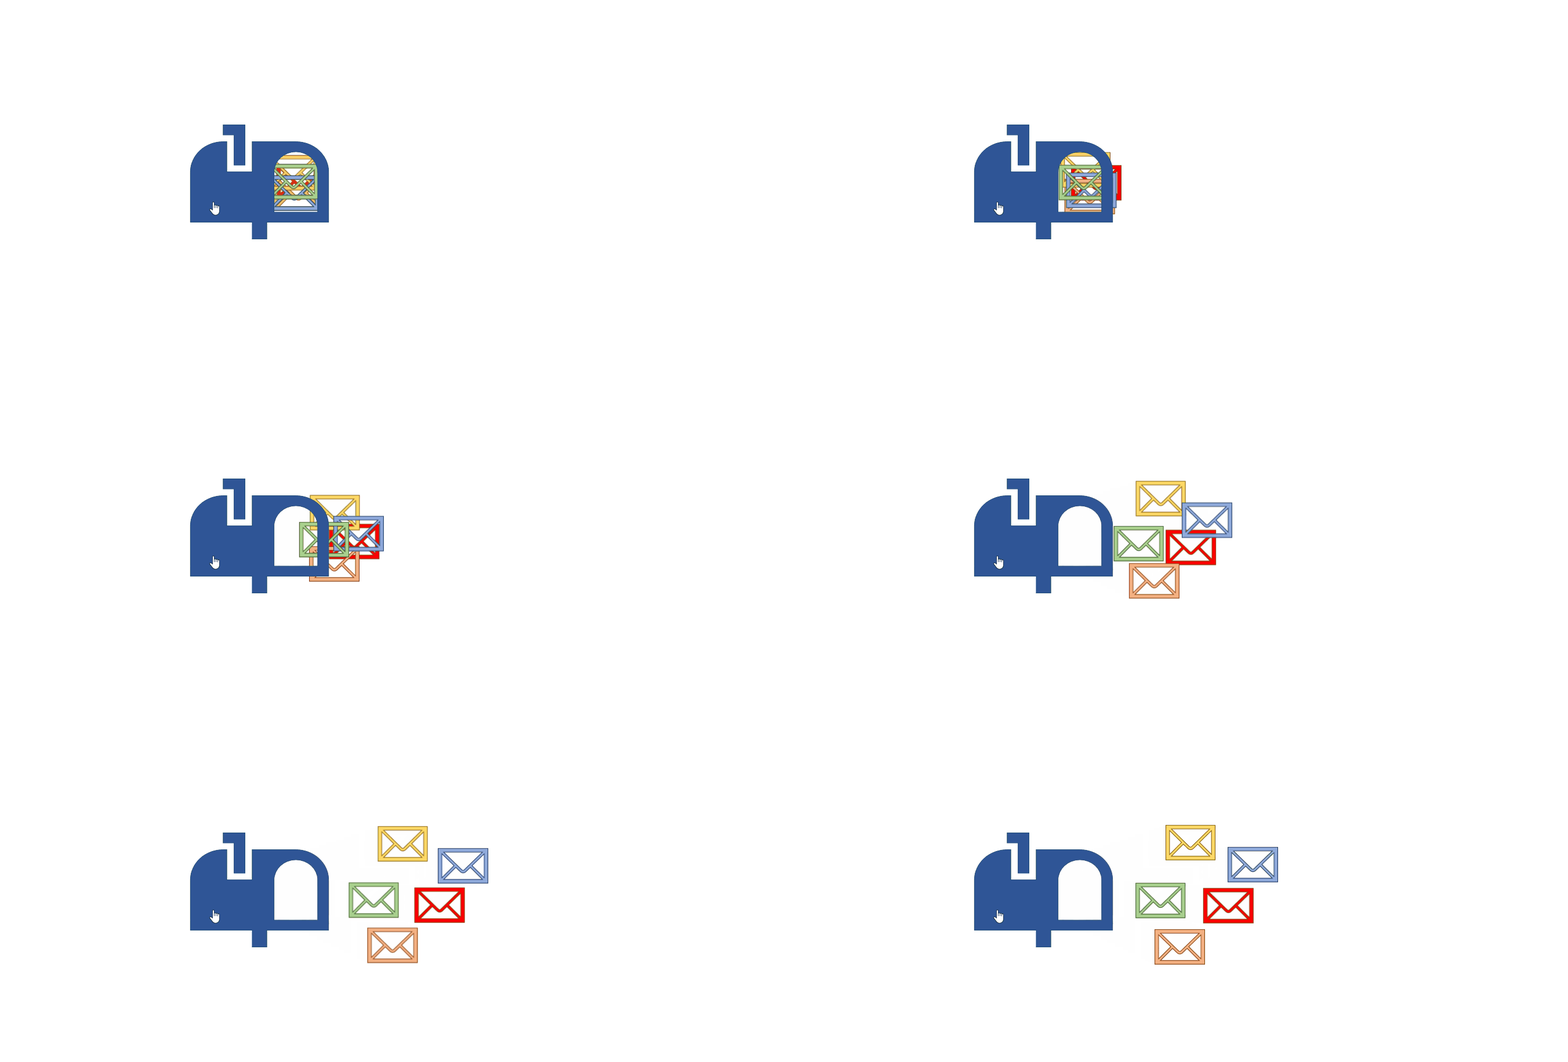
The enveloped move outward when you click the mail box in the animation above.
We can start by adding images.
We choose all of the envelope items that need to move when we click the mail box. Click the Add Animation button from the Animations tab and choose More Motion Paths. We add the animation by choosing Right.
When you add the animation it will look like the image below. The road map of the animation is shown with the dotted lines. Green dots are the start of the motion and the red dots are the end of the motion.
We change the start and end motion of the animation by dragging the green and red dots.
We drag and leave the green dots (starting points) to one point in the box since we want the envelopes to move outwards from the mail box. You can leave the end points the way you want.
Now, for the envelopes to move when we click the mail box let’s choose all the envelopes and click Trigger button next to the Add Animation button and then choose the mail box image within On click of. (If you don’t know the name of this image, or if there are multiple images and you don’t know which one, you can track the items with the Home Tab- Editing-Select.)
