We can analyze the user roles on Azure under two different titles of Azure AD roles and Azure Resources roles as a platform. Microsoft has released the Azure AD Privileged Identity Management product for the management of these roles.
What can we do with the Azure AD Privileged Identity Management PIM product?
-You can assign privileged roles and define duration with the ticket or approval method for Azure AD or Resources.
– You can analyze all the action of the person who assigned or who got assigned by fetching activity logs through Azure AD Privileged Identity Management dashboard.
You need Azure AD Premium P2 or Office 365 E5 license to be able to use this product.
For Azure AD roles,
We can move on to the action steps.
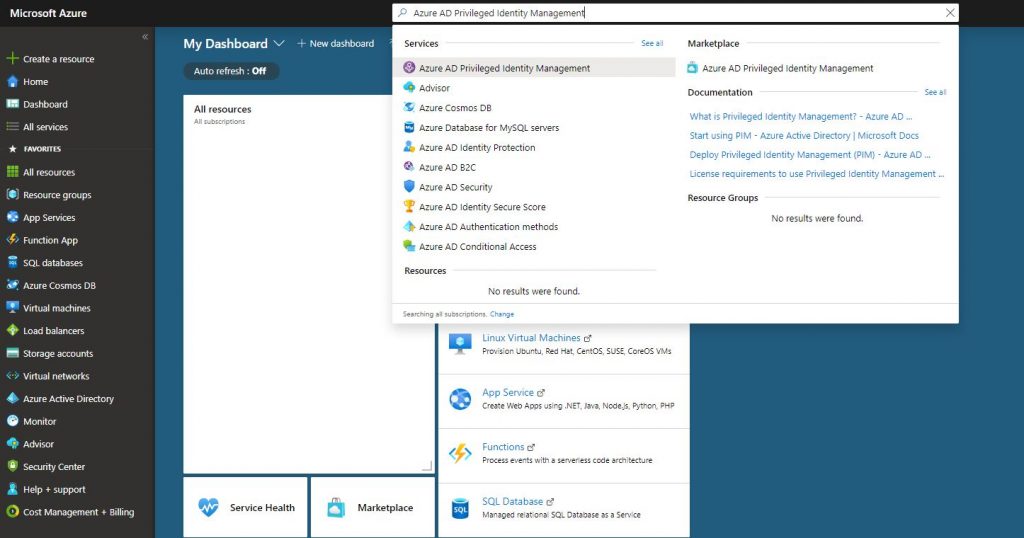
-Open the product by writing AD Priviliged Identity Management into the Search field on Portal Azure.
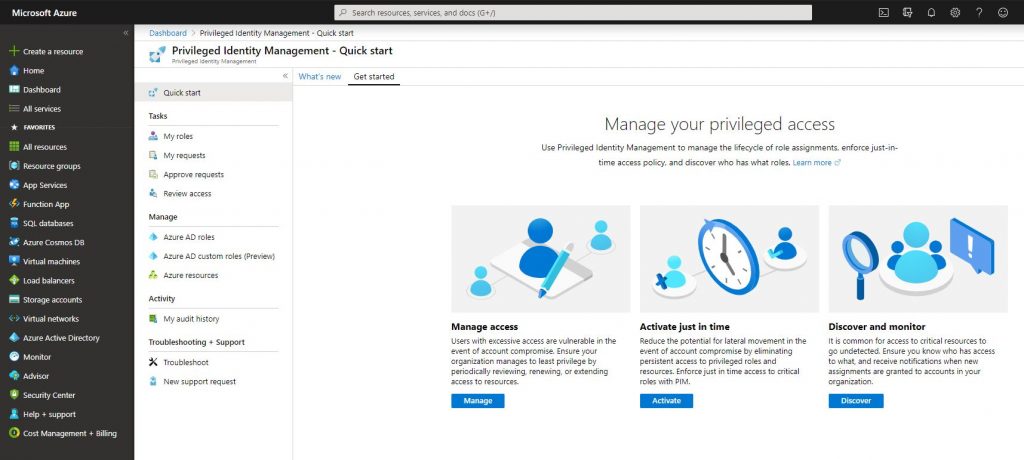
-A dashboard like the one below welcomes us when we open AD Privileged Management. We can do the necessary authorizations with the shortcuts on this dashboard.
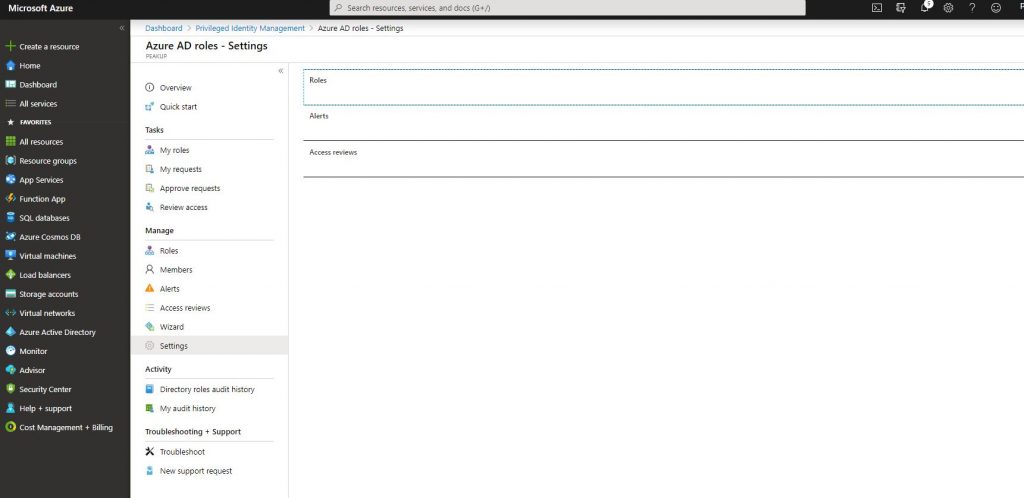
-After clicking Azure AD roles, go to settings and click roles.
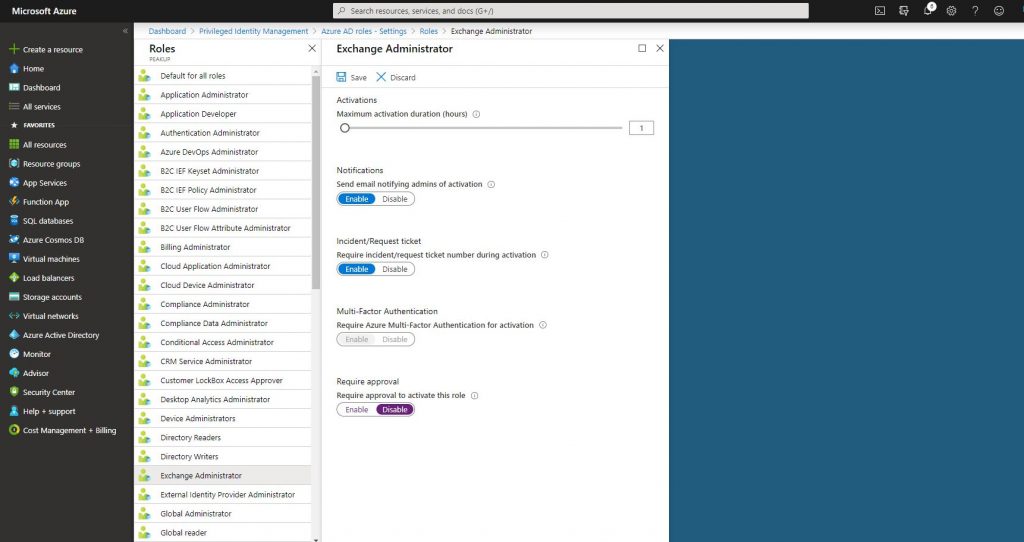
-Enable the Ticket in the field how the role will be active when it is assigned to the user.
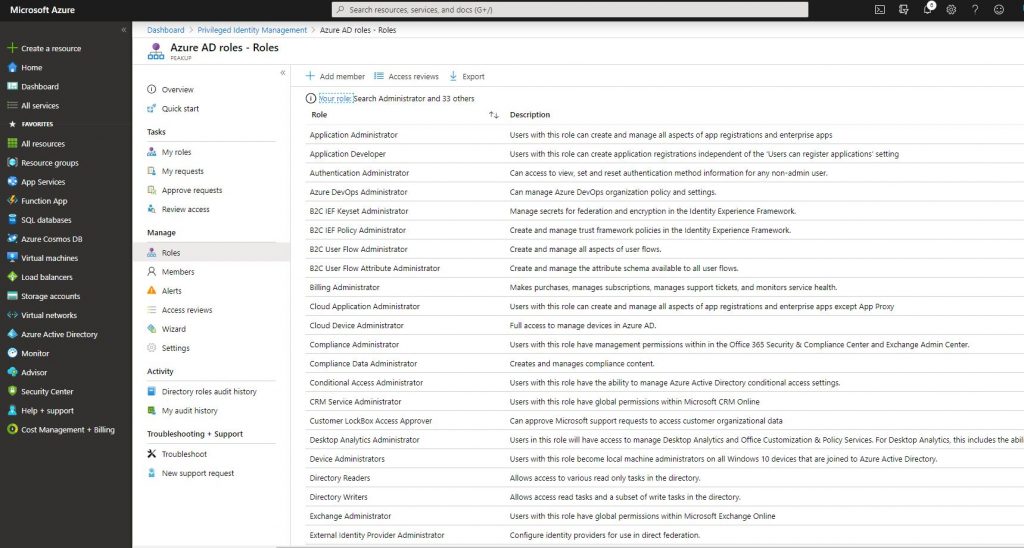
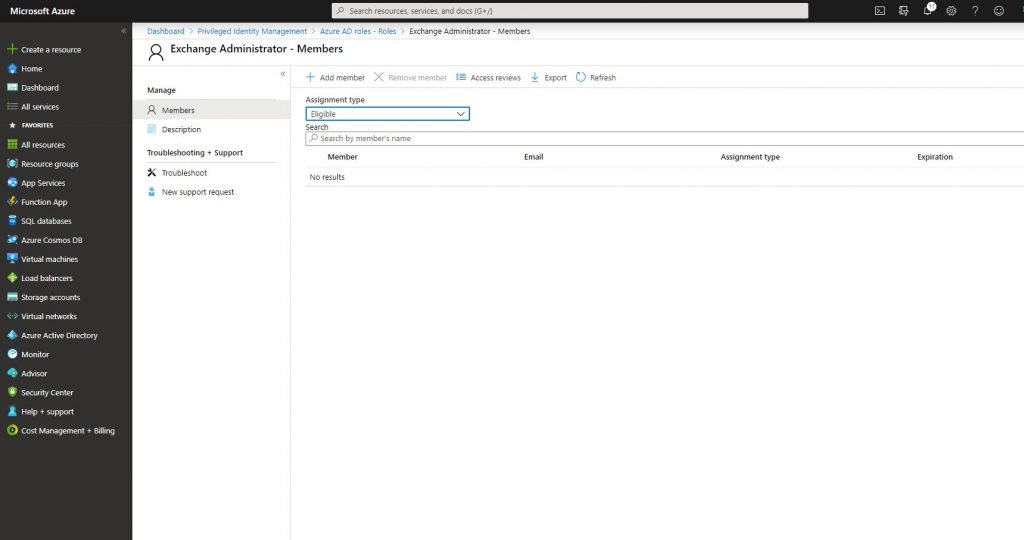
-Go back to the Azure AD Roles tab and go to Roles. Click Add Member and choose the user to whom you want to assign the role.
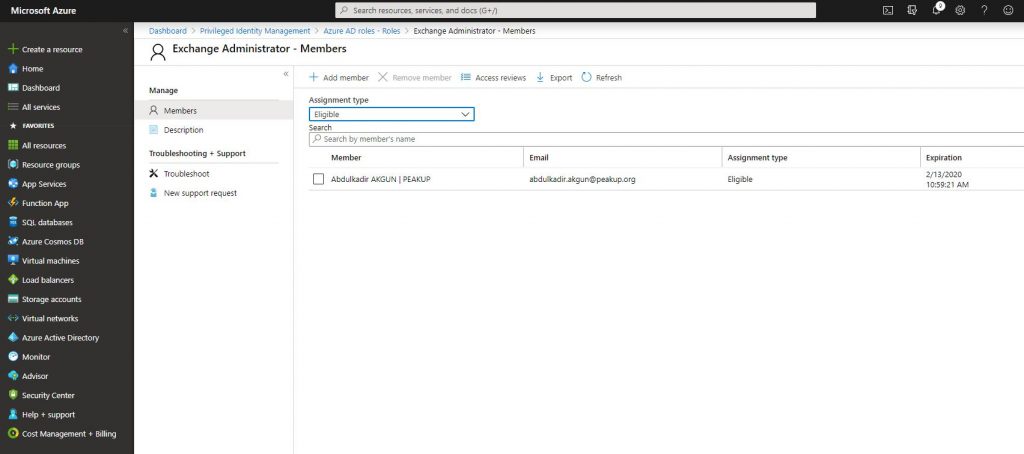
-Add the related user. The roles can be assigned as Eligible or Permanent. Since we will assign a role with a duration, choose Eligible.
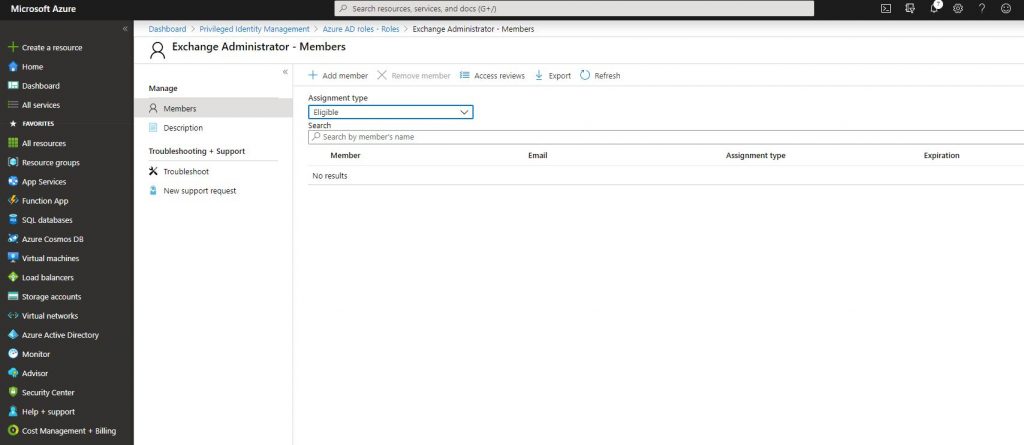
-We assign the role like you can see below.
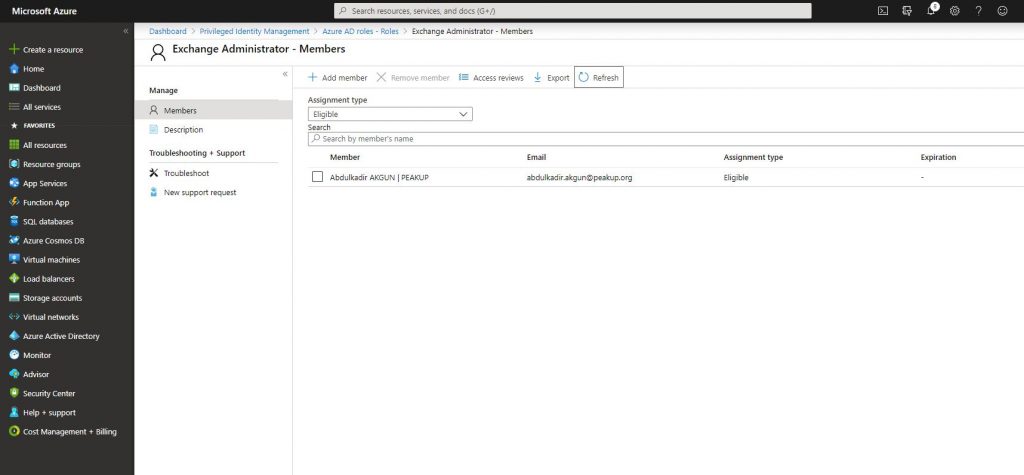
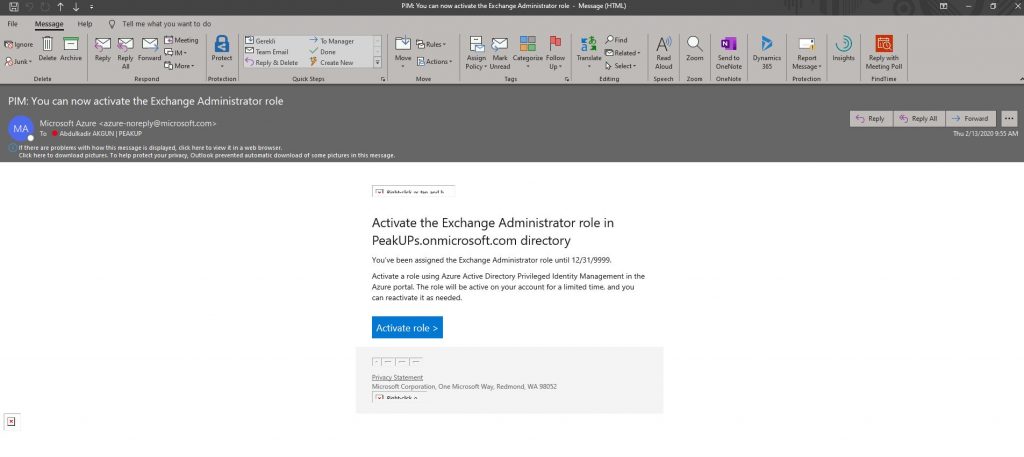
-A mail like the one below is send to the related user. Click the activate role button. You can access the related field by going to https://portal.azure.com with the user information and opening AD Privileged Management.
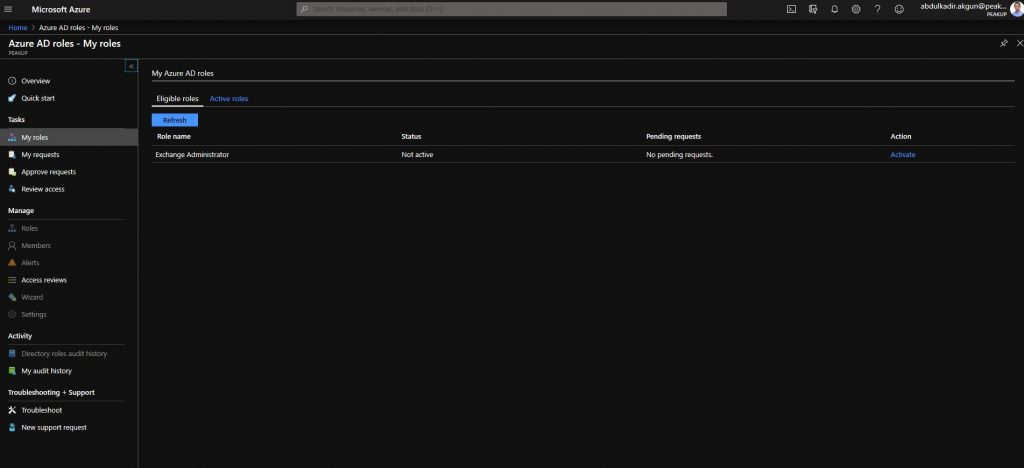
-Choose activate on the page that is opened.
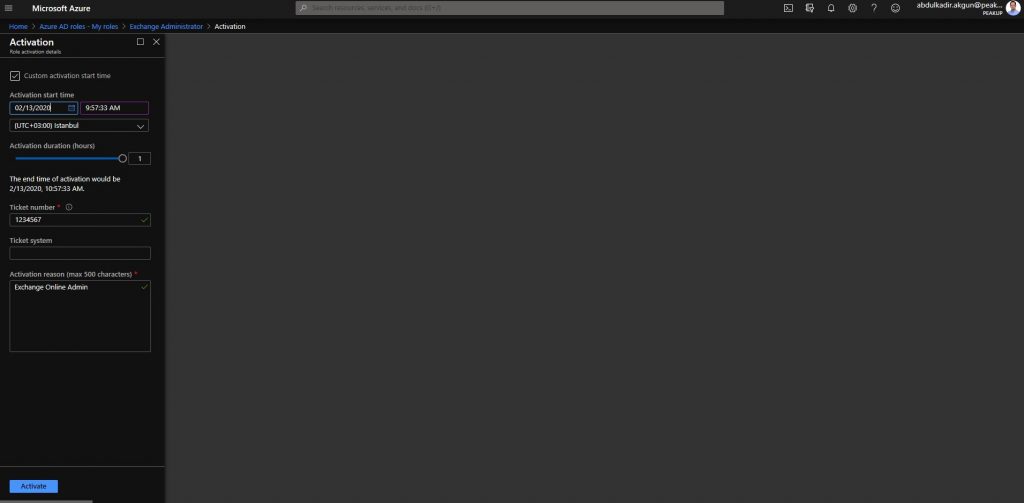
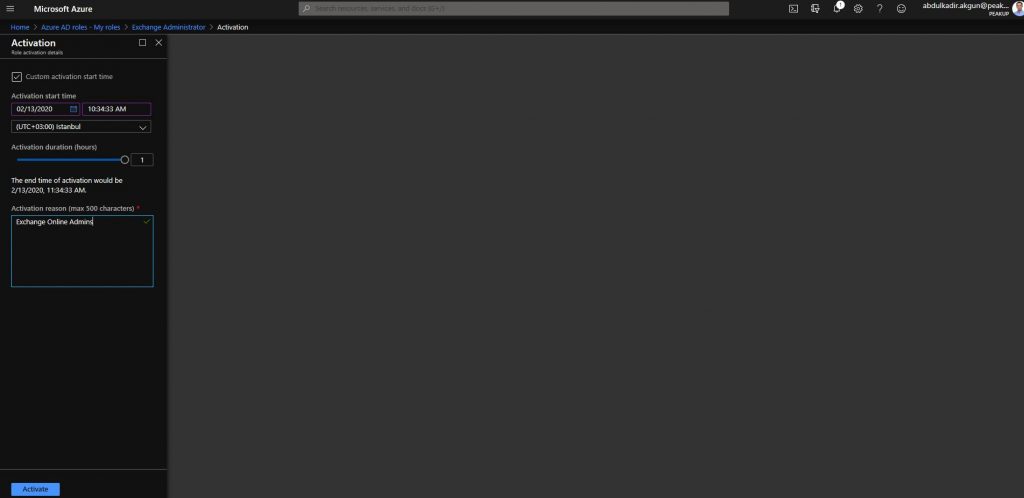
-You can specify a custom activation hour and have the role activated later. Ticket number and Activation reason fields are required fields and their content is optional. Write the content the admin or user have determined into the Ticker number field.
-After the activation action, the role has been activated like you can see below.
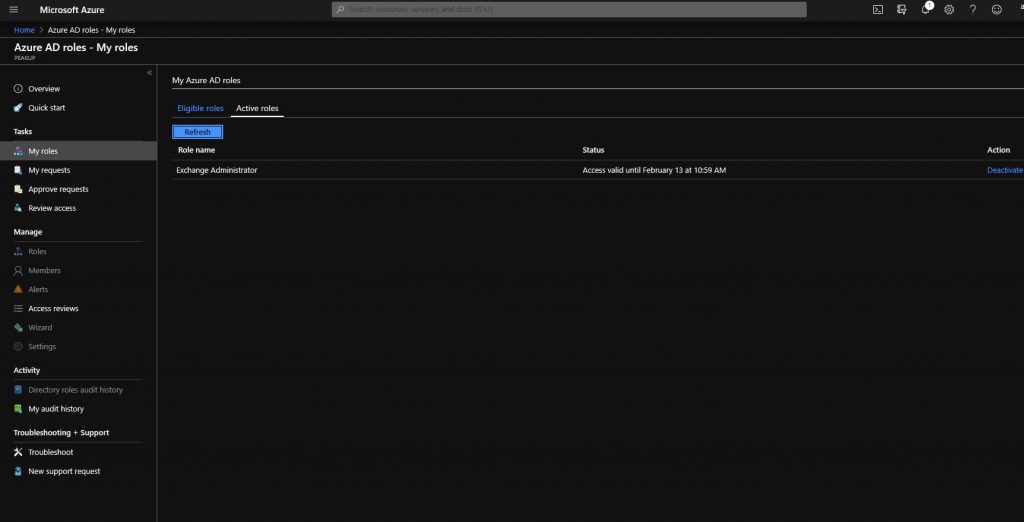
-You can see that the role has been activated and the expiration duration on the Azure AD Privileged Management dashboard.
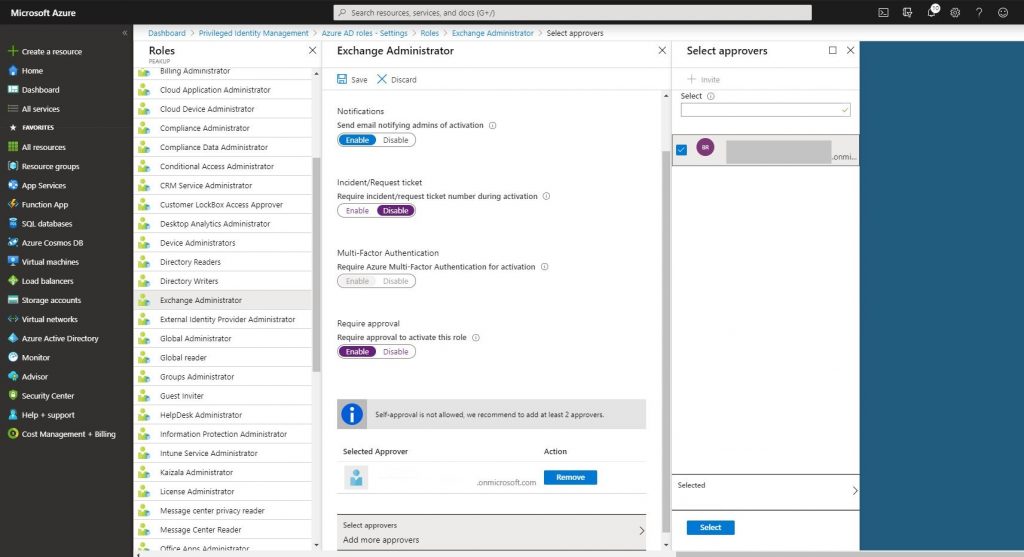
-Another role assigning method is the Require approval method. Let’s activate it in the related role like below. And choose the admin user that will approve.
-Open Manage-Roles.
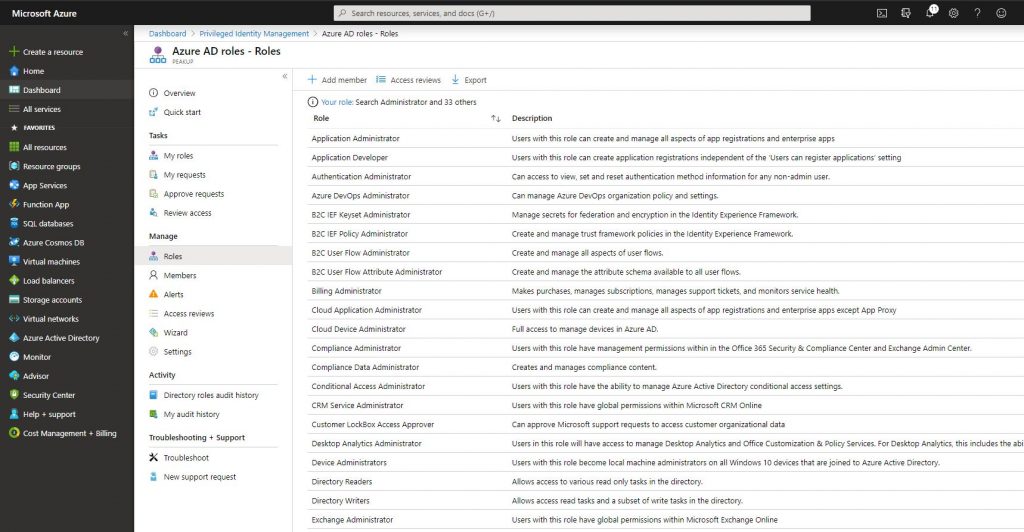
-Choose Add Member and add the related user.
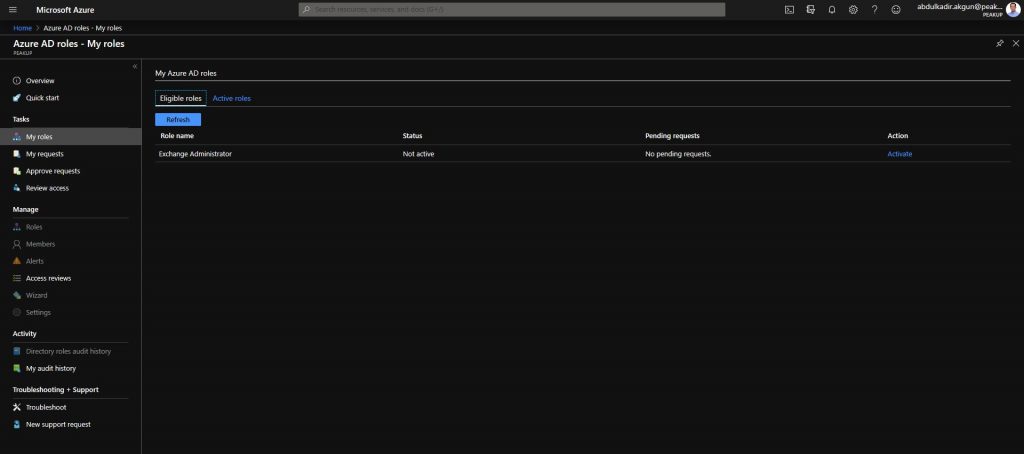
-Go to https://portal.azure.com with the related user and open AD Privileged Management. Click the Activate button.
-Write content optional to the Activation reason field. Click the activate button.
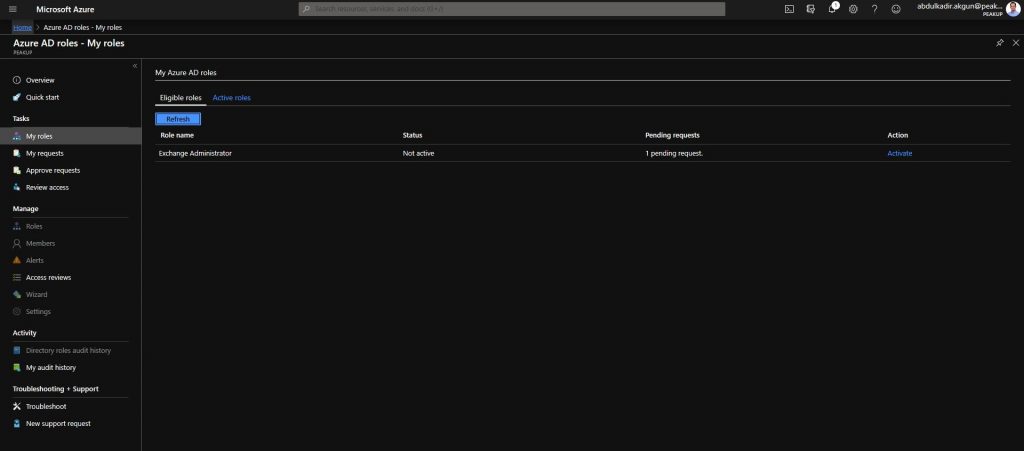
-The role will not be activated right away. Its status will be updated as pending request. A request will be sent to the Approver user we’ve stated in the role settings.
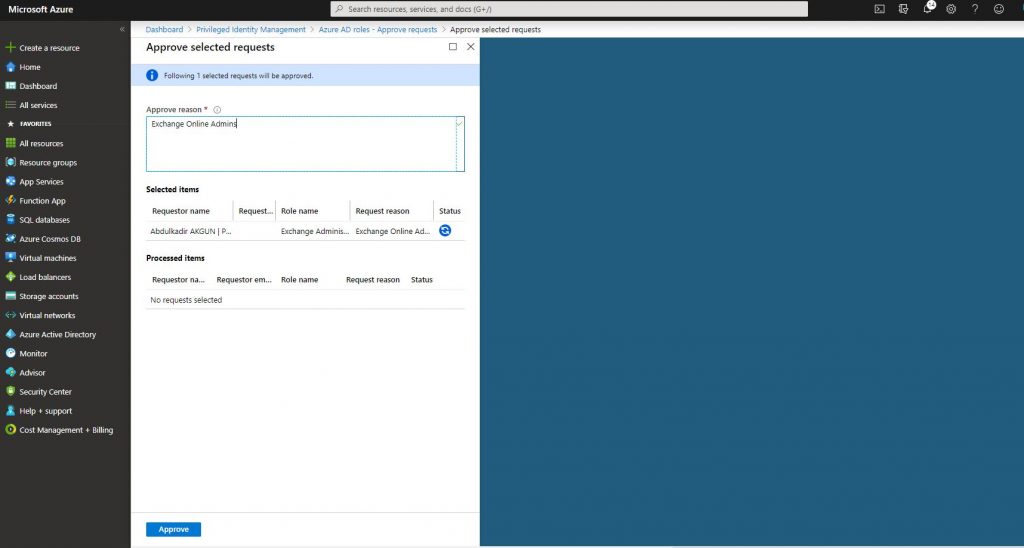
-Approver requests with the Approver user are seen like below.
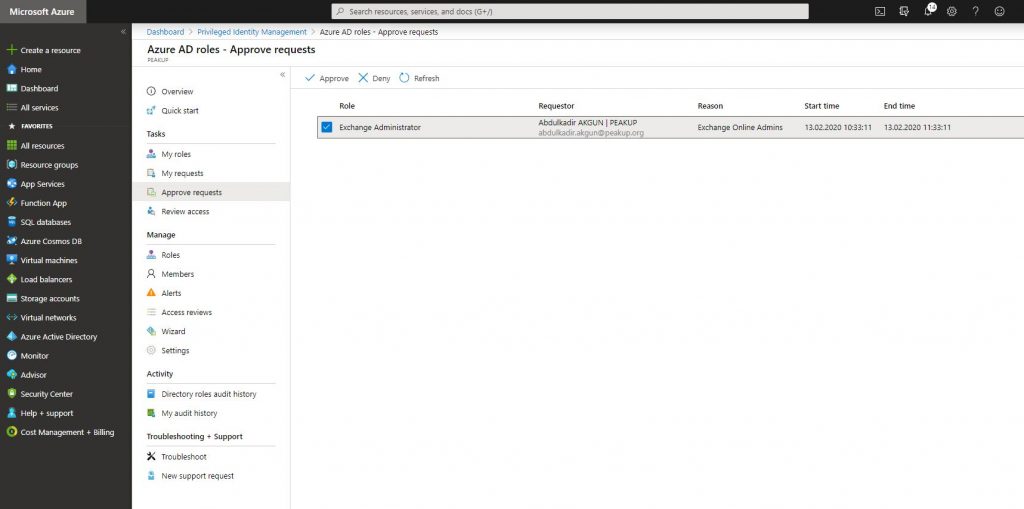
-After the request is approved, the role is activated.
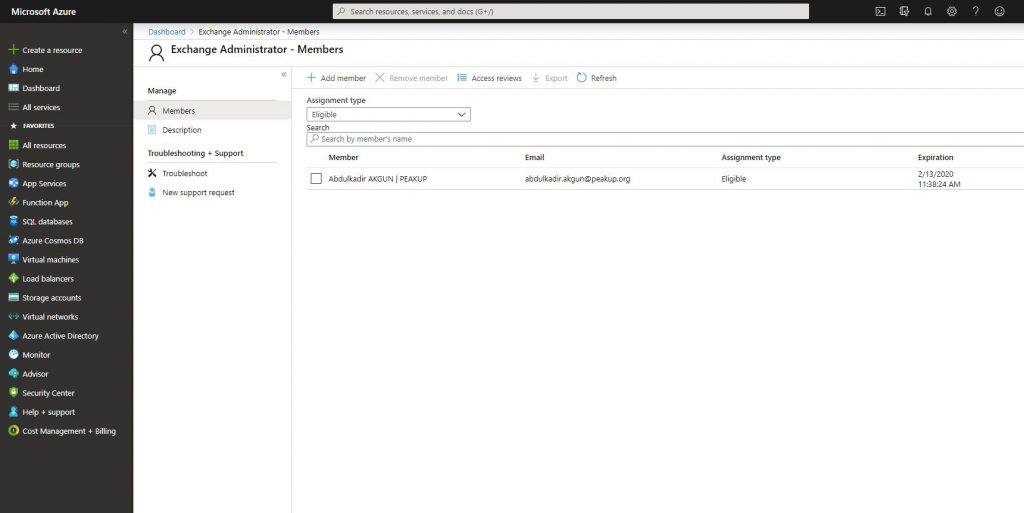
-The related user is assigned to the role.
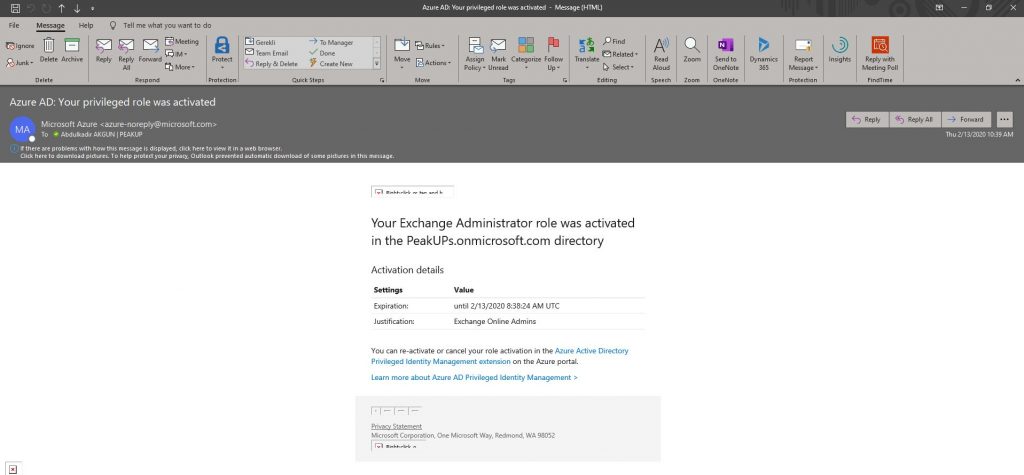
-A mail stating the the role is active will be sent to the user who we’ve assigned the role to.
For Azure resources,
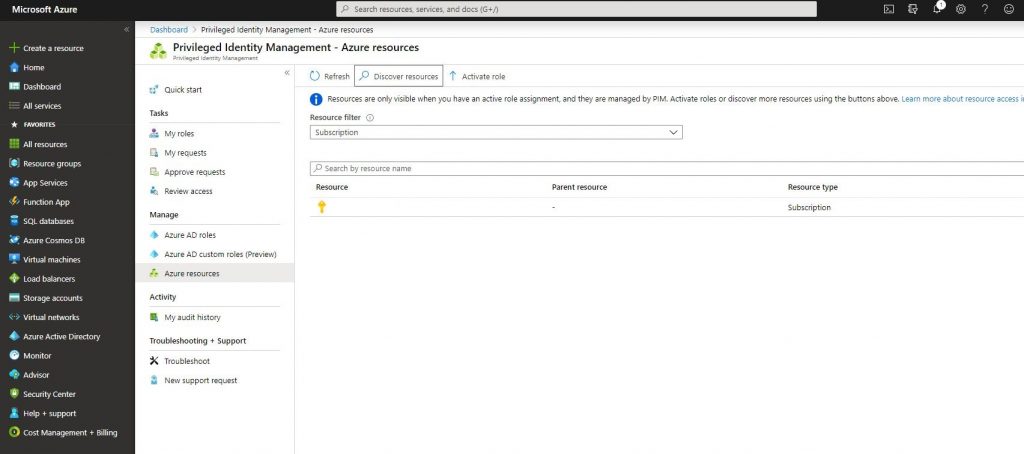
-You can assign roles in Azure resources with Azure AD Privileged Identity Management. Open PIM through portal and click Azure resources. Then click Discover resources and add an available subscription.
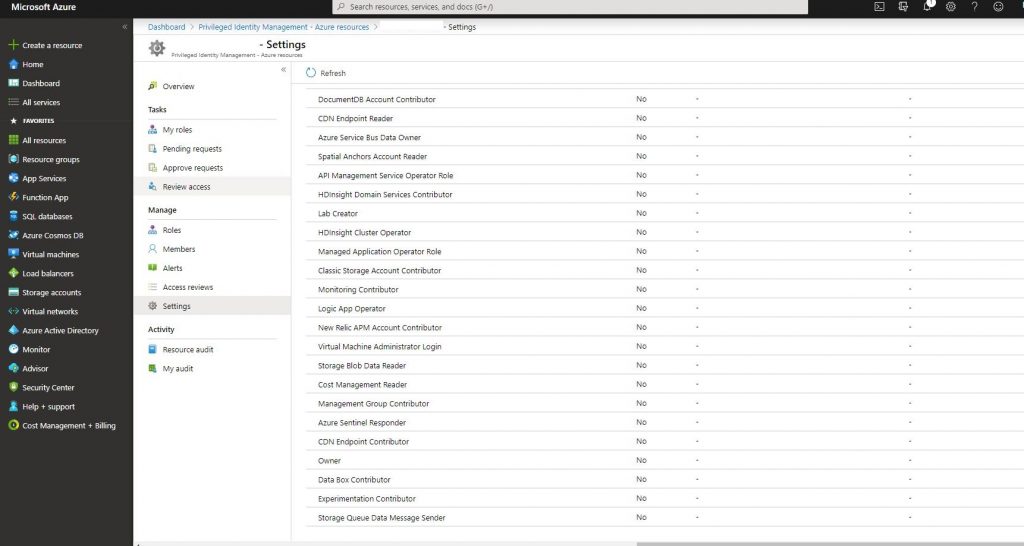
-Click the subscription you’ve added and go to settings like below. List your Azure resources roles. The steps from now on are the same as the ones with Azure AD roles.
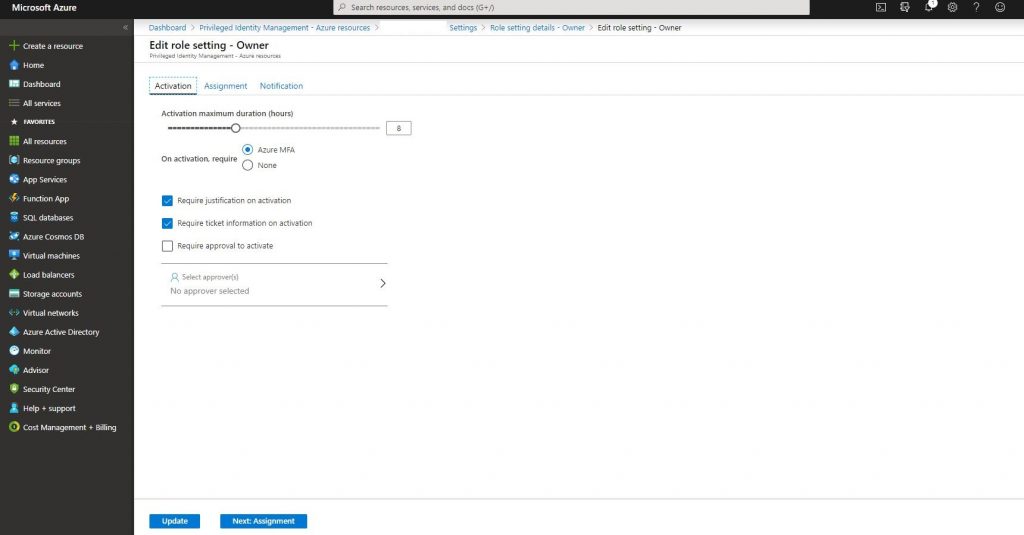
-Go into the owner role and click the edit botton.

-Determine if you will request MFA from the user who we will assign the role to before activating the role. You can take the same Ticket or Require approval actions as the Azure AD roles about how the role will be activated when it is assigned to the user.
-Go back to Azure resource and click roles.
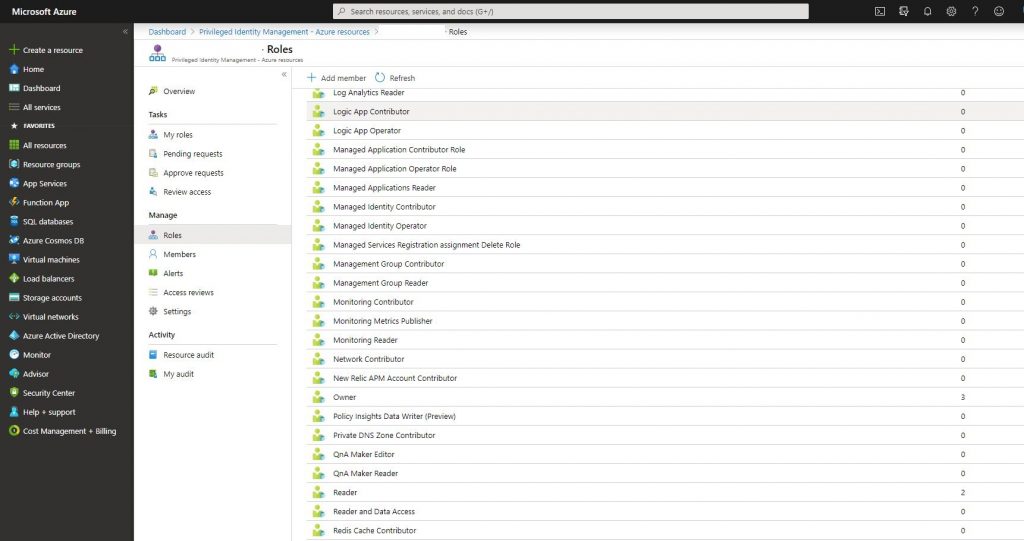
-Click add member and assign the role.
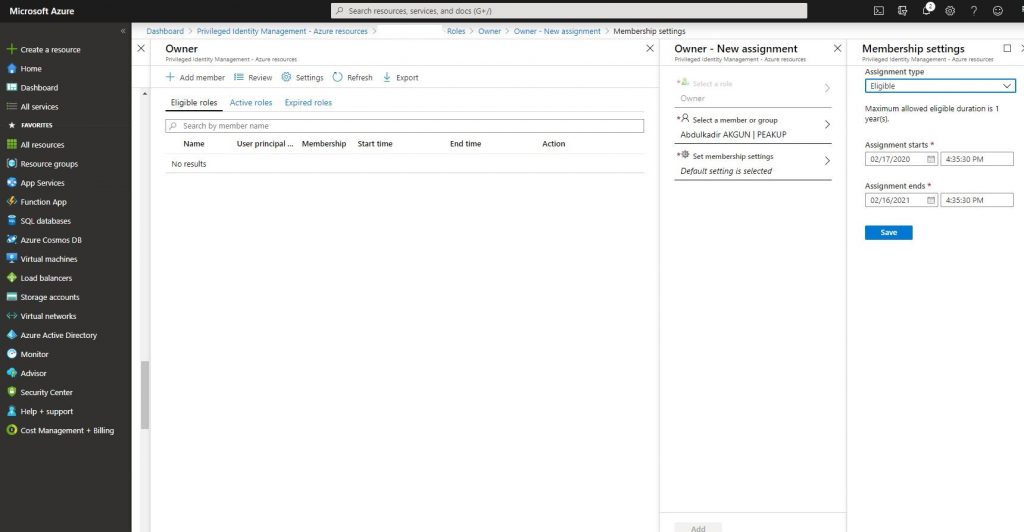
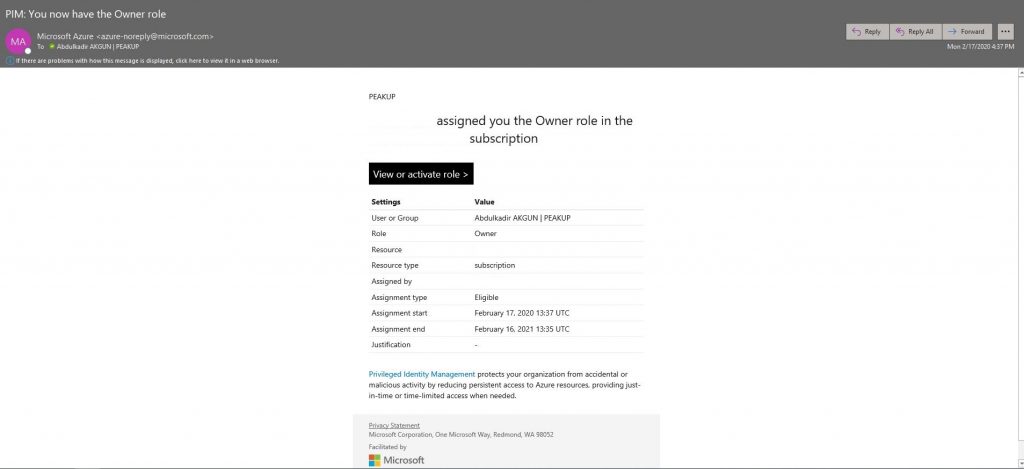
-You can activate with a Ticket or Approval like we did in Azure AD Roles steps. A mail like the one below is sent to the user. Click activate roles and complete the activation.
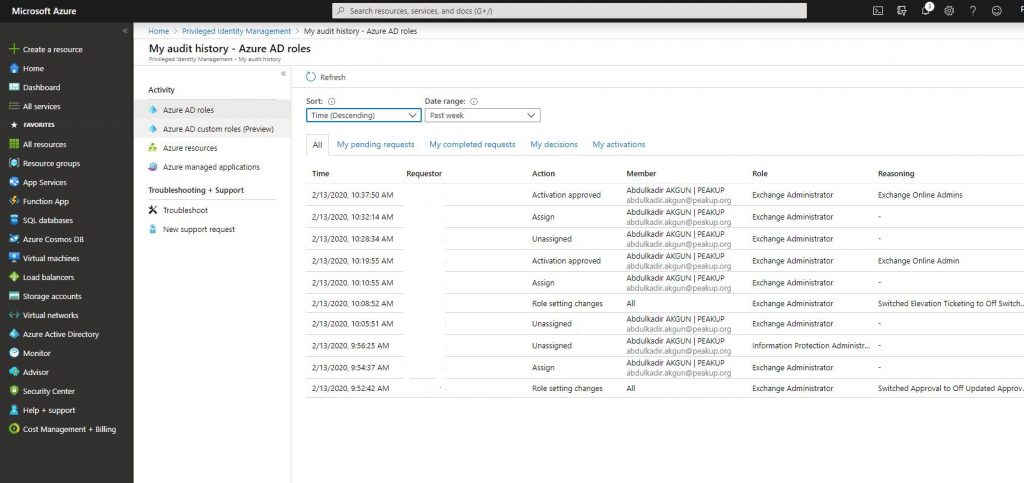
-We can analyze logs in My audit history for Azure AD Privileged Identity Management Azure AD Roles and Azure Resource.
Hope to see you later.


