
In this article, we will be talking about methods of Copying a cell as a picture in Excel. There are three methods we can use for this action. You will see these methods and our recommendations in our article. You can find a lot of features like this on our blog, don’t forget to follow.
WHY DO WE NEED THIS?
Sometimes we want to transfer the image of a range in our table as a picture to other office applications or any application. For example, when we want to copy the selected table range and directly paste on Outlook, Word etc. it will be pasted as a table. This way, it will be possible to be edited. So, it would be better to copy the cell as a picture or paste the copied data as a picture.
METHODS OF COPYING A CELL AS A PICTURE
Our first method
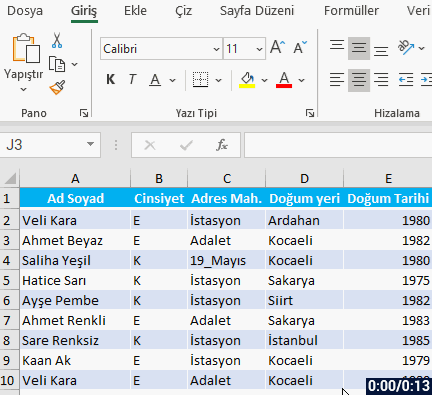
is through the Copy as Picture in the Clipboard on the Home tab.
Our second method is choosing the Picture option in the Paste Special Option after selecting and copying the cell range.
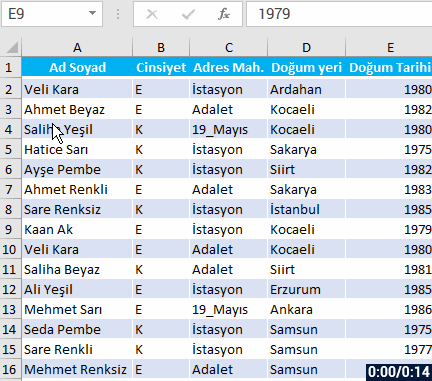
This way, when you paste it as a picture, the data on the picture won’t change when the data in the cell you’ve copied changes. But when you paste as Linked Picture in the paste special options, you can see that the cell changes when you make a change in the cells you’ve copied. This will provide us with a dynamic look.
The same way, you can view the change you make in the cell range you’ve copied in Excel in other Office apps like Word and PowerPoint too by choosing the Paste as Linked Picture option from the paste special options.
Now let’s give an example of paste as a Linked Picture. You will see that when we change a data in the copied table, the change will go through in the picture as well.
Our third method is to take a picture of the cell range we want with the Camera feature in Excel and then transmit it from the memory to the cell we want to paste the picture into. For this, you can add the Camera feature to the Quick Access Toolbar with these steps:
- File
- Options
- Quick Access Toolbar
- Commands Not in the Ribbon
- Camera
- Add
- OK
After executing these actions, you will see the Camera Icon![]() on the Quick Access Toolbar. I recommend you to have the camera feature there all the time.
on the Quick Access Toolbar. I recommend you to have the camera feature there all the time.
Now, let’s see how easy it is to copy and paste the cell as a picture with this feature.

You can save the cell range as a picture with these methods we’ve shared with you. If you want, you can get extra information on Microsoft Support.
See you in other articles, bye. 🙋🏻♂️
You can share this post with your friends and help them get informed as well.👍🏻